Download
1 / 7
70 likes | 91 Views
HP Envy 4510 printer configuration or troubleshooting printer issues visit 123 hp com setup or contact our experts at 1-855-602-1890<br>

E N D
Initial hardware setup of the ENVY 4510 Printer HP Envy 4510 printer configuration or troubleshooting printer issues visit 123 hp com setup or contact our experts at +1-855-602-1890
Steps involved in installing the printer Unpack the box Turn on the Printer Choose the language Install the cartridges
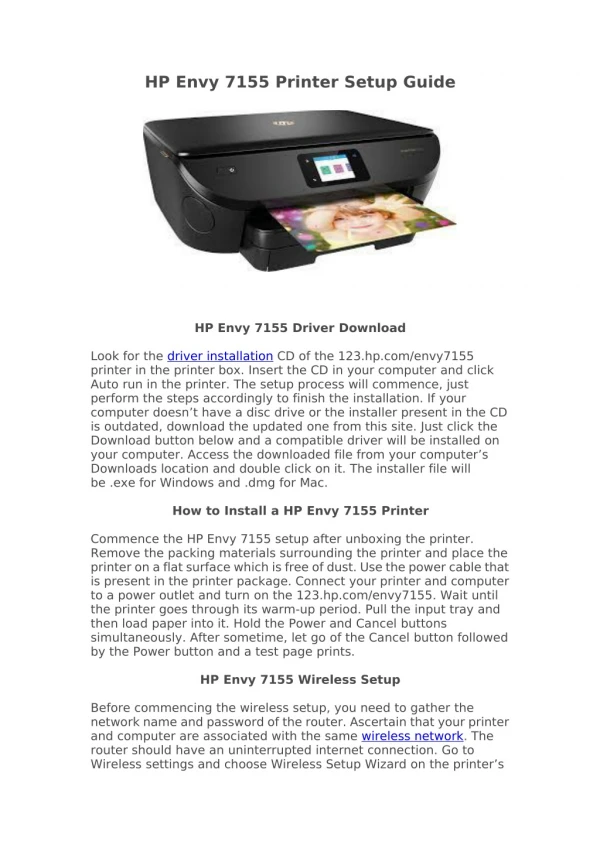
Unpack the box • Remove the cover from the power cord. • Connect one end of the chord to the rear end of the printer. • Connectthe other end into the power source directly.
Turn on the Printer • Turn on the printer by pressing the power button found bottom left of the printer. • When the printer is first turned-on, you may hear some noise and it is due to printer initialization.
Choose the language • Navigate through the menus using the arrows on the control panel, select the preferred language, and tap yes option. • You can also select the country and region you reside by customizing the ‘Set Country/Region’ option. Once the appropriate country /region is selected press ‘ok’.
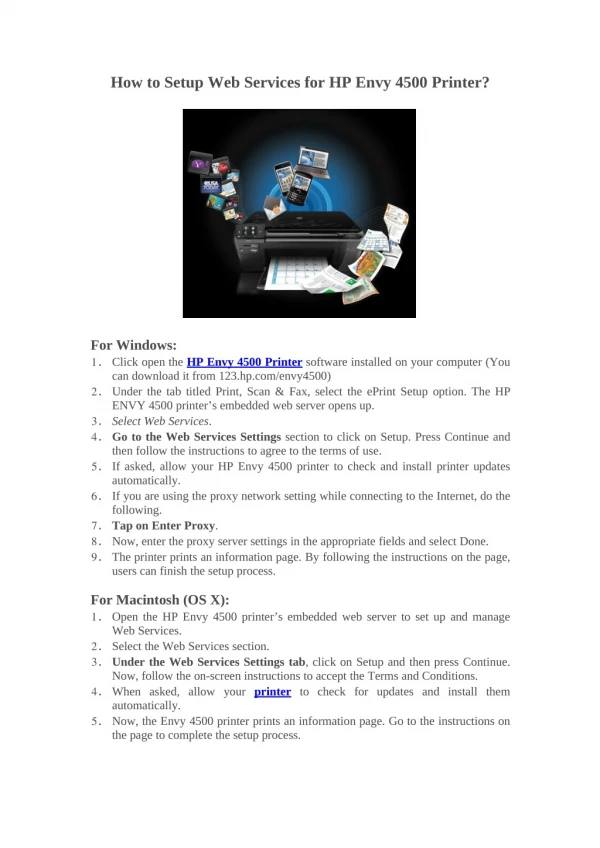
Install the cartridges • Open the top cover and try inserting the cartridges that automatically move into the access area. • The tricolor cartridge is inserted before the black one. • Remove the tape covering the electrical contacts and ink nozzles by utilizing the orange pull-tab. • The locking levers consist of color that matches to the top of the cartridge. • Lift and open the lock lever to install the matching cartridges and finally close the lock lever in such way it is snapped into its place. • Close the printer top, now the printer will try recognizing the HP cartridges installed. Then after scrutinizing the cartridge, the control panel displays a message ‘Genuine HP Ink Cartridges installed’ and tap ‘Ok’ for further procedure.
Technical Support Furthermore, on any assistance on HP Envy 4510 printer configuration or troubleshooting printer issues contact our experts at +1-855-602-1890 for personalized assistance or Visit 123hp.com/envy4510.