Download

1 / 3
30 likes | 37 Views
In this blog, you will read the method to create local user account in Window 10.<br><br>https://ms-office.us.com/how-to-create-local-account-in-windows/<br>

E N D
How to Create Local Account in Window 11 & 10? If there are multiple users on your family computer, then you must create a separate Local User Account for them in Windows. In this blog, you will read the method to create local user account in Window 10. Method to Create Local Account in Windows 10: If the users setup a New computer or Reinstall Windows 10, then they should create a Microsoft Account via office.com/myaccount and login to the computer. If you do not use a Microsoft Account then you should convert Microsoft Account into Local User Account. 1. Create Local User Account in Windows 10:
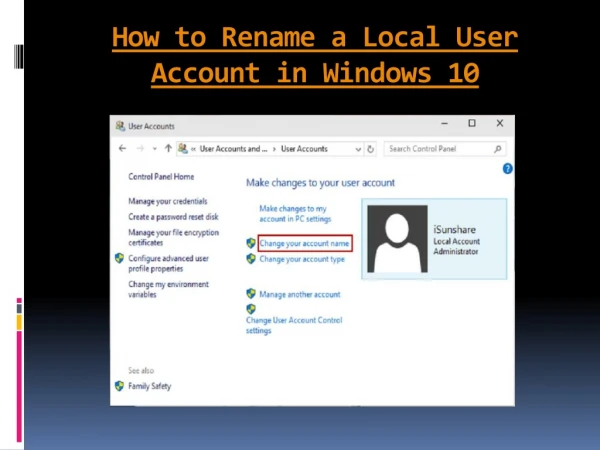
1. First, you should go to Settings and then Accounts and then choose Family & other users which is located in the left-side of the computer. Now in the right- side, tap on Add someone else to this PC option. 2. Here in the next screen, you should hit on I don’t have this person’s sign-in information link. 3. Now in Create Account screen, you should tap on Add a user without a Microsoft account option. 4. In the next screen, you will view Windows Account creation screen. You should enter User Name, Password, re-enter the Password and then tap on Next option. 5. If you tap on Next, Windows will take you to Accounts screen where you can view the New Local User Account which you created. 2. Change Local User Account to Administrator Account: Usually by default, Local User Accounts has standard or limited privileges, but the user can grant Admin Privileges to the Local Account. 1. For this, you should visit to Settings and then Accounts and choose Family & Other Users which is in the left-side of the screen. Here in the right-side, you should choose the Local Account and then tap on Change Account Type button. 2. In the next screen, you should tap on the Down Arrow which is under Account Type and choose Administrator option. 3. At last, tap OK button to finish the User Account Type change on your computer. Method to Create Local Account in Windows 11: 1. Create Local Account in Windows 11: 1. First, you should hit on Windows Start button and then Settings icon and choose Accounts which is in the left-side of the screen. Now in the right-side, you should scroll down and tap on Family & Other Users.
2. In the next screen, you should tap on Add Account button which is present under “Other Users” section. 3. Now in the next screen, you should tap on I don’t have this person’s sign-in information link. 4. Here in Create Account screen, you should tap on Add a user without a Microsoft account option. 5. On the next screen, you will view Windows Account creation screen. You should enter the User Name, Password, re-enter Password for your new Local User Account and tap on Next option. 6. When you tap on Next, Windows will take you to Accounts screen where you can view the New Local Account which you created. 2. Give Admin Privileges to Local Account: 1. You should first tap on Windows Start button and then Settings icon and then choose Accounts which is in the left-side of the screen. Now in the right-side, you should scroll down and then tap on Family & Other Users. 2. In the next screen, tap on the Local Account which you want to change and then choose Change Account Type option. 3. Here in the next screen, you should tap on the Down Arrow which is under Account Type and then choose Administrator option. 4. At last, tap on OK to finish the User Account Type change in your PC. Through this way, the user can create a local user account in Window 10 & 11. For info about MS Account, go to office.com/myaccount.