Download
1 / 2
20 likes | 26 Views
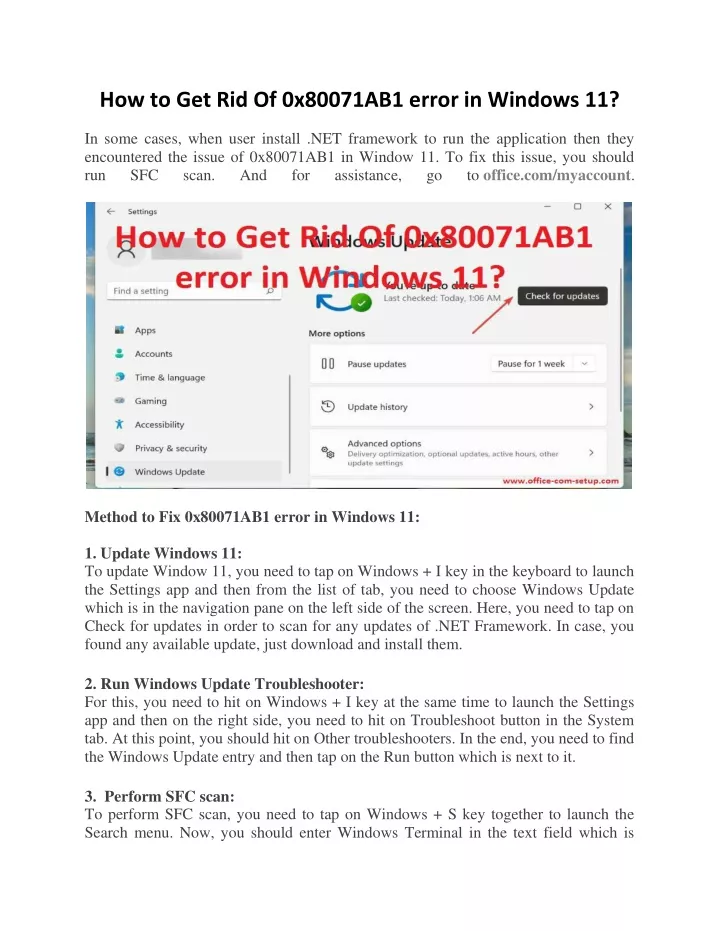
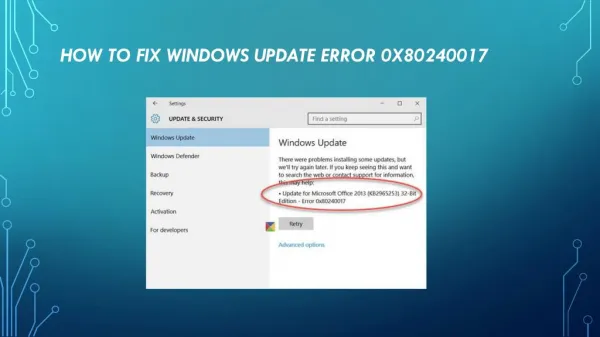
In some cases, when user install .NET framework to run the application then they encountered the issue of 0x80071AB1 in Window 11. <br><br>https://www.office-com-setup.com/how-to-get-rid-of-0x80071ab1-error-in-windows-11/<br>

E N D
How to Get Rid Of 0x80071AB1 error in Windows 11? In some cases, when user install .NET framework to run the application then they encountered the issue of 0x80071AB1 in Window 11. To fix this issue, you should run SFC scan. And for assistance, to office.com/myaccount. go Method to Fix 0x80071AB1 error in Windows 11: 1. Update Windows 11: To update Window 11, you need to tap on Windows + I key in the keyboard to launch the Settings app and then from the list of tab, you need to choose Windows Update which is in the navigation pane on the left side of the screen. Here, you need to tap on Check for updates in order to scan for any updates of .NET Framework. In case, you found any available update, just download and install them. 2. Run Windows Update Troubleshooter: For this, you need to hit on Windows + I key at the same time to launch the Settings app and then on the right side, you need to hit on Troubleshoot button in the System tab. At this point, you should hit on Other troubleshooters. In the end, you need to find the Windows Update entry and then tap on the Run button which is next to it. 3. Perform SFC scan: To perform SFC scan, you need to tap on Windows + S key together to launch the Search menu. Now, you should enter Windows Terminal in the text field which is
located at the top of the screen and then right-tap on the search result, and then from the context menu, you need to choose Run as administrator. Here, you need to hit on Yes button on the UAC prompt which pops up on your screen. Next, you need to tap on the downward-facing arrow which is situated at the top and then from the list of options in the menu, you need to choose Command Prompt. Or, you can press Ctrl + Shift + 2 together in order to launch Command Prompt in a new tab. At this point, you need to write the command and press Enter key to run the SFC scan: sfc /scannow At the end, you need to wait so that the scan process complete, then restart the system and just check the error is fixed or not. 4.Run Windows Update service: The user should hit on Windows + R button to launch the Run command, and then enter services.msc in the text field. Now, you need to tap on OK or Enter button to launch the Services app. Here, you should scroll down and find the Windows Update service, and then double-tap on it in order launch the Properties. At this point, you need to hit on the Startup type dropdown menu and from the list of option, you need to choose Automatic. If in case, the service isn’t running, then tap on the Start button which is under Service status, then just wait for it to run, and hit on OK button to save the changes. 5. Run an in-place upgrade: First, you need to create a bootable USB drive for Windows 11. When you created, then connect the drive to the computer. After this, tap on Windows + E key together to launch the File Explorer and then double-tap on the bootable USB drive. Here, you need to double-hit on the setup.exe file in order to launch it. Next, you need to hit on Yes button on the UAC prompt. At this point, tap on Change how Setup downloads updates. Now, you should choose Not right now and then tap on Next button to do the repair process. At the bottom, you need to tap on Accept button. Just, you need to tap on Change what to keep. Then, choose Keep personal files and apps option and then hit on Next button at the bottom. In the end, tap on Install button. Through this way, the user can get rid of 0x80071AB1 error in Window 11. If the user needs assistance, then tap on office.com/myaccount.


![[Method] How to fix McAfee error 76567?](https://cdn5.slideserve.com/10224232/mcafee-error-76567-method-how-to-fix-mcafee-error-dt.jpg)