Download
1 / 11
110 likes | 113 Views
Not everyone needs to have access to all parts of the CRM. Hereu2019s how to let the role of a person decide the access they have. A step-by-step how-to-article.<br>

E N D
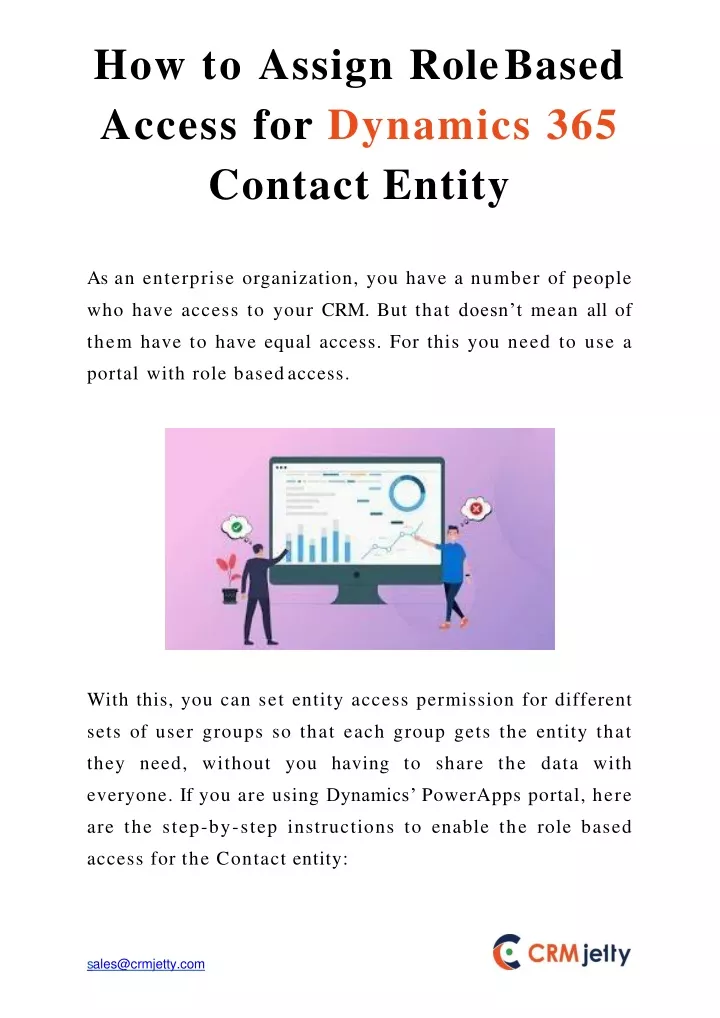
How to Assign RoleBased Access for Dynamics 365 ContactEntity As an enterprise organization, you have a number of people who have access to your CRM. But that doesn’t mean all of them have to have equal access. For this you need to use a portal with role basedaccess. With this, you can set entity access permission for different sets of user groups so that each group gets the entity that they need, without you having to share the data with everyone.IfyouareusingDynamics’PowerAppsportal,here are the step-by-step instructions to enable the role based accessfortheContactentity: sales@crmjetty.com
Power Apps portal Role Based Accessibilityfor Dynamics 365 contactentity • Steps to create webroles: • Step 1: Open PowerApps, then from Apps open Dynamics 365 Portal managementapp. • OR • Step1:InDynamics365GotoSales->Portal • Step 2: Go to Portal -> Web Roles -> Click onNew Step 3: Enter a Name & fill up other details. Thenclick on Save. sales@crmjetty.com
Stepstoassignrolestoportalusers: • Step 1: Open PowerApps, then from Apps open Dynamics 365 Portal managementapp. • OR • Step 1: In Dynamics 365, go to Sales ->Portal • Step 2:Goto Portal -> Contact, open the user account for whichyouwanttoassignarole. sales@crmjetty.com
Step 3: Click on Related ->Web Roles Step 4: Click on Add Existing Web Role, select roles which youwanttoassigntoportalusersthenclickonAdd. Therolebasedaccessibilityinthedefaultportalhasmultiple layers and it can become cumbersome to navigate the complex set ofpermissions. However, if you want to go with a third party solution, you can opt for the Dynamics 365 Customer Portal for WordPress. Compared to the default solution, the third party solution is simpler to navigate and the hierarchy is easier to understand. You don’t need to take multiple steps and instead you can focus on just a few steps and get the desiredresults. sales@crmjetty.com
Dynamics 365 Customer Portal forWordPress Role management: • Steps to create webroles: • You can create Roles and assign accessible modules to that role,thenfollowthestepsgivenbelow: • Step 1: To create a role in CRM Click on Sales ->CRMJetty • tile. For Unified Interface, click on Sales -> CRMJetty from bottomleft. sales@crmjetty.com
Step 2: Click on Roles. There will be a Default role already existing along with default layout; you can create a newrole by clicking on the New button. This will open up a page to addroles. Step 3: Fill role details like Role name, Is Active, Description andAccessibleModules.ClickSavetocreatetherole. sales@crmjetty.com
To disable a module, select Disable option from the status dropdown. To provide dynamic access rights of Create, Edit orDeletechecktheboxesagainsttherespectivemodule. Note: By default, Default groups will be assigned to a newly created contactrecord. Note: Access rights of the default user group cannot be changed. Step 4: You can also define advance configurations for different user groups for the features like case deflection and calendaraccessibility. sales@crmjetty.com
While creating cases from the portal, Case deflection featurehelpsyourcustomersfindprobablesolutions.If norelevantsolutionsarefound,thenthecustomercan proceedbyaddinganewcase. • It will search for a solution for the enabled Case Deflection subject (which belongs to articles or KnowledgearticlescategoriesofCRM).So,onenabling Casedeflectionoption,you willbesettingentitiesand respective categories to be searched from while the portaluserlooksforasolution. • Note: Case Deflection will only work if Articles or Knowledge Articles module is enabled and the Category is selected. • For adding articles either for article entity or knowledgearticleentitynavigatetotherolepageand click on theAdd Article button. sales@crmjetty.com
Addtheexistingarticletothisusergroupandit willget visible on the portal side. Note: For adding data from articleentity,youneedtoswitchtoclassicinterface. • Youcanalsoenablecalendarforspecificusergroups. Note: Calendar can only be enabled if Phone Calls or Appointments module isenabled. • Stepstoassignrolestoportalusers: • Step1:InDynamics365GotoSales->Contact sales@crmjetty.com
Step 2: Open portal user account (contact) for which you want to assign a role. There will be a field called Role Code youcanchange/assignaroleformthatfield. Theportalyouchoosedependsonyourworkflow.Thereare steps for two options here to help you choose betweenthe sales@crmjetty.com
complexity you want to deal with while enabling thefeature youneed. Source: https://www.crmjetty.com/blog/how-to-role-based-access- dynamics-crm/ sales@crmjetty.com