Download
1 / 24
240 likes | 249 Views
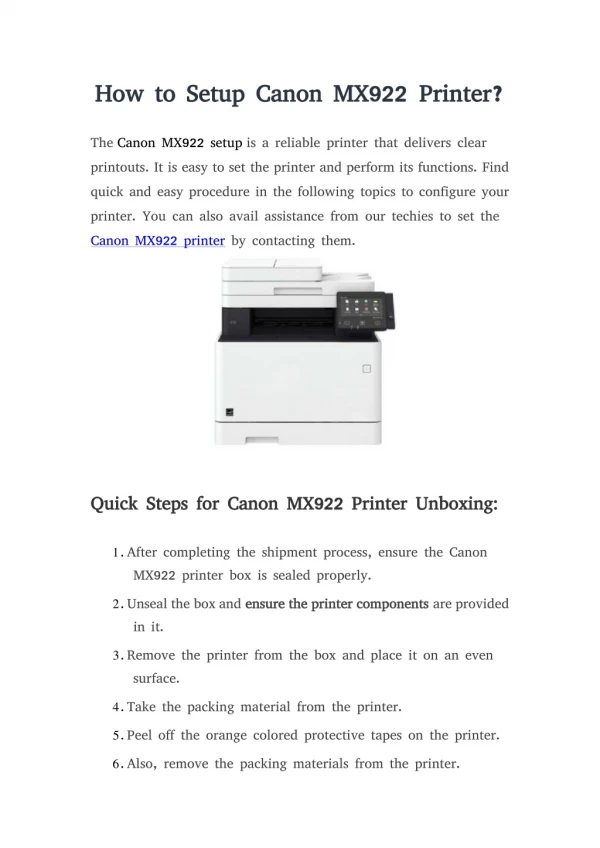
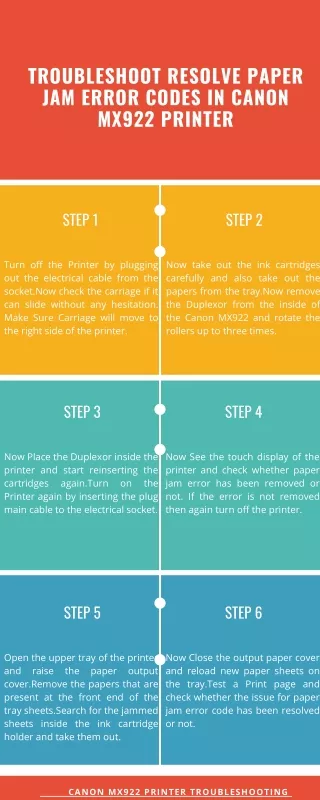
Find here complete steps for Canon MX922 all in one printer setup includes wireless and USB connection setup. Learn some Printer techniques and how to print from the Canon app.

E N D
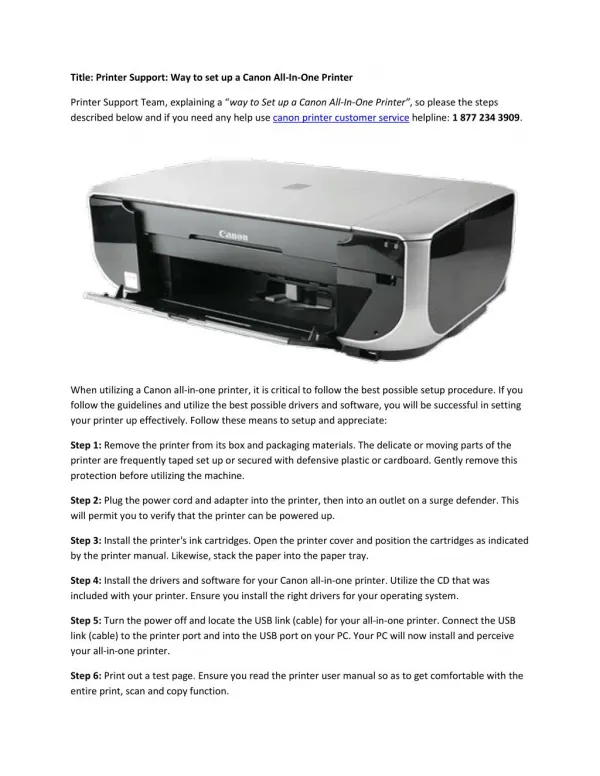
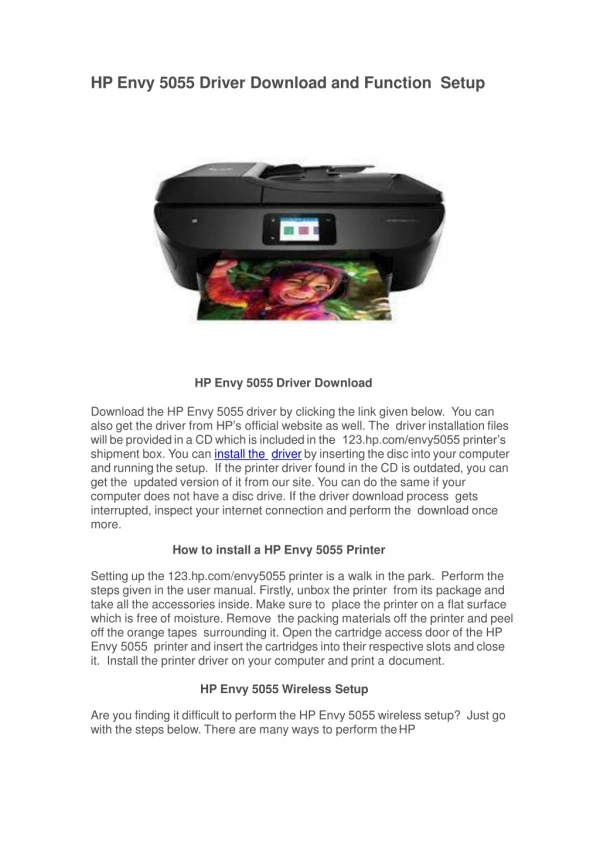
Easy Steps for Canon MX922 Install All in One Printer Setup • Check the seal of the printer package for damage and cut it using a knife. • Place the Canon printer on a steady surface to avoid damage to the printer. • Check if all the additional accessories are available in the package. • Connect the Canon printer to the power supply using a power cord. • Unpack the new cartridges and install them in the correct slots. • Make use of the installation CD or visit the manufacturer’s site to install the drivers. • Specify your OS version and Canon MX922 Install the drivers successfully on your system.
How to Setup the MX922 Power Connection Find the power port on your Canon printer; it is located on the rear side. Now, attach the electrical cable to the power port on your printer and an outlet. Your printer turns On after you force press the ON button. Set all your preferences such as country name, language and more.
Canon Pixma MX922 How to Load Paper • Raise the paper tray and pull the paper support up. • Lift the slot cover and open the sliders by moving them. Place the papers at the center of the rear tray with the side to be printed facing upwards. • Move the paper width guides so that they get aligned across the edges of the inserted document. • Gently lower the feed slot cover. Now the Paper Information Registration window displays on the printer’s panel. • Choose the Paper Type and Size and then tap the Register button. • Make sure to open the control panel before you print.
How to Install Canon MX922 Ink Tanks • Power on your Canon printer. Raise the scanning unit and wait until the Fine cartridge holder moves to the replacement area. • Prepare the new genuine tank for Canon MX922 Install. Discard the protective tape from your ink tank carefully. • Insert the new canon pixma mx922 ink tank into the cartridge holder and push until it fixes into position. • Ensure that the Cartridge Locking Cover is lowered correctly.
Wireless Printer Setup • Once the unboxing and initialization process is complete, you need to connect the Canon Pixma MX 922 printer to your home or office network to print over the internet for how to setup canon pixma mx922 wireless. • Check if a button on the Operational Panel is lit. If not, then you haven’t turned on your Pixma MX922. Turn it on. • Locate the Menu button on the printer and select it. • Scroll using the navigation keys to select the icon1 that indicates WLAN setup (resembles a straight line with a dot at one end & enclosed by double brackets). • The Wi-Fi lamp will turn blue once the OK button is pressed, indicating that the wireless connection is enabled.
By default, your device looks for a WPS connection, continue if your router supports this technique. • Else, touch the Stop option and select the Standard canon pixma mx922 setup option from the Wireless LAN Setup menu. • Make sure you select the OK button at the end of each selection to proceed to the next screen. • Choose the access point and enter its corresponding WEP key. • Press the left function button twice. • Touch the Copy button when a message appears stating Connected to the access point, or press OK if an icon1 appears.
Let's perform the Canon PIXMA MX922 printer setup with a USB connection on Windows & Mac systems. • Start the setup process after installing the printer driver on your system. Download the printer driver from the official site. Make sure to download the software that matches your operating system. • Canon MX922 Install the printer driver as per the instructions on the installation screen. • During installation, select canon pixma mx922 usb port Connection under the Connection Method Selection option. • Perform the on-screen instructions.
Connect the USB cable while the screen displays the Printer Connection option. Now, power on the printer. Perform the remaining instructions. Finally, click Exit to complete the installation process. • Now let’s see the canon pixma mx922 setup in the Mac system. • To install the printer driver, download the software from the manufacturer’s site. • Sign into the Drivers & Download page. Select the operating system under the Drivers tab and click the Download button. • Once the download process is complete, open the file, and start the installation process.
Install the printer driver as per the guided instructions. Connect the USB cable after the software installation. • Finish the entire setup and start the printer operation.
Canon Pixma Printing Solutions App Canon Pixma supports various kinds of apps. They are the Canon Print Inkjet/Selphy app, Apple AirPrint, and Google Cloud Print. Refer to the guidelines below to begin printing.
Canon Print Inkjet/Selphy App • Use the Cableless canon pixma mx922 setup to connect the printer to a network. • Press Wireless until the lamp flickers. • Turn on your printer and mobile. • Download and Canon MX922 Install the Print/Selphy app. • Establish a network connection for your mobile. • Add the printer name to the list and then click Register. • Tap OK to complete the process. • Choose the router name and fill the password in its tab. • Select the printer name from the printer list. • After the printer registration, try to print.
Apple AirPrint • Change the Canon Pixma printer from the sleep mode and active state. • Establish the printer and the system to the same wireless network to setup Canon pixma mx922 airprint. • A document or photo is available in the Gallery of your mobile. • Tap the Share or Print icon1 based on the iOS version. • Touch Print and choose the printer model from the Printer Options. • Set the print setting such as number and copies if required. • The printer starts to print the document after tapping Print.
Canon Print Inkjet/Selphy App • Use the Cableless canon pixma mx922 setup to connect the printer to a network. • Press Wireless until the lamp flickers. • Turn on your printer and mobile. • Download and Canon MX922 Install the Print/Selphy app. • Establish a network connection for your mobile. • Add the printer name to the list and then click Register. • Tap OK to complete the process. • Choose the router name and fill the password in its tab. • Select the printer name from the printer list. • After the printer registration, try to print.
Google Cloud Print • Access the Google account using the credentials. • Establish the network connection for the Canon MX922 Install printer and then link it via an access point. • Enroll the printer name into the Google Cloud Print with the help of the on-screen instructions. • Power on the printer and choose the Canon pixma mx922 google cloud print option. Choose the registered printer from the list. • Click Print to begin the printing process.
Thanks! Any queries? You can find us at: • https://canon-mx922-pixma-printer.com