Download
1 / 4
40 likes | 44 Views
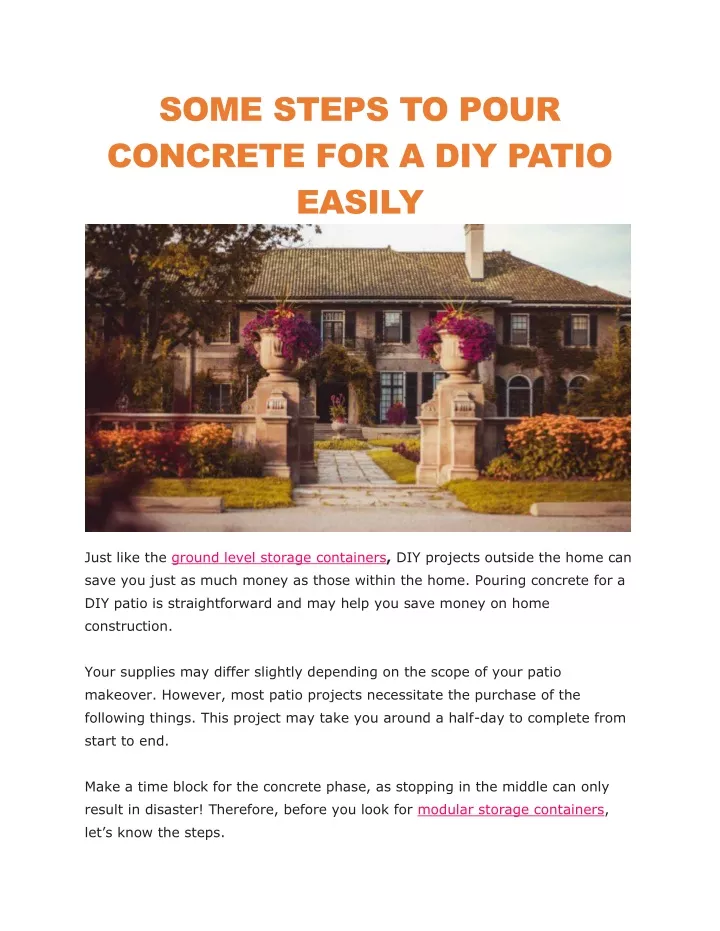
Make a time block for the concrete phase, as stopping in the middle can only result in disaster! Therefore, before you look for modular storage containers, letu2019s know the steps.

E N D
SOME STEPS TO POUR CONCRETE FOR A DIY PATIO EASILY Just like the ground level storage containers, DIY projects outside the home can save you just as much money as those within the home. Pouring concrete for a DIY patio is straightforward and may help you save money on home construction. Your supplies may differ slightly depending on the scope of your patio makeover. However, most patio projects necessitate the purchase of the following things. This project may take you around a half-day to complete from start to end. Make a time block for the concrete phase, as stopping in the middle can only result in disaster! Therefore, before you look for modular storage containers, let’s know the steps.
Steps to Pouring Concrete A house project usually takes more reading and study than a “1-2-3” blog piece. Make sure you complete your homework so you can start your DIY patio project with confidence. Having stated that, the method normally consists of the following phases. Excavation and Grading Of the Region Once you’ve decided on a spot for your patio, you’ll need to dig out approximately 6-12 inches of earth. Push it down flat, and then lay gravel on top. Concentrate on leveling and compacting the area to sustain the poured concrete. To help in water drainage, the patio should slope slightly away from the house.
Stakes Must Measure and Drive-In Next, drive stakes in a straight line around the patio’s border. Stakes should place in the corners and spaced every couple of feet. The length isn’t critical since you can cut them to an equal height after they’re all in the ground. Set Up the Form Boards After you’ve driven in the stakes, link them by nailing boards in between them. Trim as you go to keep the top of the board flush with the top of the stake. Consider this section to be the construction of the cake pan that will later keep the “batter” (the concrete) together. Spray the boards with an oil-based spray to make it easier to remove them once the concrete has dried. Make a Mesh Once the concrete is poured, the wire mesh offers extra stability. Place it evenly inside the form to stand in the center of the concrete when it is run. Pour the Concrete It may be beneficial to solicit the assistance of a buddy for this phase. Start at one corner and pour out your concrete evenly, leveling it with a paver or shovel as you go. If your mesh collapses, you may dig inside the concrete with a tool and pull it back up. Flatten Surface & Round Edges After pouring and leveling the concrete, finish smoothing the top, rounding the corners, and filling in uneven spots with a paving tool. If you wish your patio to have some traction rather than smoothness, softly sweep a broom across the surface for some purposeful lines.
Allow the Concrete to Cure Congratulations, you have just completed a do-it-yourself patio! It is now time to let the concrete cure. Lay your plastic sheet over the top of the concrete and wait a few days. Remove the sheeting, then check to see if the concrete has set before removing the form boards.