Download
1 / 9
90 likes | 101 Views
Can you record a Zoom meeting? How do you do that? Today's article is going to show you how to record a Zoom meeting using Zoom itself and one of the best screen recorders, Joyoshare VidiKit, respectively. For more product information, you can visit: https://www.joyoshare.com/vidikit/

E N D
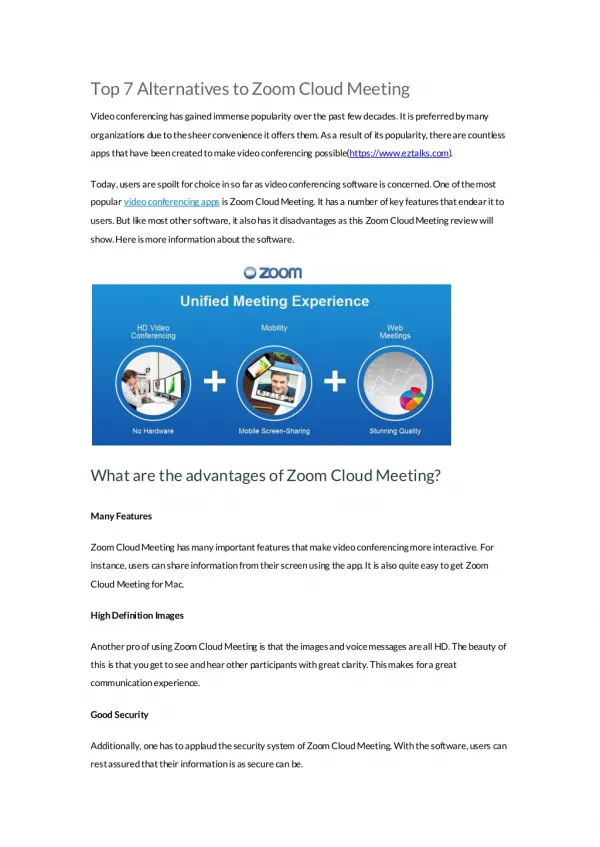
Record Zoom Meeting in 2 Fast Ways Q: “Is there an open-source screen recorder that will record Zoom audio and video? Looking to save lectures while campus is closed down.”– From Reddit Zoom is praised as the leader in modern enterprise video communications, which provides a reliable platform for streaming webinars, video and audio conferencing, chat, screen sharing, and more. Succinctly, Zoom also enables you to stay connected with your team members through cloud cooperation and coordination. If you would like to record Zoom meeting to save online courses, important meetings or anything else for future reference, you can depend on this article. It will teach you how to do that using Zoom itself and the best video recorder called Joyoshare VidiKit. Part 1. Use Joyoshare VidiKit Part 2. Record Meeting on Zoom
Part 1. How to Record a Zoom Meeting - Joyoshare VidiKit As a full-featured screen recorder for Windows and Mac, Joyoshare VidiKit is equipped with the most top-leading screen recording technology, which can be used to record Zoom meeting in high quality as well as capture any other on-screen activities with few clicks. It is capable of recording not only video but also audio simultaneously so that you can grab microphone and system voice. When you make use of it to record Zoom meeting, you can feel free to select any output formats, including HD MP4, AVI, FLV, SWF, WMV, MKV, MOV, etc., together with any popular devices, like iPhone, Android, Xbox, smart TV, etc. What will cheer you up is that Joyoshare VidiKit enables you to customize your Zoom meeting recordings, select capturing area by yourself, choose favorable format, set up storage location, make screenshots, highlight cursor, create designated recording time, etc. Aside from Zoom meetings, you have the right to apply it to other usages, like recording Facebook video calls, Amazon instant video, GoToMeeting webinar, Yahoo Messenger video chats, etc.
Key Features of Joyoshare VidiKit: Record meeting from Zoom with few clicks Save captured Zoom meeting to MP4, AVI, FLV, SWF, MPEG, etc. Customize appreciative recording options Create a task to record Zoom meeting Take screenshots and trim video as you like
Step 1 Install Joyoshare VidiKit on your PC You have to spend few seconds finishing the installation for Joyoshare VidiKit. Then it can be run on your computer straightly. Step 2 Determine recording screen area It is convenient to select a systematic ratio, like 320x240, 640x480, 1280x720, full screen, etc., by clicking the drop-down menu located at the "Capture Area". Of course, it is available for you to enter definite width and height number to the frame or drag the pop-up window to decide the recording area by press the "+" button.
Step 3 Set up recording parameters To unfold the capturing options, you can simply press the "Gear" icon on the right corner, which is made up of "Basic record options", "Record time options" and "Cursor options", offering the facility to choose a desirable output format, utilize shortcuts, preset a scheduled task, add effect to cursor, etc. With the exception of these personalized settings, you are entitled to disable "System Audio" or "Microphone Sound" as well, which can help you remove unwanted noise. However, you need to pay attention to that if you close the microphone sound, the recorded Zoom meeting video will be produced without audio.
Note: Joyoshare VidiKit can work as an independent audio capture, assisting you to record online radio, music games, streaming music and any other audio tracks. You can save the audio file to MP3, AAC, WAV, FLAC, M4A and M4B. Step 4 Get ready to record Zoom meeting Launch Zoom and start a meeting with others. To start recording it, click "REC" button on the main interface of Joyoshare VidiKit. You can get 3 seconds countdown to make adjustment of your capturing area position. Once begin, any screenshots can be taken anytime. Furthermore, cutting video is also accessible.
Step 5 Edit Zoom meeting recordings Joyoshare VidiKit includes full supports to manage your captured Zoom meeting files. You can preview Zoom capturing, revise its name, change ID3 tags information, delete or empty files, etc.
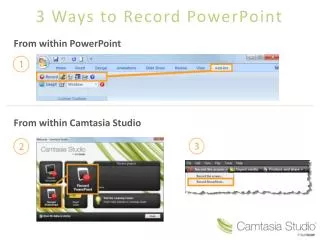
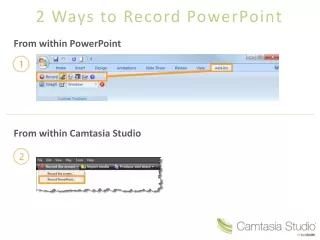
Part 2. How to Record Meeting on Zoom The second way of recording Zoom meeting is to draw support from local recorder within Zoom, which is regarded as the easiest and quickest solution that is available for both free and paid subscribers. Similar to other professional third-party programs, the local recorder allows you to record video as well as audio synchronously, saving captured files to a computer locally and uploading to either public streaming servers or file storage websites, such as YouTube, Vimeo, Google Drive, Dropbox, etc. However, the shortcomings of this local recorder are that it is developed not as dedicated as other recorders in the market and can only capture Zoom screen. Anyway, if you in need of recording Zoom meeting in the most accessible way, it is practical. Now, you can refer to the following guide. Step 1 Go for Zoom and start recording a meeting
Given that you have installed Zoom on your computer already, you can directly run it and create a Zoom meeting. When you on a meeting, locate the menu bar and click the "Record" button on the bottom right position to start recording, from which you can decide whether to record on this computer or record to the cloud. Step 2 Finish Zoom meeting capturing process Once Zoom recorder begins to capture, you will see "Pause/Stop" button, which can be used when you need. Upon a Zoom meeting recording is completed, the destination file will automatically be saved as MP4 format. Step 3 Manage captured Zoom meeting files To locate your recorded file, you can go to "Meetings" and press "Recorded" on the top of this interface. Enter it to find all destination Zoom meeting files. Each one can be selected and shared, especially when you are an education or business plan user. For more information, please visit the source page: https://www.joyoshare.com/record- screen/record-zoom-meeting.html