Download
1 / 14
140 likes | 366 Views
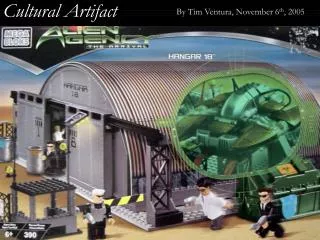
Artifact Inquiry. Goal: Working in groups, students will identify the functions of previously unknown objects by their appearances and/or structures.

E N D
Artifact Inquiry Goal: Working in groups, students will identify the functions of previously unknown objects by their appearances and/or structures.
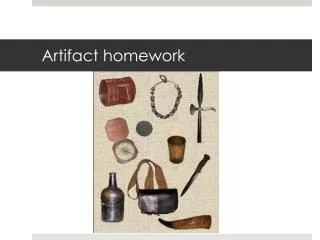
Background:When archaeologists dig up artifacts, many times they are unearthing certain objects for the first time and must guess the function based on appearance.
Further digs in similar locales may shed more light on these objects and give greater credence to a researcher's proposed identification.
“Artifact Inquiry” simulates part of the process that “real” archaeologists use in their work. It is an excellent activity for beginning the year in history since archaeology is a fundamental source of our information on many past events and cultures!
Check out a Web site with an interactive dig! Main page Mystery items (Help identify an artifact and post your ideas on the bulletin board)
Step #1 Each student will be put into a team of 3-4 people. You need to work together with each other step-by-step!
Step #2 Each team will be given an initial object to examine.
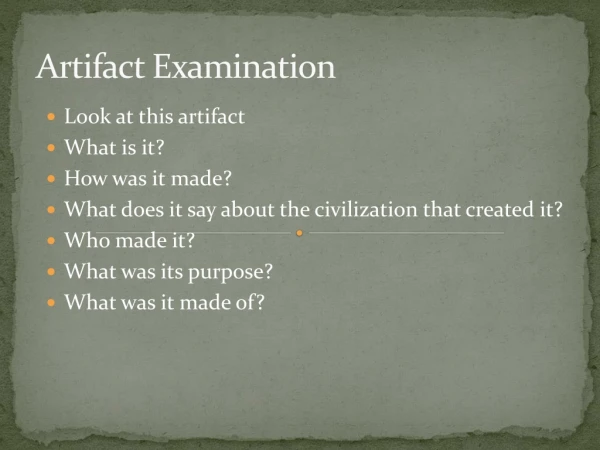
Step # 3 Working as a team… • Examine the object • Brainstorm ideas for what the object was used for • Read the directions on the “Brainstorming Web” sheet and choose a scribe to fill in the sheet (4 minutes)
Step #4 In BIG letters, write on the back of the “Brainstorming Web” sheet what your team would name this object …try and make the name appropriate to the object’s use(s) (2 minutes)
Final Steps! • Rotate the objects clockwise, so that each group examines each object • Repeat steps 2-4 for each object that your group examines • Once all teams have examined all objects, teams will be paired to share their ideas for usage and their names for each object
Closure On a clean sheet of paper, students will write the answers to the following questions in their notebooks.
Reflections on“Artifact Inquiry” • Did your team identify the correct name and use(s) of any of the objects? If so, which objects? • List three things that you learned from doing this simulation. • When working in your team, what is one thing that you did well? What is one thing that you would do differently next time you work in a team?
I will use this technology in my classroom in two fundamental ways. The first way is as a media for delivering instruction. In this project I introduced a simulation, gave directions for completing the simulation, and provided closing questions for the students to reflect on the simulation. When using the PowerPoint technology in this fashion, I would also give students handouts of each slide to greater facilitate understanding. Although Jonassen et. al. criticizes this type of technology use, I believe that it is appropriate for the delivering of instructions to the whole class. Today’s students are more interested in looking at a PowerPoint presentation of directions, versus a plain black-and-white overhead. The second way that I could use this technology would be to have the students interact with it. I could definitely design a PowerPoint presentation that takes the students from slide-to-slide and to different Web sites. Also, I could have students pick which slides or Web sites to visit. Students are able to use PowerPoint as a way of “receiving” instruction (see above) or as a way of “constructing” their own instruction. “The people who learn the most from designing instructional materials are the designers, not the learners for whom the materials are intended” (Jonassen et. al.). When students create their own PowerPoint presentations, they truly are constructing their own knowledge. Student construction of presentations would give students the greatest benefit because they are teaching the computer, versus the computer teaching them. Another way to involve students in the constructing of their own knowledge would be to create a presentation and have students add appropriate material to it (e.g. answer questions, link to Web sites).