Download
1 / 4
0 likes | 5 Views
If you have any issues with your extender, you can contact our toll-free number( 1-323-471-3045) or Email: support@mywifiextension.net<br>

E N D
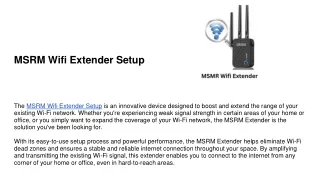
Rockspace wifi Extender Setup A Rockspace WiFi extender Setup is a powerful device that can significantly enhance the coverage and strength of your wireless network. Whether you're struggling with dead zones or weak signals in your home or office, setting up a Rockspace extender can provide the solution you need. In this comprehensive guide, we will walk you through the process of setting up your Rockspace extender.
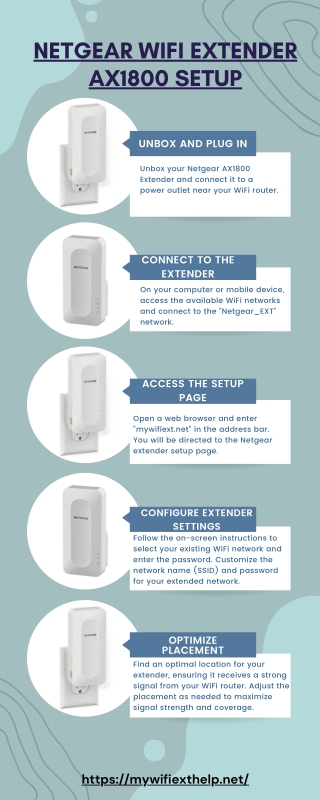
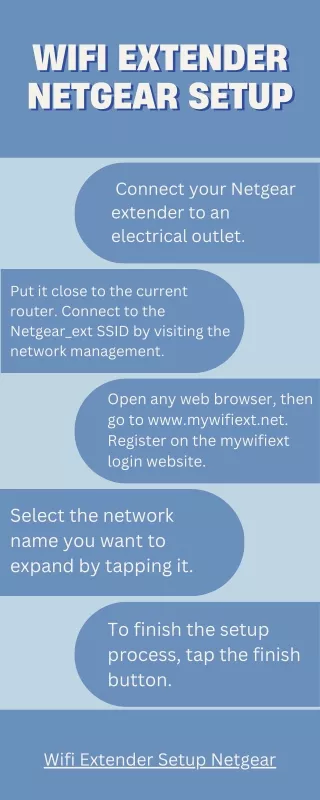
Setting up Rockspace WiFi Extender using the WPS Method WiFi Protected Setup (WPS) is a convenient method for Rockspace WiFi extender setup to your existing router's WiFi network without entering the WiFi password. Ensure that your router supports WPS and that it's turned on. Plug in your Rockspace extender near your router and power it on. Press the WPS button on the extender. The LED indicator should start blinking. Please activate the WPS button on your router within the next 2 minutes. The extender's LED should turn solid, indicating a successful connection.
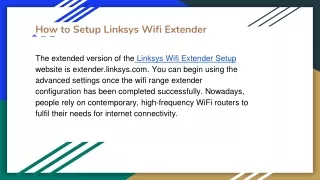
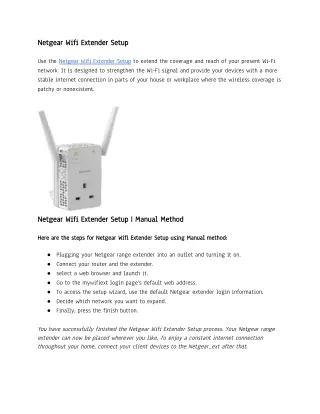
Setup Rockspace WiFi Extender Via Manual Method The manual Rockspace WiFi extender setup technique normally involves a series of steps to ensure correct configuration. Connect your computer or mobile device to the Rockspace extender's default WiFi network (usually named "Rockspace_Ext"). Open a web browser and enter "ap.setup" or the IP address "192.168.10.1" in the address bar. You'll be directed to the extender's setup page. Follow the onscreen instructions to scan and connect to your existing WiFi network. Enter the WiFi password when prompted. Once connected, you can customize the extender's settings, including network name, password, and more.
Factory Reset: Rockspace WiFi Extender If you encounter issues or need to start fresh, you can perform a factory reset on your Rockspace extender. Locate the reset button (usually a small hole) on the extender. Press and hold the reset button for around 10 seconds with a paperclip or a pin. Release the button when the LED lights on the extender turn off and then back on. The extender has been returned to its factory settings. Note: Remember that completing a factory reset will remove any custom settings you had on your Rockspace WiFi extender. If you have any problem with your extender, you can contact our toll-free number(+1-323-471-3045) or Email: support@mywifiextension.net