Download
1 / 4
0 likes | 2 Views
<br> If you have any issues regarding your extender, you can contact our toll-free number ( 1-323-471-3045) or<br> email: support@mywifiextension.net

E N D
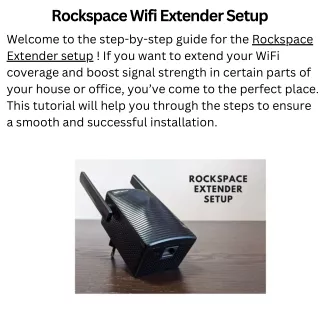
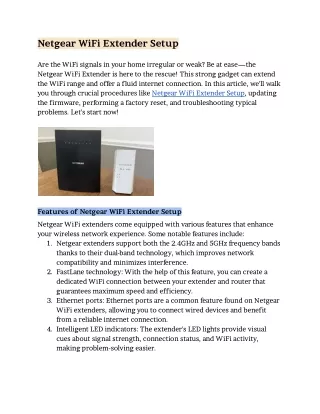
Rockspace wifi Extender Setup Rockspace extenders are designed to boost your WiFi signal and improve coverage in your home or office. The Rockspace Wifi Extender Setup is simple, and you can choose either manual or WPS methods. Additionally, it’s essential to know how to perform a factory reset, update firmware, and troubleshoot common issues.
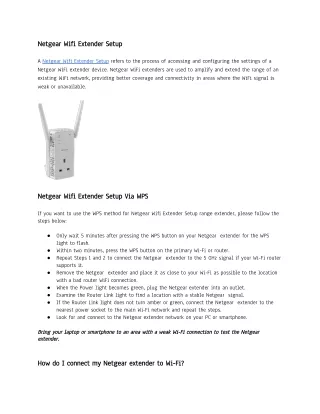
Rockspace Wifi Extender Manual Setup Rockspace Wifi Extender Setup connecting to its default network and accessing its web-based setup page is done manually. Take the following steps: Plug in your Rockspace extender and ensure it’s within range of your existing WiFi network. On your computer or mobile device, connect to the “Rockspace” network (the default SSID) through WiFi settings. Open a web browser and enter the default IP address (typically 192.168.10.1) or the setup URL (rockspace.local). Enter the default login credentials. Follow the onscreen instructions to select your existing WiFi network and enter its password. Customize your extender’s settings, such as SSID and password. Save your settings and wait for the extender to reboot.
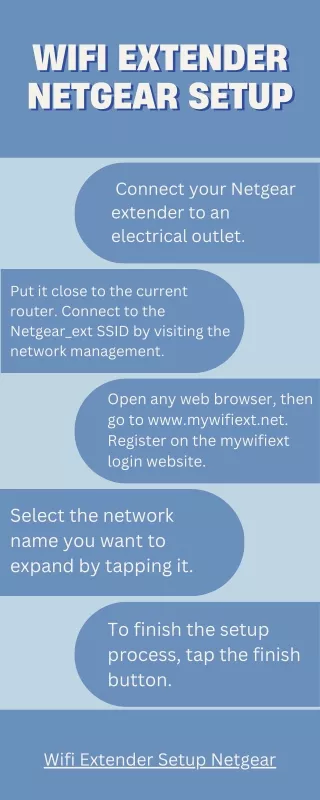
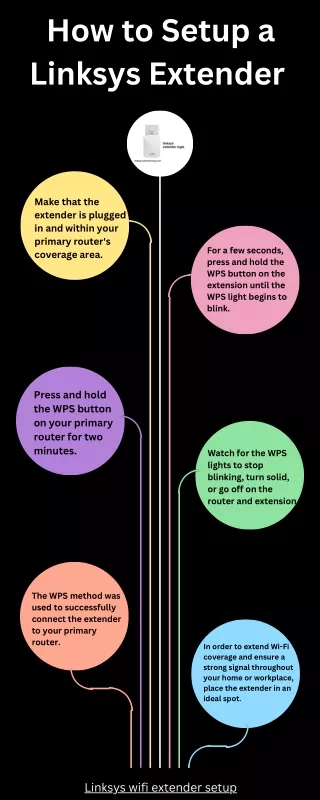
How do you set up Rockspace WiFi Extender using the WPS method? The Rockspace Wifi Extender Setup with WPS (Wi-Fi Protected Setup) technique is simple. Here are the basic steps for the WPS method: Connect the extender and power it on. On your Rockspace extender, press the WPS button. Within a couple of minutes, press the WPS button on your router. The extender and router will establish a secure connection automatically. When the LED on the extender turns solid, the setup is complete. You have successfully configured your Rockspace WiFi Extender using WPS, and it is currently expanding the reach of your Wi-Fi network.
Factory reset on Rockspace Wi-Fi Extender A factory reset will return your Rockspace WiFi Extender to its default settings, erasing out any custom configurations you’ve made. Follow these procedures to reset the Rockspace Wifi Extender: Locate the Reset button (typically a small hole) on the extension. Push and hold the Reset button for roughly 10 seconds using a paperclip or pin. When the LED lights begin to blink, remove the paperclip from the reset button. The extender is returned to its factory settings. To reconfigure it, repeat the manual setup procedure. The Rockspace WiFi Extender has been factory reset, and you can now configure it with new settings or restore it to its previous configuration as needed.