Download
1 / 3
30 likes | 36 Views
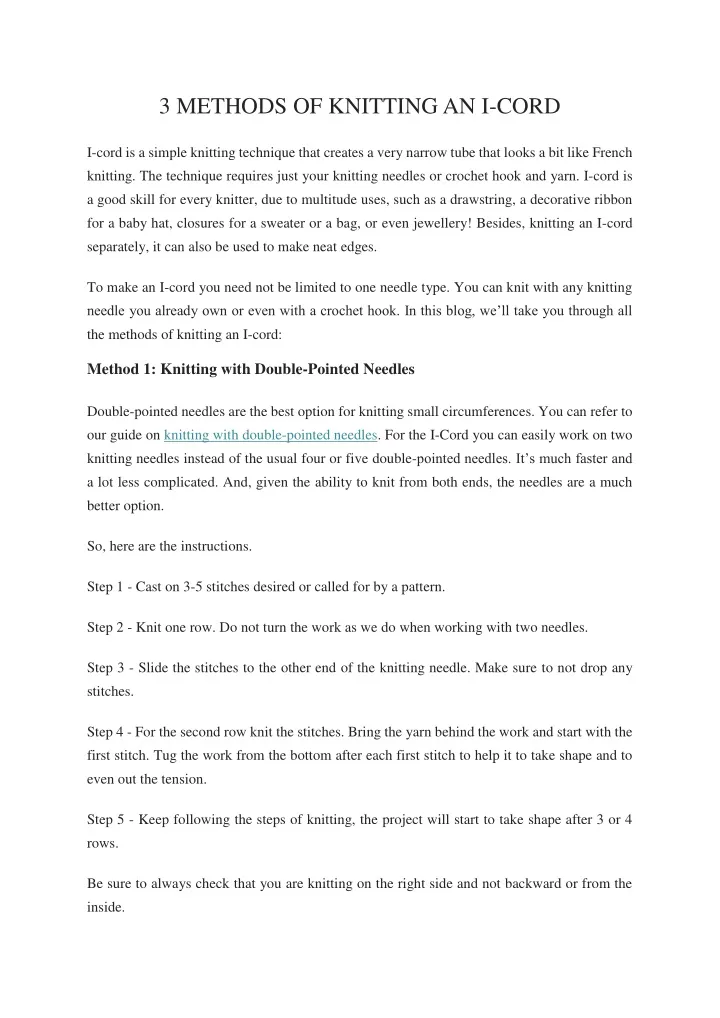
I-cord is a simple knitting technique that creates a very narrow tube that looks a bit like French knitting. The technique requires just your knitting needles or crochet hook and yarn. I-cord is a good skill for every knitter, due to multitude uses, such as a drawstring, a decorative ribbon for a baby hat, closures for a sweater or a bag, or even jewellery! Besides, knitting an I-cord separately, it can also be used to make neat edges.

E N D
3 METHODS OF KNITTING AN I-CORD I-cord is a simple knitting technique that creates a very narrow tube that looks a bit like French knitting. The technique requires just your knitting needles or crochet hook and yarn. I-cord is a good skill for every knitter, due to multitude uses, such as a drawstring, a decorative ribbon for a baby hat, closures for a sweater or a bag, or even jewellery! Besides, knitting an I-cord separately, it can also be used to make neat edges. To make an I-cord you need not be limited to one needle type. You can knit with any knitting needle you already own or even with a crochet hook. In this blog, we’ll take you through all the methods of knitting an I-cord: Method 1: Knitting with Double-Pointed Needles Double-pointed needles are the best option for knitting small circumferences. You can refer to our guide on knitting with double-pointed needles. For the I-Cord you can easily work on two knitting needles instead of the usual four or five double-pointed needles. It’s much faster and a lot less complicated. And, given the ability to knit from both ends, the needles are a much better option. So, here are the instructions. Step 1 - Cast on 3-5 stitches desired or called for by a pattern. Step 2 - Knit one row. Do not turn the work as we do when working with two needles. Step 3 - Slide the stitches to the other end of the knitting needle. Make sure to not drop any stitches. Step 4 - For the second row knit the stitches. Bring the yarn behind the work and start with the first stitch. Tug the work from the bottom after each first stitch to help it to take shape and to even out the tension. Step 5 - Keep following the steps of knitting, the project will start to take shape after 3 or 4 rows. Be sure to always check that you are knitting on the right side and not backward or from the inside.
Method 2 - Single Pointed Needles While I-cord is a tubular structure, you don't have to stick to the double-pointed needles. You can easily knit on single-pointed needles. Even the Step 1 - Cast on 3-5 stitches on one needle of the pair. Step 2 - Knit one row. Do not turn in your work. Step 3 - Slide the stitches from the tip of the needle directly onto the tip of the other needle. Make sure to not drop any stitches. Step 4 - Repeat steps 2 & 3 until the I-cord is of the desired length. Method 3 - Circular Knitting Needles I-cords can easily be created with a circular needle. You don’t even need to attach or even use the cable. For I-cord, it is best that you have a cable perhaps no more than a 16” length that allows knitting the small circumference freely. Step 1: Cast on three to five stitches depending on the thickness of the I-cord you want. Step 2: Knit one row. Step 3: Like in the double-pointed method, slide the stitches from one end of the circular needle to the other. Instead of using a second double-pointed needle to create your stitches, you'll simply use the other end of your circular needle. Step 4: Repeat knitting until the I-cord is the desired length. So, whether you use your single point, double point, or circular needles, you can make an I- cord with any of the above steps. If you have a pattern that mentions how to knit an I-cord, you can follow that. Other variations I-cord is really nothing but a very small diameter tube knit in the round, which you can get creative with.
Spiraling I-Cord Here instead of knitting across, repeat: *k3, p1*. That way, you create a little purl stitch that moves around the central axis with every turn and it looks a bit like a tiny little spiral. Curly I-Cord Slipped stitches with an I-cord create a nice little corkscrew curl. The stitch pattern goest: Row 1: Knit and Row 2+3: K1, Sl1, K1 Repeat those three rows over and over again, till you have the desired length. For neat edges An I-cord is a beautiful way to have neat edges. If you are planning to knit an I-cord to the pattern, add extra 6-10 stitches to the cast-on. While knitting, the edge works with Knit 1, slip 1 with yarn in front, Knit 1. If you are planning an I-cord edge on the wrong side of the project, the instructions are - Slip 1 with yarn in front, Knit 1, slip 1 with yarn in front, work across row to last three stitches, slip 1 with yarn in front, Knit 1, slip 1 with yarn in front. Bind off Many patterns and projects look good with an I-cord bind-off. You can use it for the neckline of the sweater. Whatever fits your needs, you can easily knit an I-cord. With the Mindful Collection, you can enjoy the journey of knitting with smooth stainless steel knitting needles and accessories. For more information on knitting, techniques, tricks, mindfulness and more, follow our blog. Source: https://mindful.knitpro.eu/blog-15-how-to-knit-an-i-cord