Download

1 / 10
100 likes | 104 Views
Did you know you can use Adobe Lightroom to enhance your photos? These 8 tips by Mohit Bansal Chandigarh will help you take your photos to the next level. t<br><br>https://mohitbansalchandigarh.in/8-ways-to-enhance-your-photos-in-lightroom/

E N D
8 Ways To Enhance Your Photos In Lightroom
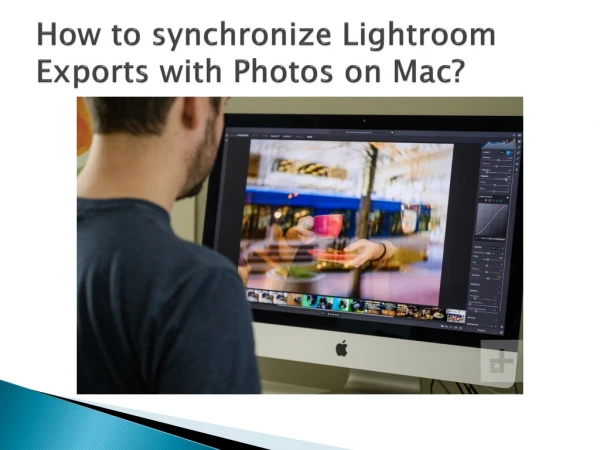
One of the most prominent ones of picture editing software in the world is Lightroom. It continues to be the de facto industry standard for everyone from novices to seasoned introduction of various competitors and Adobe's constrictive subscription price strategy. Lightroom makes it reasonably easy to transform your photographs from their unappealing RAW state to a shareable JPEG, but it also hides a host of potent capabilities. Let's go deep into some Lightroom tips in this post to significantly boost your editing experience and develop a more effective and fun workflow. experts despite the
Adjust The White Balance Depending on the hue of the light and the location of the shoot, each shot has a slightly distinct tint and temperature. Your photograph will probably require some color correcting unless you manually set your white balance using a gray card before each shoot. Thankfully, color fixing is easy. One approach is to use the White Balance Eyedropper tool to choose a neutral surface in the image (i.e., a region that should be entirely white or gray). Another choice is to merely tweak the Temperature and Tint sliders until you achieve the desired outcome.
Correct Any Lens In most circumstances, you will want to correct any lens distortions if you are shooting with a wide-angle lens. When utilizing a wide-angle lens, any lens seems curved rather than straight, and the center of the image appears closer to you than the edges. The lens must slightly twist to fit everything in since the field of view is broader than the naked eye. Vignetting, which occurs when the borders of the frame appear darker than the center, is another possibility. But it's simple to repair! Simply click Enable Profile Corrections in the Lens Correction window. When you do this, Lightroom uses the EXIF data in your photos to identify the brand and model of the lens and automatically applies the necessary changes, eliminating vignetting and distortion all at once. Distortion
Split-Tone Tool To add some vibrant colors to your photographs, use the split toning tool in Lightroom. The highlights and shadows both gain a color tone as a result of this. All you have to do is choose the tone you want to use for the highlights and the shadows (blues, oranges, greens, yellows, or pretty much anything that takes your fancy!). Then adjust the saturation for each one until you are satisfied with the result. You can make the effect really subtle by just lowering the saturation sliders until there is barely any color remaining. For various effects, you may also experiment with how well the highlights and shadows are balanced. Despite the fact that we go through a few tried-and-true combinations in my Launch Into Lightroom course, start by just playing about with it to see what you can come up with! It's a fantastic approach to editing more imaginatively.
Make Exposure, Highlight, And Shadow Adjustments. The next stage of retouching a portrait in Lightroom? Tonal and exposure adjustments The histogram should show zero peaks forced up against the graph's edges, and the curve should be evenly distributed throughout the histogram unless the image is intended to display a lot of darks and/or brightness. However, it always pays to verify the histogram to be sure. Drop the Exposure slider if your photo is overexposed; the opposite is true if it is underexposed. Next, pay close attention to the backdrop, hair, and skin tones of your portrait subject.
Organize Your Photographs With Collections And Collection Sets. You probably already organize your photographs into folders on your hard disk if you're new to Lightroom Classic. However, things are different with Lightroom Classic. You only have direct access to your hard drive's directories through the Library module. All of the others employ collections. Because Adobe encourages you to arrange your photographs in Collections, it has configured Lightroom Classic in this manner. The benefit is that a Collection may bring together photographs that are spread out over several folders in a way that makes sense to you. You may arrange your photos in any convenient way, including by date, topic, people's names, and so on. You can access your photographs on the Lightroom app for mobile, in Lightroom for online, in Adobe Portfolio, and on mobile applications like Adobe Spark if you have a subscription to Lightroom Classic. If you're unsure what a Collection is, think of it as a musical playlist. A song may be added to as many playlists as you'd like, even though you only have one copy of it. The exact same principles apply to collections.
Enhance Contrast Simply adding contrast to your photographs is the quickest method to make them "pop." Making the dark portions darker and the bright areas lighter create contrast. The curve tool, which offers you a little more control over the lights and darks in your image, is another option. You can accomplish this by using the contrast slider on the Lightroom basic panel. A little S-Curve, like the one below, can make a significant difference. All you have to do to see the graph below is to open the tone curve. Two anchor points may be made, and an S curve can be made by moving the top anchor point up slightly and the bottom anchor point down somewhat. To make things even simpler, just navigate to the Tone Curve panel, choose "Point Curve: Linear," and then select either medium contrast or strong contrast from the drop-down box that displays! The anchor points might then be changed as needed.
Black-And-White Points The white and black sliders are located just behind the shadows slider. These sliders control the black and white points of your image and how much, if any, of it is completely black and completely white. The photo may be made brighter or darker by sliding the sliders to the right or left, respectively. Moving the whites slider to the right would achieve brighter whites. You would also drag the slider to the right if you wanted to brighten the blacks. In order to add aggressiveness and a strong black point to the majority of my images, I prefer to slide the black slider to the left. Every photograph will have a different setting, but it is often between -15 and -50.
Learn How To Use The Develop Module's Masks Panel. So far, both Lightroom 6 and Lightroom Classic are compatible with all of the advice. Regarding the updated Masks tab in Lightroom Classic, this suggestion stands out. There are several choices available to you in the Masks panel that weren't included in Lightroom Classic before. Consider the image below as an illustration. The unmasked version of the original portrait is seen on the left. Another variation with two masks is shown on the right. I chose the girl with the first mask and enhanced her brightness with it. The backdrop was chosen by the second mask, which is an inversion of the first. It was used to darken the backdrop. The best part was that it was completed in under a minute. It's smart that once you put up masks like way, you can copy and paste the parameters for the mask to another portrait and they will function. This is a result of AI being used by Lightroom Classic to choose the subject automatically. It recalculates the selections in accordance with the content of the image rather than applying the identical ones to the new portrait.