Download
1 / 10
100 likes | 110 Views
To assist you in enhancing your photography abilities, we have compiled a list of the top real estate photography advice from an industry expert, Mohit Bansal Chandigarh.<br><br>https://mohitbansalchandigarh.in/real-estate-photography-what-you-need-to-know/

E N D
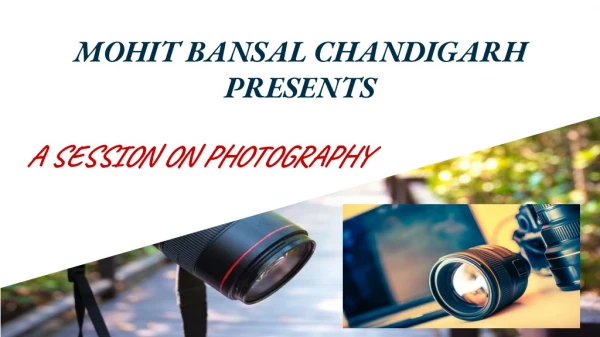
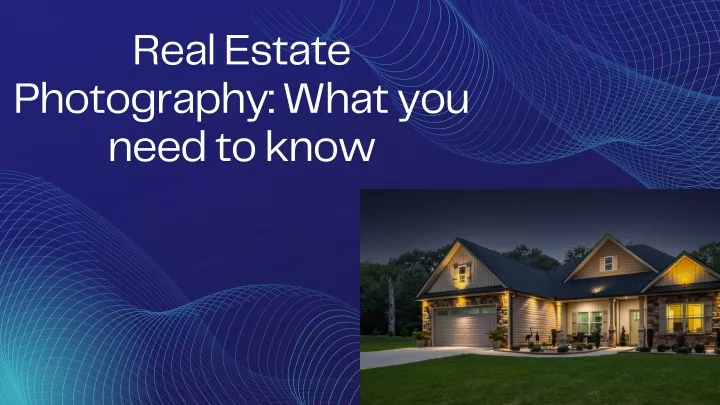
Real Estate Photography: What you need to know
Every list of "how to make money as a photographer" includes Real Estate Photography at the top. The real estate industry is increasing, and there is a growing need for real estate photography. This tutorial is for photographers who want to get into real estate photography. We go through the fundamentals of real estate photography, including how to get started, what equipment you'll need, strategies, tactics, and tips, and much more. By the conclusion of this essay, you will have learned all you need to know to launch your real estate photography company.
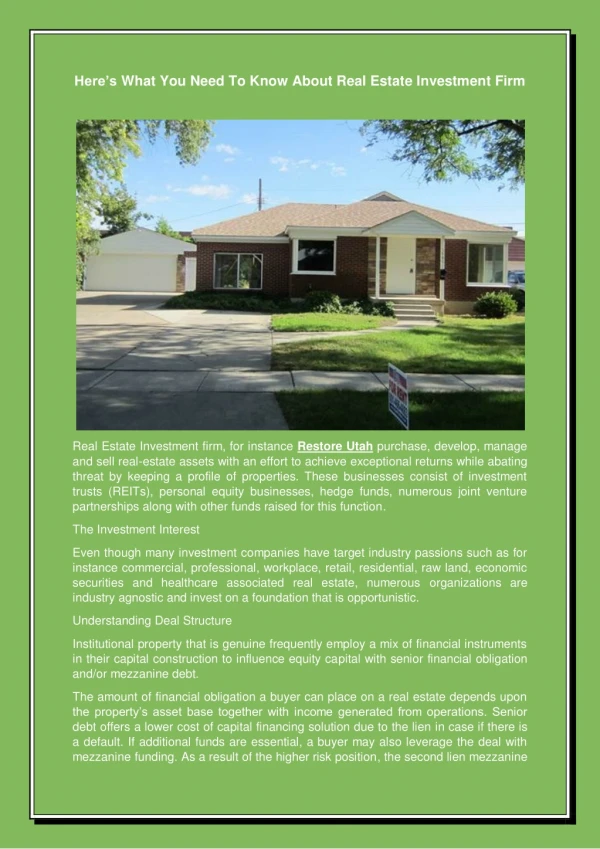
Real estate photography is a profitable commercial photography field, especially for photographers who live outside of big cities or corporate hubs. Commercial photography jobs typically demand you to be close to large commercial centers where you may contact firms and business owners. On the other hand, real estate is accessible for rent and purchase anywhere.. This makes real estate photography work more accessible and profitable for all types of photographers residing anywhere in the world. Real estate photography is used to sell homes. Realtors are seeking for distinct designs that will stand out in a sea of competitors for real estate photography. While this is not easy money, it may be a gold mine for a photographer eager to study.
Purchase a Camera Remote Trigger In real estate photography, a short shutter frequently used to capture the detail and light of a room or place. If you accidentally touch the camera at this setting, the wobble, resulting in a blur or other flaws. problem by purchasing a remote trigger camera, allowing you to shoot without touching anything. speed is image may Avoid this for your
Get a Drone for Aerial Photography Most real estate photographers can get by with a bare-bones setup of a camera, a wide-angle lens, a tripod, and a flash. To elevate your real estate shooting to another level, though, you will need to purchase a drone. Drone photography may be an excellent method to capture breathtaking exterior shots of a house from above, showcasing the complete property and its surroundings. Aerial pictures are frequently used by real estate brokers to provide prospective purchasers with a comprehensive view of the property. If you want to improve your real estate photography talents, purchasing a drone may be the way to go. Drones, on the other hand, may be expensive, costing around $1,000, so you may opt to invest in this equipment once your real estate photography business is up and running.
How to Get the Best Exposure in Real Estate Photography Because you're combining brilliant window light with darker interiors, exposure to interior components might be difficult. There are several strategies to cope with this contrast; one is to photograph when outside light levels are lower, such as during or after sunset or on an overcast day. When every light inside is turned on, the inside brightness rises, and if the exterior brightness is modest, a RAW file may typically capture the picture in a single frame. Alternatively, you may take a sequence of bracketed photographs and then combine them in post-processing. Even in low-contrast circumstances, I'd recommend taking a few more photos to ensure you get all the exposures you need for a stunning image. First, choose your base exposure, which is the image with the greatest data in the middle of the histogram. Then bracket different exposures in one-stop increments. These extra shots may not be required, but if the dynamic range of the scene proves to be too great, they can come in handy.
Avoid using the flash when shooting outside. Natural light is the finest option for real estate photography. No artificial lighting production equipment will be able to express the colors as naturally as it seems. Furthermore, natural lighting will make the images more potential purchasers will not notice an "expectation-reality" gap when examining goods. realistic, so the
How to Photograph Real Estate in Natural Light Adjust the exposure and set the aperture to f8. The larger the focal length of the lens, the more the camera shakes, thus it's best to use a tripod and a timer to ensure that the picture is of excellent quality. If your camera supports bracketing mode, you can snap a series of photos with varied settings. The camera is installed in one location, and numerous frames with varied exposures are taken. The images must then be combined in any editor (such as Adobe Photoshop) to capture a wide exposure range. As a result, you will obtain effective real estate photos that will attractively portray the object. When photographing inside, additional light sources or a flash may be required. Make a point of entering the room and estimating the quantity of light. The interior is frequently illuminated by windows and indoor illumination. This may be insufficient for high-quality photos. As a result, you may add continuous lighting or a flash. The latter approach is preferable since it allows for greater interior illumination versatility.
Declutter and stage your home Scouting the venue for prospective images is an important element of preparation for any photo session. Another example is staging. Visit the house before the picture session date to see what kind of furnishings and items you'll have to work with. Make staging ideas that will best showcase the property and each of its spaces. Check with the owners to see whether they are okay with you relocating their belongings. You may also scour the house for decorative touches and shift furniture and items from one room to another to create a cohesive look. Organize the Furniture The furniture should be placed such that it is "open." That is, when you snap the shot, it should be slanted toward you, almost as if your camera were a physical third party on the scene. When it comes to real estate marketing, you'll often find this sort of layout. Having a table and chairs pointed apart from each other may appear weird. However, the idea is that you (and the spectator) have a presence in the shot. It gives the image a warm, intimate, and full vibe. Even a little staging may help a photographer capture the spirit of a home in a more intimate and appealing setting.
Spend time processing real estate pictures Make photographs you've taken. Improve the colors so that the overall appearance of real estate photos is more appealing and professional. Remove any extraneous features that may have an impact on the overall perception of the image. To edit real estate images, you may use a variety of tools. For example, pixlr.com or professional Adobe products such as Photoshop or Lightroom. The latter apps provide several tools for image cropping and color correction. You may separately improve the sharpness of details, modify saturation settings, and more in the applications. an effort to enhance the