Download
1 / 8
80 likes | 91 Views
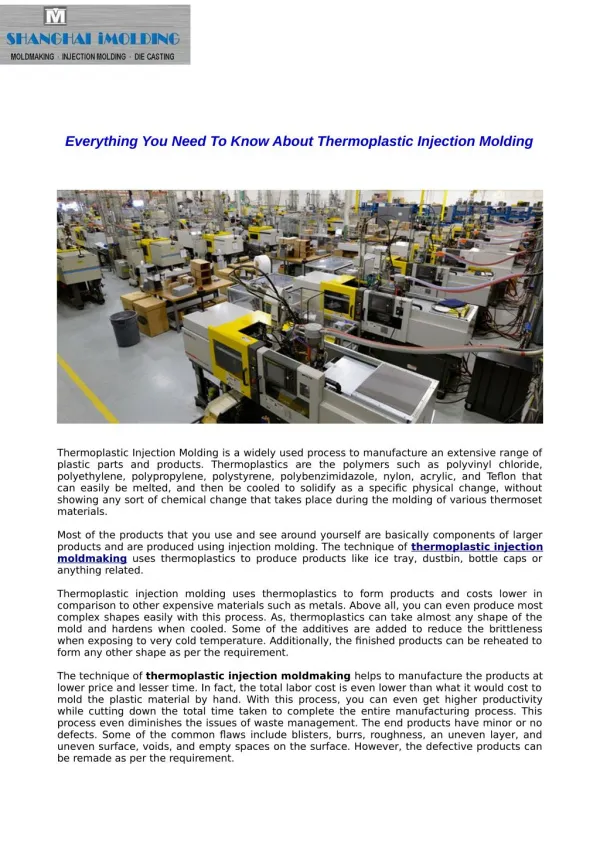
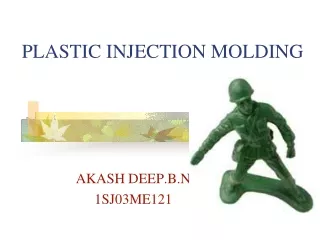
Injection Molding Manufacturers process in which melted plastic is injected into a mold to create products with complex shapes and details. This process is used to produce a wide variety of products, from toys to automotive parts. The essential manufacturing process for injection molding can be broken down into six steps: design, prototyping, tooling, molding, finishing, and inspection.

E N D
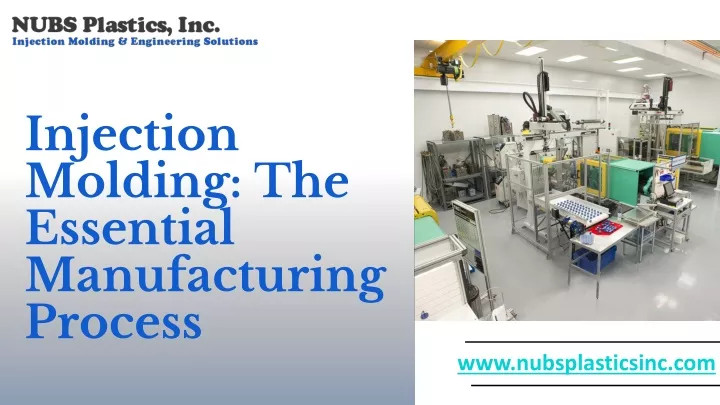
Injection Molding: The Essential Manufacturing Process www.nubsplasticsinc.com
Introduction to Injection Molding Manufacturers Melted plastic is pumped into a mold during theInjection Molding Manufacturer process to produce objects with intricate forms & features. Products ranging from toys to auto parts are manufactured using this technology. 6 steps make up the basic work process for injection molding: design, prototype, tooling, molding, finishing, & inspection.
Design The first step in the injection molding process is the design phase. In this phase, the product’s design is created and any necessary changes are made. The design must be optimized for the injection molding process to ensure the highest quality product.
Prototyping Prototyping is the second step in the injection molding procedure. This step entails building a prototype of the product to make sure it adheres to the intended criteria. Using this prototype, any design changes that are needed can be made. The injection molding process is also tested on the prototype to make sure it is going smoothly.
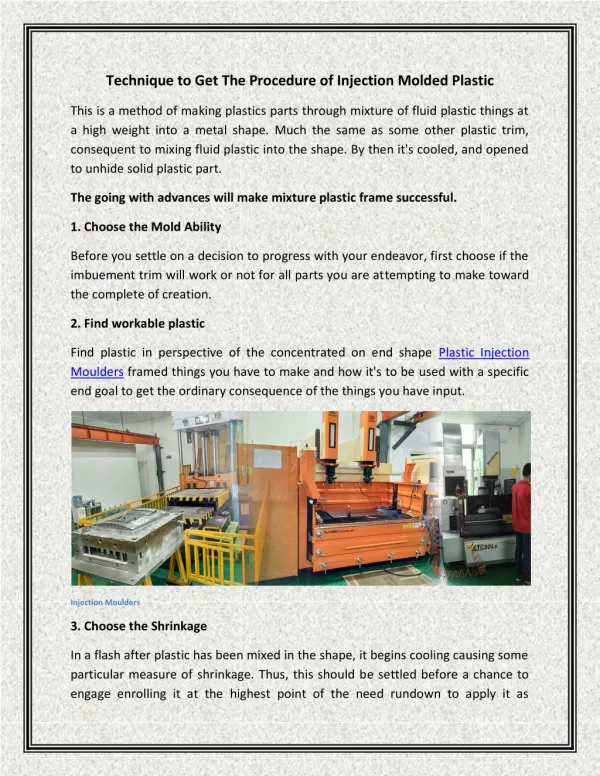
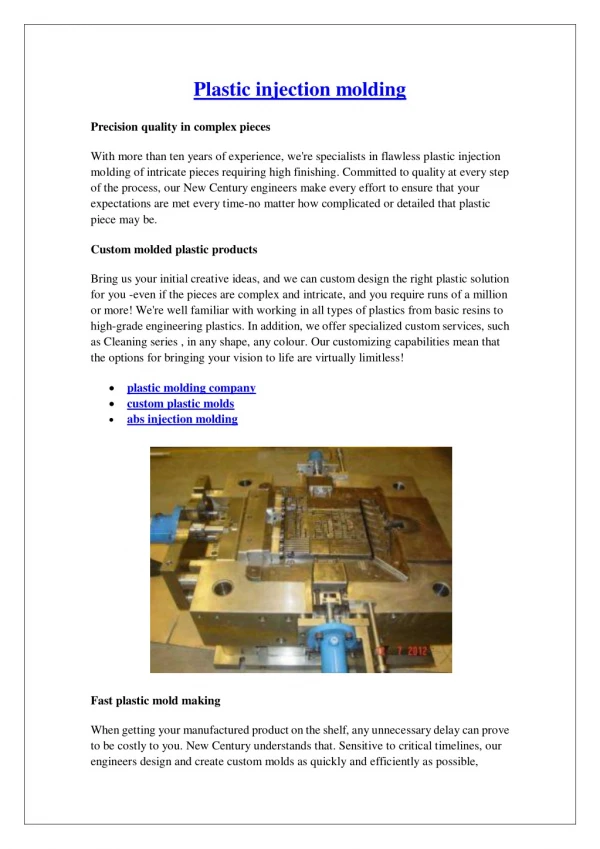
Tooling Tooling is the third step in the High Quality Injection Molding process. In this process, the injection molding tooling that will be utilized to make the product is created. The tooling needs to be made by the product's design needs. Also, the tooling needs to be able to endure the high pressures & temperatures involved in the injection molding process.
Molding Molding is done as the fourth step in the injection molding process. The heated plastic is injected into the mold during this process. High temperatures and pressures are used during the injection of the plastic, which helps to ensure the finest quality result. The automated injection molding technique allows for the proof to show several tasks in high amounts.
Finishing Finishing is the injection molding process's fifth step. Any necessary post-processing, such as painting, plating, or polishing, occurs at this step. This process gives the product a shiny finish & makes sure it sticks to the required design criteria. Also, the product's usability & durability are enhanced during the finishing process.
Contact us +1-760-598-2525 sales@nubsplastics.com 991 Park Center Dr, Vista, CA 92081, US www.nubsplasticsinc.com