Download
1 / 7
70 likes | 284 Views
The best enterprise mail server provides for effective, efficient and responsive multi-domain support, scalability and clustering, and administration and mail provisioning features.

E N D
How to Setup Your Own Mail Server This Presentation By MailEnable Pty Ltd 59 Murrumbeena Road Murrumbeena, 3163 Victoria, Australia Visit: http://www.mailenable.com Call Us On: +613 9569 0772
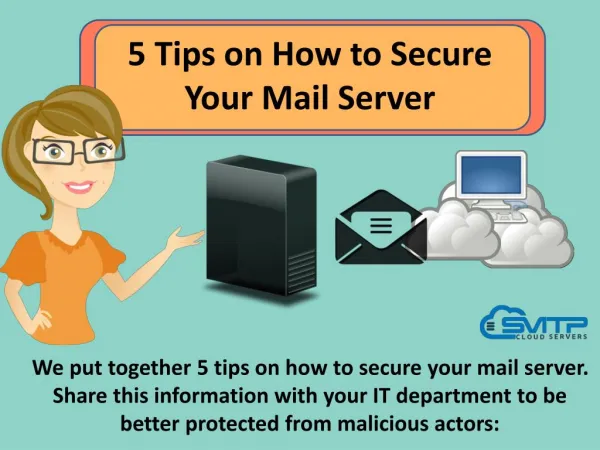
Why Enterprise Need Mail Server The best enterprise mail server provides for effective, efficient and responsive multi-domain support, scalability and clustering, and administration and mail provisioning features as well as mobile connectivity, open and modular construction, and affordable prices. But all of these desirable features in an email server will be for naught when its installation and configuration are too advanced for clients to undertake on their own, much less troubleshoot for minor issues. An effective professional email servershould be up and running within minutes via the use of installation wizards coupled with intuitive, easy to follow, and simple interface. Here are the basic steps in setting up your mail server such as MailEnable…………
Step #1 Installation Overview Be sure to secure administrative privileges from the mail server first so as to start the installation process. Be familiar with the data entry fields and control buttons (i.e., Next, Back and Cancel), which should be easy to do when you have experience installing computer applications like Adobe Photoshop on your desktop. Just follow the directions, enter the required information, and check your work for the installation to proceed smoothly. In most email servers, the process follows this path: (1) Welcome screen provides information about the installation and the copyright protection over the application. Press “Next” (2) Terms and conditions outline the provisions of the digital contract. Click “Yes” (3) Registration details require entry of your name and your company’s name. Click “Next”
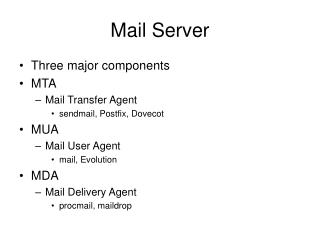
Step #2 Selection Overview The selection of components for the email server comes next. This step is necessary for the customisation of the server for your enterprise needs and wants with your choices being: * Core components are usually selected for first-time installation on the server since the base programs, functions and features are made here. * Administration service is for web administration. * Web mail service is obviously for the installation of web mail on the mail server. Regardless of the components chosen, you should check the sufficiency of disk space so that the selected components will operate as smoothly as expected. Click the “Next” button after choosing the desired components.
Other Optional Settings Other selections that must be made in mail server installation are: * Repository, which permits front-end servers the use of a common repository that, in turn, allows for scalability in the future. It can either be the default repository or it can be identified by clicking on the directory. * Program group refers to the installation of the icons and shortcuts on the Windows system. * Configuration repository location that, by default, is the TAB Delimited files structure on MailEnable, for example. Click the “Next” button after every selection is made on the mail server.
Step #3 Creation of Initial Post Office Overview Every distinct organisation hosted by the email server should have a post office with each one owning multiple domain names. The postmaster for the initial post office must be identified and then provided with administrative privileges and assigned a secure password. The next steps in the installation of the mail server usually involve the following: * Selection of location for the message store repository where all the email data will be stored. Keep in mind that future expansion will most likely be necessary so choosing a large amount of disk space early on is a must. * Configuration of the SMTP connector including the domain name, DNS host and SMTP port. The installation will then commence. You will be prompted, so to speak, a final time before the files are installed and the application is registered. You should click the “Next” button and the installation window will then display a progress window as the components of the email server are installed and configured according to your specifications. Other final steps in the installation of the mail server are still ahead – selection of webmail site, web administration site, and completion of the antivirus plug-in and HTTP mail notices, for example – but these should be easy. Just click on the “Finish” button and then wait for the automatic reboot, which usually happens after the initial installation and an upgrade.
MailEnable Pty Ltd 59 Murrumbeena Road Murrumbeena, 3163 Victoria, Australia Website: http://www.mailenable.com Call Us On: +613 9569 0772