Download
1 / 8
80 likes | 88 Views
Discover effective troubleshooting and DIY tips to repair your garbage disposal. Fix common issues and keep your kitchen running smoothly with step-by-step guidance and practical solutions.

E N D
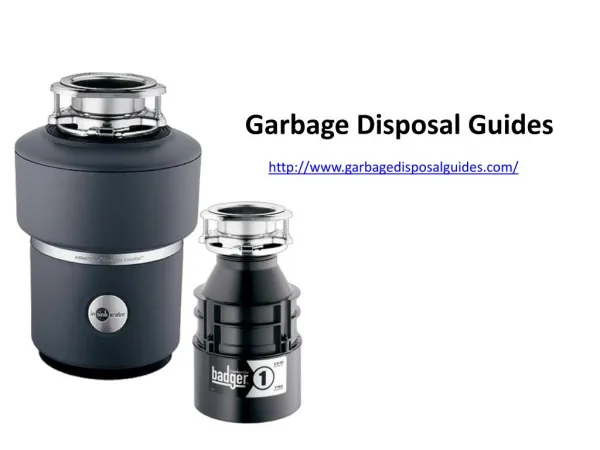
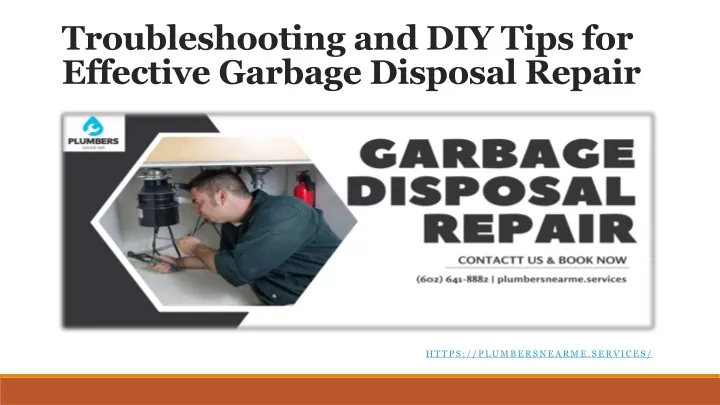
Troubleshooting and DIY Tips for Effective Garbage Disposal Repair https://plumbersnearme.services/
Introduction • A malfunctioning garbage disposal can disrupt your kitchen routine. In this guide, you’ll find valuable troubleshooting advice and DIY repair tips to get your disposal back in working order.
Troubleshooting Common Issues • Garbage Disposal Not Turning On Check Power Supply:Ensure the disposal is connected to power and the circuit breaker is on. Press Reset Button:Locate the reset button underneath the disposal and press it to reset the unit. Check Wall Switch:Confirm that the wall switch is functional and wired properly. Jammed Disposal Turn Off Power: Before attempting any repairs, disconnect power to the disposal. Use Hex Wrench: Insert an Allen wrench into the bottom of the disposal to manually turn the motor and free the jam. Rotate Impellers: Use a wooden dowel to rotate the impellers from above, further loosening the jam.
Leaking Disposal • Inspect Connections:Examine the connections for leaks; tighten if necessary. • Replace Gasket:A worn-out gasket can cause leaks; turn off power and replace it with a new one. • Tighten Mounting Bolts:Check and tighten the bolts securing the disposal unit to the mounting assembly.
DIY Repair Tips • Safety Precautions • Before attempting any repairs, unplug the disposal or turn off power at the circuit breaker. Never put your hand inside the disposal. • Resetting the Disposal • Press the reset button located at the bottom of the unit. This can help restore power and functionality after a minor malfunction.
Clearing Jams • Insert an Allen wrench into the hole at the bottom of the disposal. Turn it back and forth to dislodge the jamming object. Rotate the impellers from above to further loosen the jam. • Addressing Leaks • Inspect the connections for water leaks. Tighten any loose connections. If a gasket is damaged, replace it by detaching the disposal and installing a new gasket.
Maintenance to Prevent Future Issues • Run cold water while using the disposal to prevent clogs. • Regularly grind ice cubes to clean the blades and remove debris. • Avoid disposing of hard items like bones and fibrous foods like celery. • Clean the disposal with a mixture of baking soda and vinegar to control odors.
By following these troubleshooting and DIY repair tips, you can effectively address common garbage disposal repair on your own. Remember to prioritize safety and proper maintenance for a smoothly functioning disposal in your kitchen. • Phone: (602) 641-8882 • E-mail: info@plumbersnearme.services