Download
1 / 3
30 likes | 56 Views
RFID4U - TagMatiks Asset Tracking Lite | This article explains how to add , edit and delete the employee details like name, emp num, mail id used for transaction process during checkout

E N D
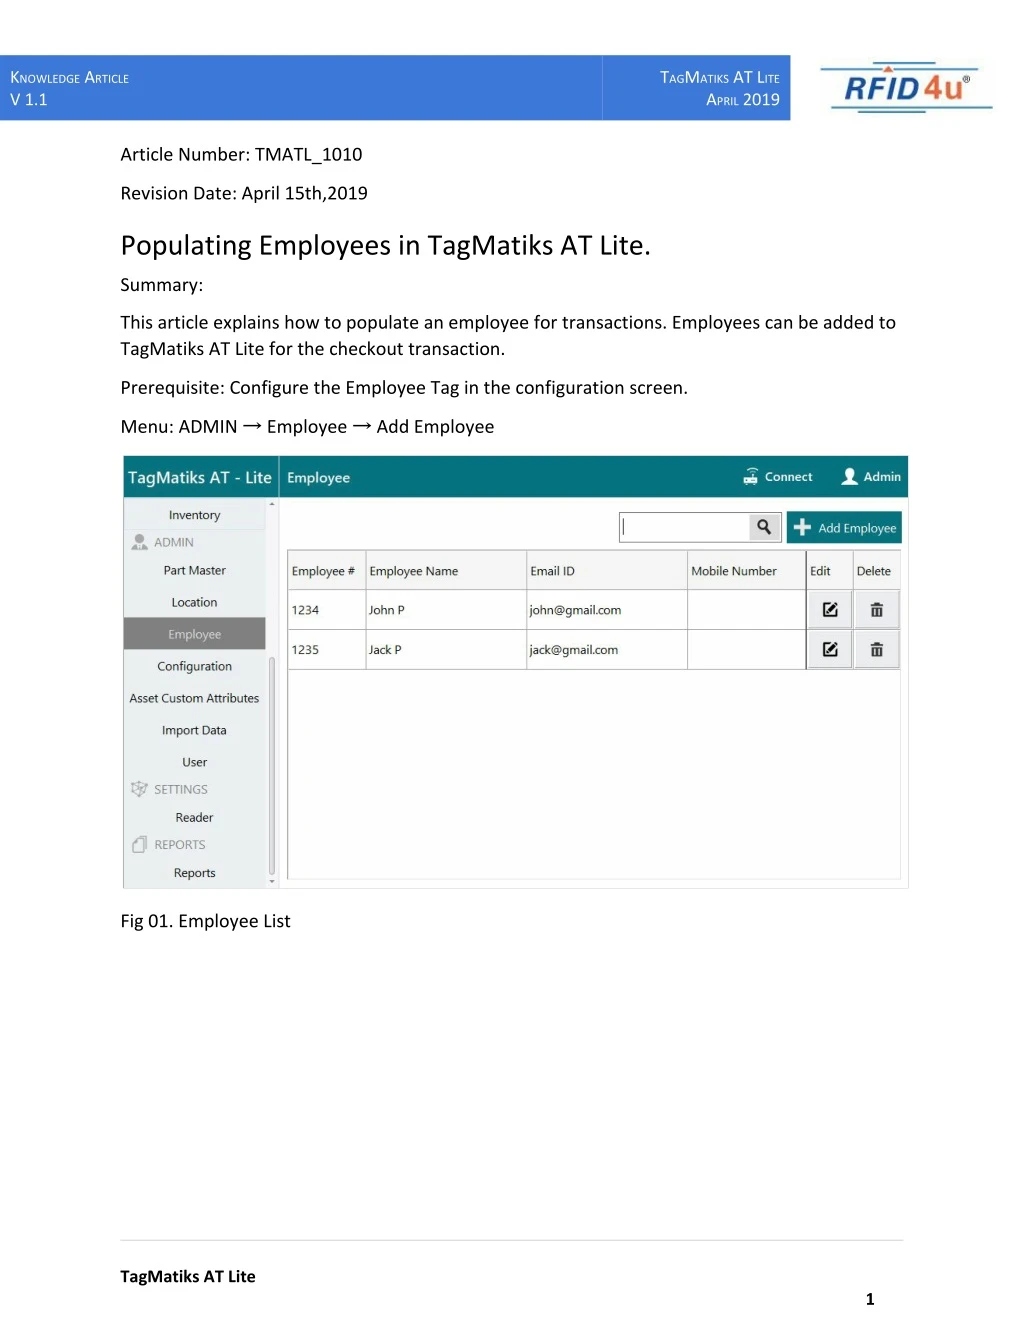
KNOWLEDGE ARTICLE V 1.1 TAGMATIKS AT LITE APRIL 2019 Article Number: TMATL_1010 Revision Date: April 15th,2019 Populating Employees in TagMatiks AT Lite. Summary: This article explains how to populate an employee for transactions. Employees can be added to TagMatiks AT Lite for the checkout transaction. Prerequisite: Configure the Employee Tag in the configuration screen. Menu: ADMIN → Employee → Add Employee Fig 01. Employee List TagMatiks AT Lite 1
KNOWLEDGE ARTICLE V 1.1 TAGMATIKS AT LITE APRIL 2019 By clicking the Add Employee button, the screen navigates to below screen Fig 02 Fig 02. Creation of Employee. Using the Add Employee option, user can add the employee. This can also be done using the import tool. The user has an option to edit/delete the employee by clicking the appropriate icon in the employee list page and perform the action. Step 1: Enter Employee #: Step 2: Enter Employee Name To create New Employee click on ‘+” Add Employee and it is navigated to a new screen for the adding employee number which is mandatory. Next, Employee name which consists of a first name and last name which is also mandatory. Mobile number is optional TagMatiks AT Lite 2
KNOWLEDGE ARTICLE V 1.1 TAGMATIKS AT LITE APRIL 2019 Employee Image: It is optional to add the photograph for the employee by clicking the upload button and choose the photo and photo will be uploaded on the page. From existing Jpeg file can be directly uploaded From Webcam also photo can be taken. To Zoom the Photo Uploaded in application To Delete the photo Uploaded. Tag ID: Tag can be mapped to an employee when creating new employee Master. Encode Tag is used to writing Data to tag with the help of this option. While encoding the Tag, RFID Readers should be Connected. Fig 03: Assign/Create Tag. After entering all mandatory fields, the user can click the ‘Save’ button to create the new employee details and that will be displayed in the list page. NOTE: Employees are used to check out assets using the Checkout module. TagMatiks AT Lite 3