Download
1 / 2
20 likes | 27 Views
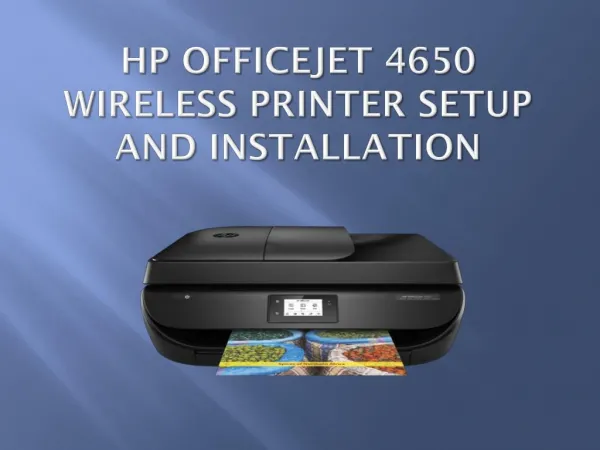
Need help setting up your OfficeJet printer? Follow our step-by-step guide and get your printer up and running in no time! <br>

E N D
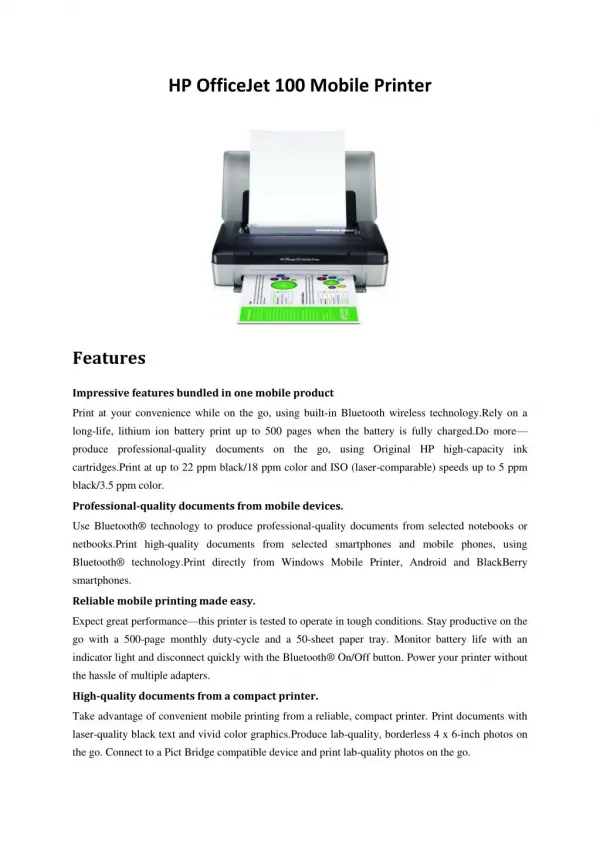
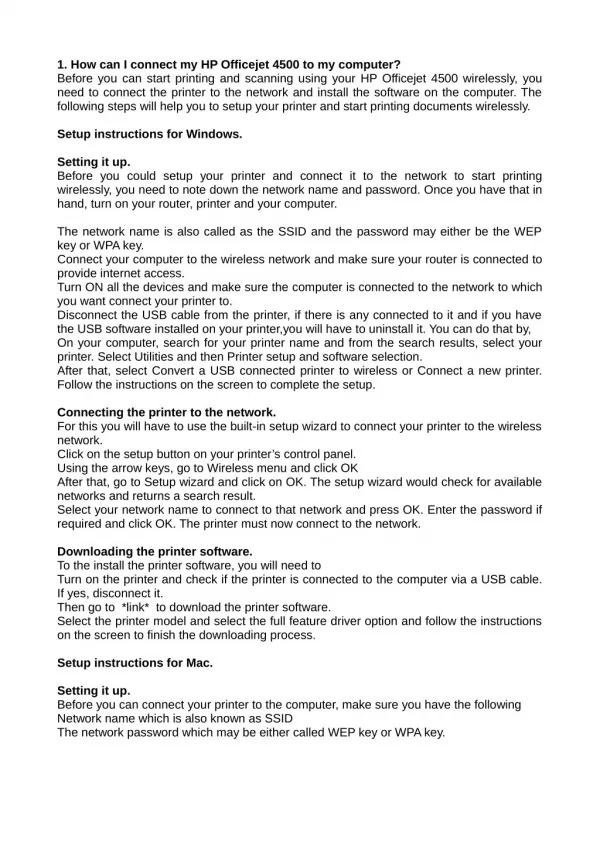
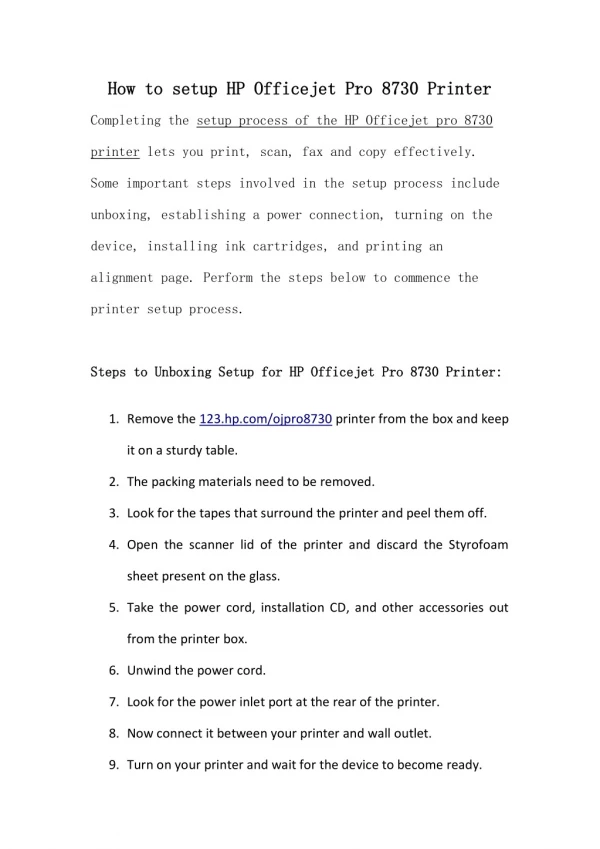
Title: The Ultimate Guide to Setting Up Officejet Printers for Optimal Performance Summary : Officejet printers are a popular choice for many businesses and individuals alike. They offer a range of features and capabilities that make them an excellent option for printing, scanning, and copying documents. However, setting up an Officejet printer can be challenging for those who are not familiar with the process. In this article, we will provide you with a step-by-step guide on how to set up your Officejet printer for optimal performance. Body : Step 1: Unpack and Assemble Your Printer The first step in setting up your Officejet printer is to unpack and assemble it. Start by removing all the items from the packaging and organizing them. The packaging will typically include the printer, power cord, ink cartridges, user manual, and software CD. Assemble the printer by following the instructions in the user manual. Make sure to connect the power cord and turn on the printer. Step 2: Install the Ink Cartridges Once you have assembled your printer, the next step is to install the ink cartridges. Open the ink cartridge access door and wait for the ink carriage to move to the center of the printer. Remove the plastic tape from the cartridges and insert them into the appropriate slots. Make sure to push the cartridges firmly until they click into place. Step 3: Connect Your Printer to Your Network To connect your printer to your network, you will need to use either a USB cable or Wi-Fi. If you are using a USB cable, simply connect one end of the cable to your printer and the other end to your computer. If you are using Wi-Fi, you will need to configure your printer's network settings. Follow the instructions in the user manual to connect your printer to your Wi-Fi network. Step 4: Install the Printer Software The next step is to install the printer software on your computer. Insert the software CD into your computer and follow the instructions to install the printer software. If your computer does not have a CD drive, you can download the software from the manufacturer's website.
Step 5: Test Your Printer Once you have installed the printer software, the final step is to test your printer. Print a test page to ensure that your printer is working correctly. If the test page prints correctly, your printer is ready to use. In conclusion, setting up your Officejet printer can seem daunting, but following these simple steps will help you get it up and running in no time. Make sure to assemble your printer correctly, install the ink cartridges, connect it to your network, install the printer software, and test it to ensure that it is working correctly.For more information visit https://www.officejetprinters.com/ call now tel:+1(800)6738163