Download
1 / 31
310 likes | 310 Views
Adding stamps on photos has become a new fashion for Photographers.Time stamps create a good memory association with photos. Timestamp camera Application gives you different stamps - Time and Date stamps, Logo stamps, GPS Location Stamps, Signature text Stamps to get added on photos. Application also provides a camera to click pictures by using Timestamp camera Application.<br><br>Download the application Today

E N D
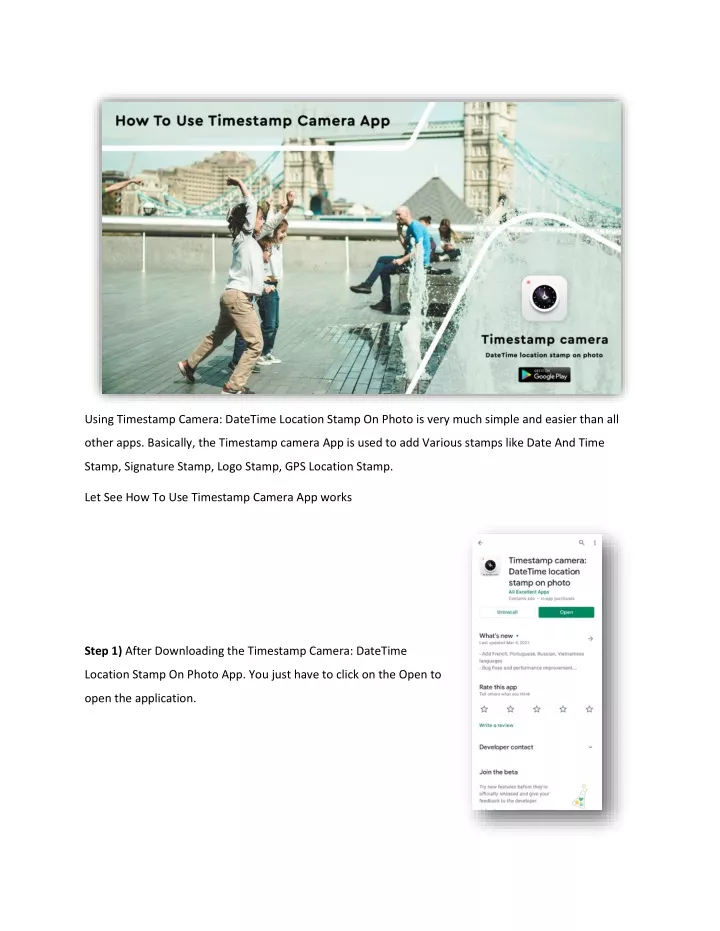
Using Timestamp Camera: DateTime Location Stamp On Photo is very much simple and easier than all other apps. Basically, the Timestamp camera App is used to add Various stamps like Date And Time Stamp, Signature Stamp, Logo Stamp, GPS Location Stamp. Let See How To Use Timestamp Camera App works Step 1) After Downloading the Timestamp Camera: DateTime Location Stamp On Photo App. You just have to click on the Open to open the application.
Step 2) After opening the application you can see the options to choose the language as per your requirements from the given choices After selecting the language you will be navigated to the main screen of the timestamp camera application.
You can even record or capture the videos by adding all the various stamps that are being provided by this application. As a video recording option is also given in this application. Step 3) By clicking the menu [☰ ☰] option you will be able to see the various options of adding the various stamps that can be added on your captured video or images.
1)Date And Time Stamp Step 4) Click on the Date & Time Stamp option for adding or customizing the current date & time as a stamp on the images or videos that you are going to capture using this application. After Clicking on the Date & Time Stamp Option you can see various editing options for adding Date & Time as a stamp on your images and videos.
Step 5) By Clicking on the Date & Time Stamp toggle button you can either enable or disable the date & time stamp feature. Step 6) Click on the Date & Time Format option to select any of the formats from the given various formats of Date & Timestamp.
Various Date And Timestamp formats are shown in the images from where you can select any one of them. Step 7) Click on the Stamp size option to select any of the sizes for applying on Date & Timestamp.
You can select any text size for date and timestamp which is going to be added to the image or video captured by you. Step 8) Click on the Stamp Style option to select any of the styles for applying on Date & Timestamp.
These are the various Stamp Styles that are available in the application that can be applied to the date and time stamps that are going to be displayed on the images or videos you captured. Step 9) You can even change the Background for the Date and Time stamp by clicking on the Stamp Background Color feature.
By using this feature you can select any of the Stamp Background Color from the given options, Also you can even set the transparency for those Stamp Background Color. Step 10) You can even Set the stamp color as per your requirements by clicking on the Stamp Color feature.
By using this feature you can select any of the colors for the date and time stamp text as per your requirements or whichever is suitable for you. Step 11) There is also an option for selecting the position of the stamp as per your requirements by just clicking on the Stamp Position option.
There are a total of 10 positions available where one can set the stamp position as per their requirements. 2)Signature Stamp Step 12) Click on the Signature Stamp option for adding or customizing your signature or special text as a stamp on the images or videos that you are going to capture using this application.
Step 13) You can even enable or disable signature stamp by just clicking on Signature Stamp Option and can enable or disable using the toggle button. Step 14) By clicking on the signature stamp one can easily change or edit the signature entered.
One can easily write or change the specific text or signature using this text field provided by the application. Step 15) By clicking on Stamp size one can easily set the size specifically for the signature stamp.
There are various stamp sizes are available one can select any one of the stamp sizes from them as per their requirements. Step 16) By clicking on the Stamp Style option one can easily select any style for the signature stamp.
These are the various stamp style options from which one can select any one of the styles as per their requirements. Step 17) By using the Stamp Background Color option one can easily change the background color for the signature stamp.
By using this feature you can select any of the Stamp Background Color from the given options, Also you can even set the transparency for those Stamp Background Color of the signature stamp. Step 18) You can even Set the stamp color for the signature stamp as per your requirements by clicking on the Stamp Color feature.
By using this feature you can select any of the colors for the signature stamp text as per your requirements or whichever color is suitable for you. Step 19) There is also an option for selecting the position of the signature stamp as per your requirements by just clicking on the Stamp Position option.
There are a total of 10 positions available where one can set the signature stamp position as per their requirements. 3)Logo Stamp Step 20) Click on the Logo Stamp option for adding or customizing your Logo as a stamp on the images or videos that you are going to capture using this application.
Step 21) You can even enable or disable the Logo stamp by just clicking on Logo Stamp Option and can enable or disable using the toggle button. Step 22) By clicking on the Logo stamp one can easily add or change the Logo.
By clicking on the Upload or Change Logo one can add a new logo as a stamp or can replace the logo with the old one. Step 23) On clicking the logo transparency option one can easily set the transparency for the logo uploaded as a stamp.
By using the logo transparency option one can set the transparency of the logo from 5-100% as required by the user. Step 24) By clicking on Logo size one can easily set the size of logo upload by the user for logo stamp.
There are various stamp sizes from 5-100% are available one can set any one of the stamp sizes from them as per their requirements. Step 25) There is also an option for selecting the position of the Logo stamp as per your requirements by just clicking on the Stamp Position option.
There are a total of 10 positions available where one can set the Logo stamp position as per their requirements. 4)Location Stamp Step 26) Click on the Location Stamp option for adding or customizing your Location as a stamp on the images or videos that you are going to capture using this application.
Step 27) You can even enable or disable the Location stamp by just clicking on the Location Stamp Option and can enable or disable using the toggle button. Step 28) By clicking on the Location stamp one can add a variation of the location stamp to be added on the images or videos captured by you as a stamp. Those variations ate 1)Latitude Location 2)Current Location 3)Custom Location
Using the Location stamp feature one can add location in latitude & longitude format, either stamp can be displayed by area, city, state, and country name by using current location formats, or it can be either custom location i.e. whichever location user wants to add. Step 29) By clicking on stamp size one can easily set the size of the location stamp.
There are various stamp sizes are available for location stamps, one can select any one of the stamp sizes from them as per their requirements. Step 30) By clicking on the Stamp Style option one can easily select any style for the Location stamp.
These are the various stamp style options available for the location stamp from which one can select any one of the styles as per their requirements. Step 31) ) By using the Stamp Background Color option one can easily change the background color for the Location stamp.
By using this feature you can select any of the Stamp Background Color from the given options, Also you can even set the transparency for those Stamp Background Color of the Location stamp. Step 32) You can even Set the stamp color for the Location stamp as per your requirements by clicking on the Stamp Color feature.
By using this feature you can select any of the colors for the GPS Location stamp text as per your requirements or whichever color is suitable for you. Step 33) There is also an option for selecting the position of the Location stamp as per your requirements by just clicking on the Stamp Position option.
There are a total of 10 positions available where one can set the Location stamp position as per their requirements. Finally, you will get all selected stamps on your photos while you capture any images from Timestamp Camera: DateTime Location Stamp On Photo application And for each stamp, you can set and edit the styles, formats, sizes, and even positions of your selected stamps.
