Download
1 / 17
170 likes | 300 Views
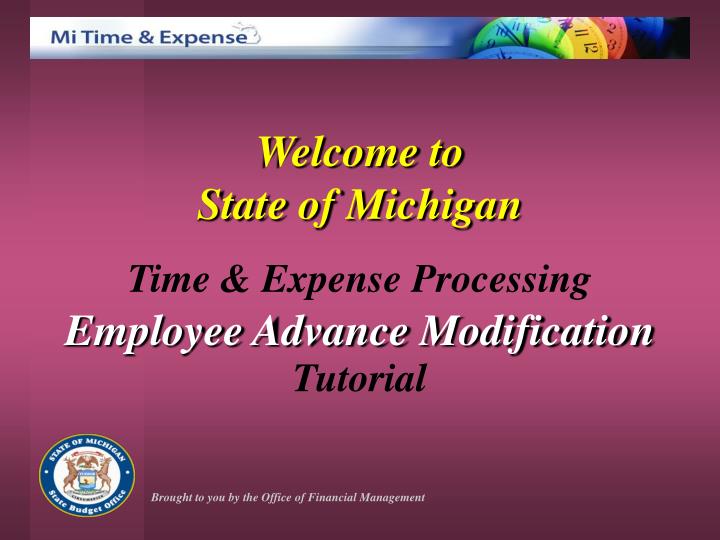
Welcome to State of Michigan Time & Expense Processing Employee Advance Modification Tutorial. Brought to you by the Office of Financial Management. Advance Modification.

E N D
Welcome to State of Michigan Time & Expense Processing Employee Advance Modification Tutorial Brought to you by the Office of Financial Management
Advance Modification This tutorial will illustrate the web process that will allow users to modify advances that have been submitted, but have not been approved by the first level approver. A modification will create a new version for the existing advance.
Reasons you may need to modify a • submitted advance include changing the: • Advance amount • Travel dates • Destination • Travel purpose • Coding Block Employee Advance Modification
Employee Advance Modification Scenario The day after Orene Searing submitted her advance to attend a conference in Gaylord, she learned that she will need to stay another day. She now needs to modify her advance to increase the amount to $300 and change the Advance To date to 3/26/2010.
Home Page After log-in, the application will display the Home Page. Mouse over‘Employee’ then click ‘Advances’.This will access the Advance List screen.
Advance List Screen Select the Advance ID to be modified. This will access the Advance screen. Notice the Last Action status is SUBM. This advance can be modified.
Modify Advance - Advance Tab Note: The Advance tab screen is displayed in “read only” mode. Click ‘Modify’.
Modify Advance - Advance Tab Continued Note: All fields are activated and can now be changed. For the Amount, enter the new total amount of the expected expenses. 300 200.00 For the Advance To, enter the new date. 03/26/2010 03/25/2010 Click ‘Submit’. A box for ‘Comments’ will appear. Note: Make sure you check the Errors section at the bottom of the screen after clicking ‘Submit’.
Modify Advance - Advance Tab Continued Enter an appropriate reason for the modification in the Comments box. Then click ‘OK’. Need to stay another day.
Modify Advance - Advance Tab Continued Note: The fields are grayed out and the ‘Modify’ button is activated again. The Version changed to 1. The message shows ‘Submit Successful’. Submit Successful Note: The user can navigate between different versions of the advance record using the scroll arrows.
Approval Process Once the Advance modification has been submitted, it will enter the approval path appropriate for your agency and the Action code will still be SUBM. An email may be sent to the first level approver to inform them of the needed action. As long as the advance is in SUBM status it can be modified again by the initiator or the first level approver. As it goes through the approval process new Action codes will be added until it has been completely approved. To view the Action code and history of the Advance modification click the History tab.
Modify Advance - History Tab Click ‘Previous Page’ to access the Advance List screen. Note: Status: The approvers will be listed in the order that the advance will need to be approved before the advance will process. Version shows the number of times the advance request was modified after being submitted the first time. Action Code shows the action that was done. Click title for a list of values. Comments will show additional information about the action. Action Taken By is the userid that performed the listed action. Action Date is the date and time the listed action was done.
Advance List Screen The Amount Outstanding will change to $300 after the advance is fully approved. The changes that were made now show. The new Advance To date, Amount Requested and Revision Number. The modified advance now displays on the ‘Advance List Page’ with the same Advance ID. Last Action willalso list appropriate Action Codes.
History Tab - Payroll Cycle Processing Inquiry The History tab looks like this after the advance modification has been fully processed by HRMN. Note: Status: “Processed” indicates that the advance has been completely approved and processed.
Earnings Statement Note: After the advance modification is fully approved it will be processed in the next payroll cycle and added to the earnings statement, as shown in this example.
Where To Get Help Users with questions or needing help should call the OFM Help Desk at: 517-373-6222 1-800-856-6246 (not local) At the welcome message press “8” then press “3” for HRMN Payroll/DCDS. We would like to hear from you! Please click the button to provide your comments or suggestions about this tutorial.
You are now ready to select your next tutorial…