Download
1 / 39
390 likes | 489 Views
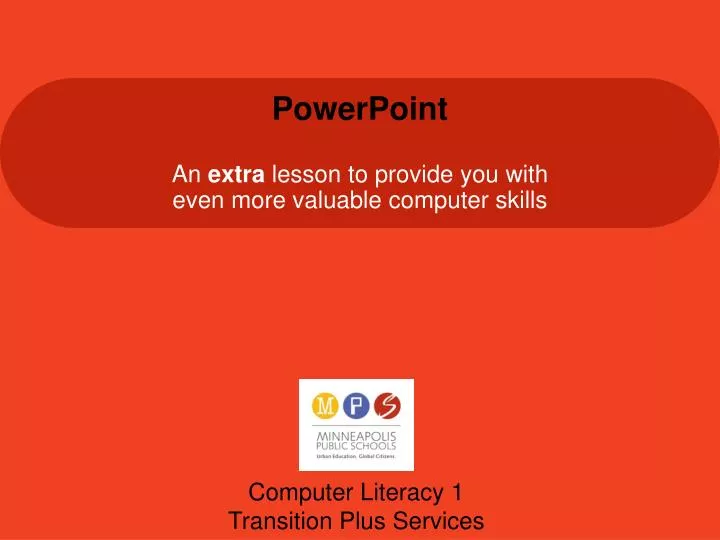
PowerPoint An extra lesson to provide you with even more valuable computer skills. Computer Literacy 1 Transition Plus Services. Objectives. Identify parts of the PowerPoint screen and navigate through a presentation. Change the slide view and magnification.

E N D
PowerPointAn extra lesson to provide you witheven more valuable computer skills Computer Literacy 1 Transition Plus Services
Objectives • Identify partsof the PowerPoint screen and navigatethrough a presentation. • Change the slide view and magnification. • Manageslides by adding, deleting, duplicating, and reordering them. • Createa new presentation with effective planning.
Objectives • Apply a themefor consistent formatting and styles. • Editslide content by moving text and modifying placeholders. • Work with a slidemasterto add universal elements for all slides in the presentation. • Previewa presentation using Slide Show view. • Add graphics, slide transitions, animations and audio/video
Introduction PowerPoint lets you create, edit and manipulate slidesfor meetings, classrooms and sharing information. Communication skills enhance success in the classroom and on the job.
Introduction In PowerPoint, the document file is called a presentation. Presentations can include graphics, pictures, and audio and video clips.
When you first launch PowerPoint, a new blankpresentation file opens. Parts of the PowerPoint Screen
The presentation window has familiar parts. Parts of the PowerPoint Screen Slides tab Outlinetab Slidepane (where the slide content is) Zoomcontrols Notespane
Navigating Through a Presentation Use the Outline tab to move to a different slide Vertical scrollbar Click a slidethumbnail to move to a different slide As you drag the scroll box, a ScreenTipshows the title and number of the slide. Previous Slide button Next Slide button Slidenumber
1. Normal viewis the default view. Changing the Slide View 5 ways to view your presentation
2. Slide Sorter view gives you an overall picture of your presentation. Slide Sorter view makes it easy to add and delete multiple slides and copy and move slides. Changing the Slide View 5 ways to view your presentation
3. Notes Page view lets you edit your notes and see how the notes will appear when printed. Changing the Slide View 5 ways to view your presentation
4. Slide Show is used to present to your audience. Changing the Slide View 5 ways to view your presentation
5. Slide Master view is used to make universal changes on all the slides in a presentation (such as adding a footer). Changing the Slide View 5 ways to view your presentation
To rearrangethe order of slides, drag-and-drop or use the Cut and Pastecommands. To insert a new slide, click the New Slide button. Managing Slides When you use Cut or Copy commands, content is stored on the clipboard. You can paste clipboard items as many times as you want.
You can create a blank presentation and apply preformattedcolors, styles, and layouts called themes. Each theme has a unique color scheme, fonts and effects. Creating a New Presentation
Slide layout refers to the arrangement of a slide Creating a New Presentation Dottedbordersin the slide pane identify placeholderswhere you can insert text and graphics on the slide
PowerPoint provides several presentation templateswhich already contain formatted content. You can modifya presentation template for your needs Creating a New Presentation Advance to the next slide for tipson creating a PowerPoint presentation
Keep in mind two basic principles: A presentation that is too busycan detract from the message you are trying to send Design features should emphasizeyour content, notoverwhelmit Creating a New Presentation
Creating a New Presentation Keep your design simple. Use bulletsto list information that does not need to be in any particular order. Use numbered lists for information that needs to be in order. Wake up Shower Get dressed Go to school • Apples • Pears • Rutabaga • Oreos
Apply a themeto your presentation, which specifies a unique color scheme, fonts, and effects. If you like a theme, but you don’t like the colors, you can change the color scheme of the theme. To apply a theme, the presentation must be in normalview. Applying a Theme
A slide master is the main slide that stores information about the theme and layouts of the presentation. The slide master ensures consistencyon each slide. Working with Slide Masters
You should create the slide master beforeyou create a new presentation. When you update one or more of the elements, such as the company logo, you can make a universalchange (the edits will be reflected on all the slides in the presentation). Working with Slide Masters
Viewyour slide show using the Slide Show tab. Advance to the next slide by clicking the left mouse button or the spacebar. Viewing a Presentation
When your cursor is moved to the lower-left corner, four buttons appear. With the Pen, you can add annotations. Press escapeto stop the slideshow. Viewing a Presentation
Graphics Graphicshelp you convey your message. Graphics options can be found on the Inserttab. Graphics include: shapes clip art photographsWordArt SmartArt graphics tables charts Hello
Graphics To insert clip artand photographs, use the Clip Art task pane in the Inserttab. Content placeholders in slide layouts make it easy to add graphics. When you insert a graphic in a placeholder, it replacesthe placeholder. Hint: Avoid clutter. Use graphics only to illustrate relevantpoints.
Graphics When you select a graphic, eight small squares and circles called sizinghandlesappear on its border. Click on the picture below to see the sizing handles.
Graphics When a graphic is selected, you can cut, copy, paste, delete, move, or resizeit. To resize the graphic proportionally, drag a corner sizing handle. Play with the sizing handles on the graphic below!
Graphics Fun with WordArt(decorative text) Hello! Hola! Bonjour! Ni hao! Guten tag! salaam aleikum! Aloha!
Graphics Note: When you choose a shape tool, the mouse pointer changes to a cross hair that you can use to draw the shape. Fun with shapes Hello!
Graphics Fun with SmartArt Note: SmartArt graphics allow you to convert text (including existing lists) to a professional-looking visual.
Graphics Add tablesand simple chartsto illustrate numerical data. Note: You can copy and paste a table from a Word document. When creating a chart, an Excel worksheet opens with sample data that you must replace with your own.
Creating Hyperlinks To insert a hyperlink, you must be working within a text box. Then, click the Hyperlinkbutton in the Inserttab. Did you know you can create a hyperlink from either text or a graphicobject? You can create hyperlinksto: • Slides within the same presentation • Slides within another presentation • An e-mail address • A Web page • Another file.
Slide Transitions Slide transitionsdetermine how a slide is introduced as you move from one slide to another in Slide Show view. Transition options are located on the Transitions tab.
Animations Animationsare special effects you add to text or an object. Animation options are located on the Animationstab. PowerPoint provides several animation effects for texts and objects. See these options on the next slide!
Animations entrance effects Entrance effects control how an object enters a slide Emphasis effects draw attention to an object already on the slide Exit effects control how an object leaves a slide Trigger effects start a sound effect or animation segment Motion path effects enable you to create a path for an object to follow on a slide emphasiseffects exit effects Trigger effects motion path effects
Animations You can removean animation from an object completely using the Remove command at the top of the Custom Animation task pane, or you can modifyan animation effect using the Change command. To previewan animation, click the Play button.
Audio and Video Clips You can use soundand videoto add emphasis or set the mood for the audience. Adding audio and video clips is similar to adding graphics. Sound files that are under 100 kilobytes are embedded (shown on the slide itself). For sound files larger than 100 kilobytes and all videos, you can create a link to the file.
Audio and Video Clips You can insert soundsusing the Audio button in the on the Insert tab. Sound clips are available in the Clip Art task pane. You can also record your own audio or upload an existing sound media file.