Download
1 / 10
100 likes | 108 Views
Anna Aspnes Designs, providing the most unique digital artistry resources to elevate your photos and celebrate your life.

E N D
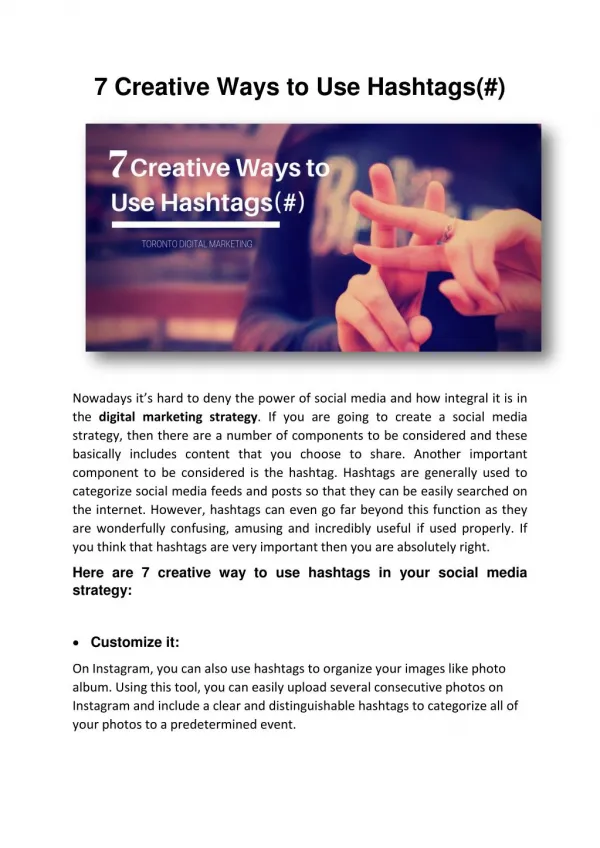
1. Display Multiple ImageUSE THE FRAMES TO SHOWCASE PHOTOS AND MEMORABILIA IN YOUR ARTSY DIGITAL SCRAPBOOKING LAYOUT DESIGNS.Clip a photo to the mask layer of a ‘Corner Slit Frame‘ by placing the image over the mask layer in the Layers Panel.Then go to Layer> Create Clipping Mask.You can also ‘tuck’ memorabilia such as digital elements and scanned ephemera into the digital ‘Corner Slits’ for an easy display.Apply a Layer Mask to the element and use a Hard Round Brushwith the Paint Brush Tool where the image overlaps the ‘Corner Slits’ to conceal for realistic effect.
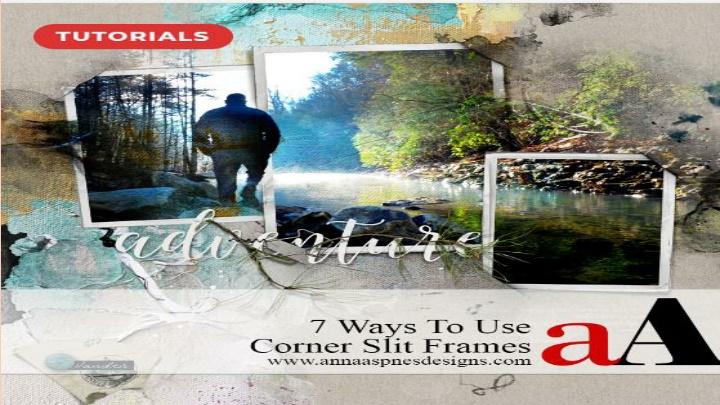
2. Create a Photo CollageOVERLAP AND ARRANGE MULTIPLE CORNER SLIT FRAMES TO CREATE A PHOTO COLLAGE FOUNDATION IN YOUR DIGITAL SCRAPBOOKING PAGE.Place 2 or more frames on your layout design.Vary the ROTATION of each frame to up-level the visual interest.This approach is great for quickly and easily adding LOTS of photo captures to your photo artistry layouts.
3. Incorporate FotoBlendz • BLEND A PHOTO ACROSS MULTIPLE FRAMES TO ELEVATE VISUAL INTEREST IN YOUR ARTSY DIGITAL SCRAPBOOKING. • Arrange 2 or more ‘Corner Slit Frame’ elements on your artsy layout foundation. • Select and place the photo of choice to the edges span ALL the masks in the frames. • Clip the photo to the first mask, duplicate and then move the ‘copy’ layer on top of the next mask in the Layers Panel. • Repeat the Layer> Create Clipping Mask process until all mask layers have been filled. • See this Photo Extension Template Tutorial for further guidance. • Place a FotoBlendz clipping mask on top of the ‘Corner Slit Frame’ elements. • Clip a photo to the FotoBlendz mask layer to create a dramatic focal point in your photo artistry.
4. Use as Page Corners • FRAME A LAYOUT DESIGN ON A SOLID PAPER BACKGROUND USING THE CORNER SLITS. • Add dimension to a framed layout using the ‘Corner Slit’ elements from the Frames. • This technique provides the appearance that the corners of your digital scrapbooking layout have been tucked into slits in a digital Solid Background Paper. • Place your layout on a Solid Background and resize to about 10 inches or as preferred size. • Open the .png format version of the files of the ‘Corner Slit’ layers. • Rotate and position the corner slits around and over the corners of your photo artistry page design. • Apply a Layer Mask to your layout layer and use a Hard Round Brush with the Paint Brush Tool to remove the area of the layout that extends beyond the ‘Corner Slit.’
5. Hold Labeled Words • MODIFY TO THE CORNER SLITS FOR TITLE OR JOURNALING STRIPS. • Duplicate, rotate, resize and reposition the ‘Corner Slit’ layers to create a dimensional place holder fortitle or journaling strips. • This image shows the .psd version of Corner Slit Frames 2_4 file with ONLY the ‘Corner Slit’ layers visible in the Layers Panel. • Turn off the visibility of a layer by clicking on the ‘eye’ icon to the left of each thumbnail. • Drag the ‘Corner Slit’ layers to the New Layer icon in the Layers Panel. • You can also use the ‘Short Cut’ by pressing the CTRL/CMD + J buttons on your keyboard. • Use the Move Tool from the Tools Panel to reposition the layers. • Use the Transform Controls to rotate the layers as preferred. • Use a Layer Mask and the Brush to remove the parts of the elements that extend beyond the ‘Corner Slits.’
6. Adhere Element Clusters • USE THE ‘CORNER SLITS’ TO TUCK ELEMENTS IN A CLUSTER INTO YOUR LAYOUT DESIGN. • Repeats step from #5.
7. Create Decorative WeavingWEAVE STRINGS AND RIBBONS IN AND OUT OF YOUR DIGITAL SCRAPBOOKING LAYOUT FOUNDATION.Modify the ‘Corner Slit’ layers of the frame as outlined in previous steps.Position them over ribbon and string elements to create the impression of a woven effect.Layer the elements over the ‘Corner Slit’ elements and use a Layer Mask and the Brush to adjust as needed.
About Us Anna Aspnes Designs, providing the most unique digital artistry resources to elevate your photos and celebrate . I design digital products and classes so that you can tell stories by blending YOUR photos with MY digital artistry. With over 17 years of experience in visual storytelling, aADigitalART and education provide you with everything you need to create effortless and dynamic digital scrapbooking and photo artistry pages, regardless of whether you are motivated by photos from past generations or present day.o
Contact Us- Website:- https://www.annaaspnesdesigns.com/ Phone No. - (720) 750 7828 03 02