Download
1 / 3
30 likes | 41 Views
No laboratory owner can disregard the need to organize his laboratory freezer. A proper organization leads to efficiency in laboratory functioning.

E N D
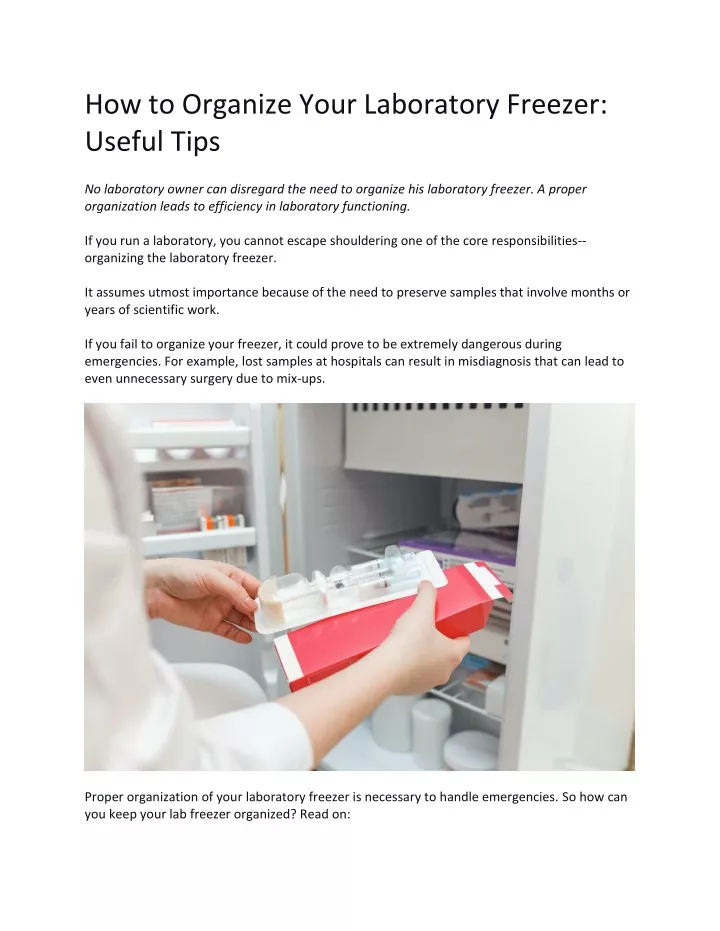
How to Organize Your Laboratory Freezer: Useful Tips No laboratory owner can disregard the need to organize his laboratory freezer. A proper organization leads to efficiency in laboratory functioning. If you run a laboratory, you cannot escape shouldering one of the core responsibilities-- organizing the laboratory freezer. It assumes utmost importance because of the need to preserve samples that involve months or years of scientific work. If you fail to organize your freezer, it could prove to be extremely dangerous during emergencies. For example, lost samples at hospitals can result in misdiagnosis that can lead to even unnecessary surgery due to mix-ups. Proper organization of your laboratory freezer is necessary to handle emergencies. So how can you keep your lab freezer organized? Read on:
Proper Labeling You can regard every unlabeled sample as a lost sample. So, ensure that your staff labels every sample that goes into the freezer. Although there is no universal style of labeling samples, you can decide that on your own. What is essential is that properly labeled specimens lower the risk of loss or damage to samples, contamination, and wrong treatment. Moreover, labels show the integrity of your laboratory and also fosters an organized working environment. When your staff labels the samples, ensure they include at least the following information: ●Researcher's name or initials ●Notebook's code ●Sample preparation date ●Sample identification, like its chemical structure, identification number, or sample name ●Solvents or substrates, if the sample is in or on While labeling, you should take some precautions, such as not writing on the sample container with a wax pencil marker. Use an adhesive label with non-bleed ink or print the information on a sticky label with a computer printer. If your staff writes labels by hand, then make sure that their handwriting is legible. It will help everyone in the lab. Moreover, protect the label using clear tape, and the label should be of the right size. Ensure your staff's adhesive to fix labels is appropriate and approved for use in extremely cold temperatures. Using a Notebook It is advisable to use a laboratory notebook where you should write the codes to identify the label's contents and sample storing sections in the freezer. You can also include a summary of each experiment that involves stored samples, including the number of samples, the researcher's name, and the sample location. Using Containers One of the best ways of organizing your laboratory is to choose the right container for storage. Here are some considerations on the type of container you need include: ●If the contents are volatile, use a container that is tightly sealed. It will help avoid the risk of spillage that can damage other samples or cause injury to your staff. It will also help if you use inert containers and caps.
●Use an amber vial or tin foil wrapping with a label outside of the foil for light-sensitive contents. ●Take into account how long you will store the sample. For the short-term, you can use disposable plastic containers. But for samples that will be stored for the long-term, you can consider using Pyrex containers. It is also good to go for boxes with dividers as a long-term solution for storing vials in an organized fashion. It restricts them from becoming lost under layers of permafrost. Storing Samples on Shelves The right way of organizing your laboratory freezer is to arrange samples on shelves. Allocate particular shelves to specific sample types. Alternatively, you can allow each researcher to use a designated space on the allotted shelf. It will be a good practice to maintain a laboratory notebook that will store all information shelf- wise that will be helpful in the event of questions arising about lost samples. Another advantage of arranging samples on shelves is that researchers can save time locating their samples to know which shelf hosts their samples. It will also lower the risk of lost samples. The storing method also has another benefit. It helps in allowing the free-flow of air within the unit. Proper airflow extends the lifespan of laboratory freezers, which allows you to save money in the long run. Disposing Samples All samples bear an expiry date, regardless of the best environment, you store them. Over time, you will see expired samples in your freezer. When samples expire, the space they take up in the freezer becomes useless. It can also happen that the available space might become insufficient for researchers' use due to the presence of many expired samples. So, you should dispose of the expired samples to allow the available space in your laboratory freezer for productive use. The proper time to dispose of samples is when samples become: ●Unusable ●Contaminated ●Expired ●Unnecessary on account of project completion The time to dispose of samples should be a component of the sample label or laboratory notebook. The sample information should contain the expiry date, notations on whether you can re-use the sample, and the project completion date.