Download
1 / 5
50 likes | 113 Views
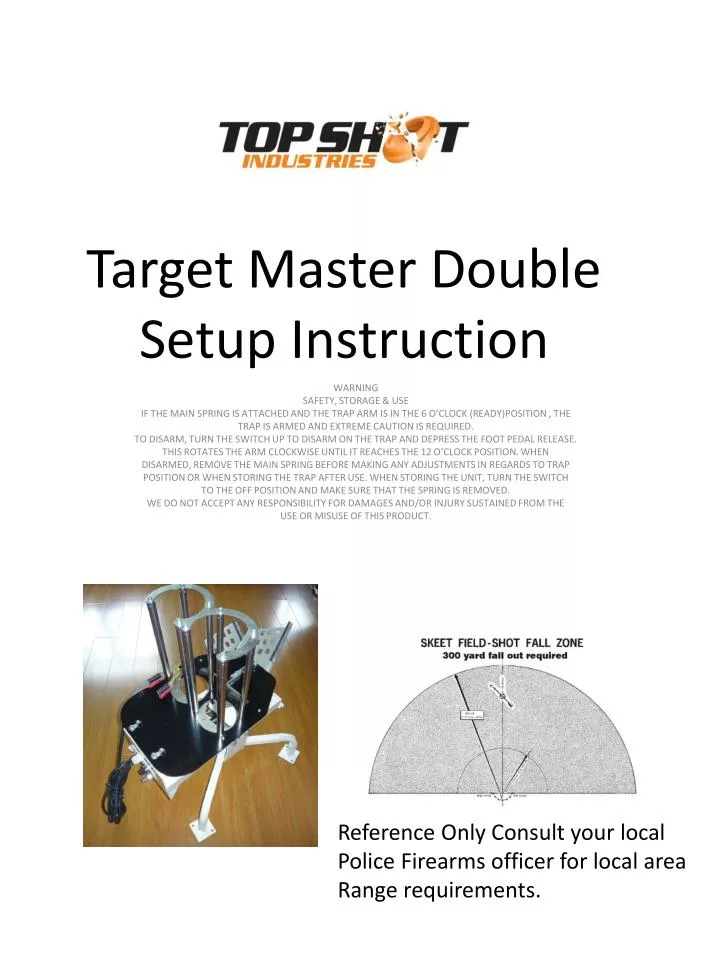
Target Master Double Setup Instruction. WARNING SAFETY, STORAGE & USE IF THE MAIN SPRING IS ATTACHED AND THE TRAP ARM IS IN THE 6 O’CLOCK (READY)POSITION , THE TRAP IS ARMED AND EXTREME CAUTION IS REQUIRED.

E N D
Target Master Double Setup Instruction WARNING SAFETY, STORAGE & USE IF THE MAIN SPRING IS ATTACHED AND THE TRAP ARM IS IN THE 6 O’CLOCK (READY)POSITION , THE TRAP IS ARMED AND EXTREME CAUTION IS REQUIRED. TO DISARM, TURN THE SWITCH UP TO DISARM ON THE TRAP AND DEPRESS THE FOOT PEDAL RELEASE. THIS ROTATES THE ARM CLOCKWISE UNTIL IT REACHES THE 12 O’CLOCK POSITION. WHEN DISARMED, REMOVE THE MAIN SPRING BEFORE MAKING ANY ADJUSTMENTS IN REGARDS TO TRAP POSITION OR WHEN STORING THE TRAP AFTER USE. WHEN STORING THE UNIT, TURN THE SWITCH TO THE OFF POSITION AND MAKE SURE THAT THE SPRING IS REMOVED. WE DO NOT ACCEPT ANY RESPONSIBILITY FOR DAMAGES AND/OR INJURY SUSTAINED FROM THE USE OR MISUSE OF THIS PRODUCT. Reference Only Consult your local Police Firearms officer for local area Range requirements.
4-Legs 8-Stacker Poles with Hex Screws 1-W Shape Hopper 1-Black Main Spring with 2 M12 lock nuts 1-Foot Pedal 1-Main Unit 1-Safety Ring 1-Large Wrench 1-Small Wrench 1-Hex Wrench 1-Safety Pin with small chain Insert Legs into each leg bracket and tighten with bolt. Attach each pole ensuring that the smaller poles are in the front of the trap and larger poles are in the rear. Now attach W Shape Hopper to top of poles and tighten hex screws. Small Dia Pole
Safety Ring Guard shows the radial projection of the throwing arm when in use to ensure safety. TO ASSEMBLE: LOOSEN CLAMP BOLTS ON REAR OF TRAP AND SLIDE EACH END OF THE PLASTIC GUARD AS SHOWN TO BELOW AND TO THE LEFT. REMOVE ONE OF THESE BOLTS TO INSERT THE END OF SAFETY PIN CHAIN UNDER BOLT TO SECURE YOUR SAFETY PIN TO THE TRAP. REMOVE PLUNGER SPRING AND PLUNGER BOLT AT END OF FEEDER TRAY. INSERT SCREW THROUGH HOLE AT END OF SAFETY RING HOLDING RODS BETWEEN THE TWO NUTS ON BOLT, SECURE AND ADJUST RODS.
Rotate arm counter clockwise to 12:00. Insert Black Main Spring into silver swivelling spring hook. Attach Spade Bolt to spring & feed thru opening at back of trap. Tighten to show 1 or 2 threads on the back side of the lock nut. Now tighten the inner lock nut closer to the frame. The LED Low Voltage indication light on the switch panel will light up when the battery voltage drops too low. This will indicate that your battery needs to bare-charged. Switch Off Position stops arm in current position/ On will cycle arm counter clockwise stopping at loaded 6o’clock position/ Disarm to operate the disarm you need to push the release button to start. This will take arm clockwise all the way out to the 12 o’clock unloaded position leaving no tension on the spring. When adjusting, reloading, or transporting or storing make sure the trap is disarmed, placed in the 12 o’clock uncocked position, and the main spring removed.
For your safety, insert safety pin in top plate blocking throwing arm when trap is not in use. Load clays; attach Foot Pedal cord to outlet & hook connectors to battery & you’re ready to launch Targets! Remember. Safety First at All times. Visit our website to view the accessories for your machine www.claytargetshooting.com.au Requires Fully Charged 12v Battery Minimum 60ah Old Batteries will not sustain charge under load Do Not Run off Generator 12v outlet this will damage your thrower . Low Voltage Battery's will also damage your thrower. Check Volt Level and load capacity if using an old or unknown battery