Download
1 / 6
90 likes | 236 Views
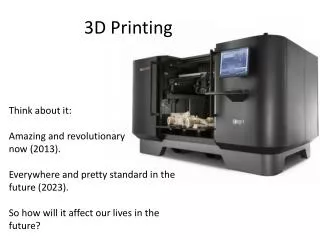
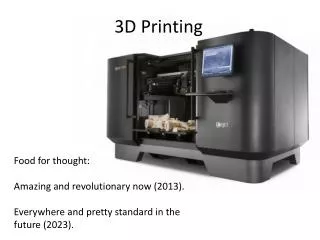
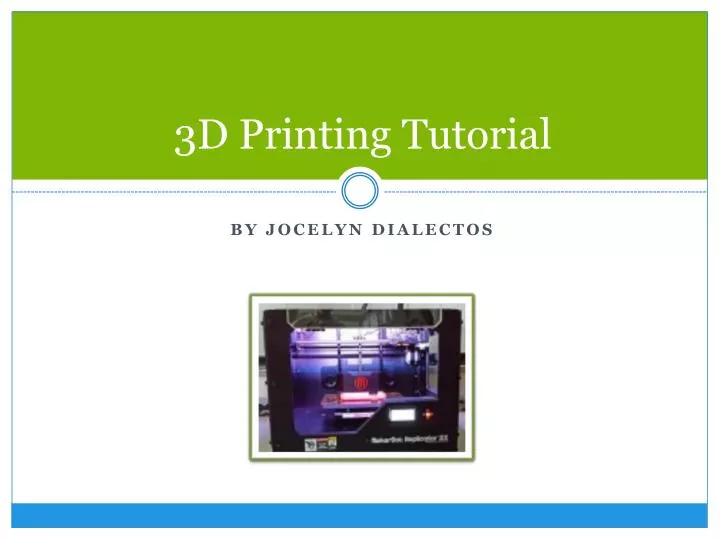
3D Printing Tutorial. BY Jocelyn Dialectos. For my Independent Study project, I chose to make a 3D printed bicycle. my bike model from www.Thingiverse.com. My Bicycle Project. Downloading .stl Files. (for projects NOT to be made from scratch).

E N D
3D Printing Tutorial BY Jocelyn Dialectos
For my Independent Study project, I chose to make a 3D printed bicycle. my bike model fromwww.Thingiverse.com My Bicycle Project
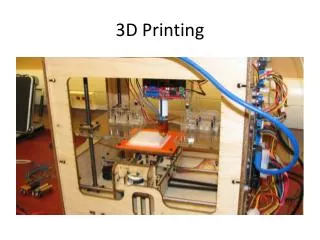
Downloading .stl Files (for projects NOT to be made from scratch) go to a website, such as www.Thingiverse.com to download the .stl files download the files for the desired project and save to the desktop these .stl files will be opened in Makerware to “slice” and prepare them to be printed
Using Makerware open the program Makerware click File choose Open select the first .stl file from your saved downloads if asked, allow the program to move the file to the plate click Makerware and hover over settings make sure the correct printer is set up click the M in the top middle of the screen to “make” the .stl file into a .x3g file ready to be inserted into the 3D printer save each file (there will now be a .stl file and a .x3g file for each download)
Transferring the Files transfer the new files made by Makerware to an SD card this card allows the files to be inserted into a 3D printer insert the card into the spot provided by the printer
Printing the Product change the colors- only two colors are possible find the desired file on the printer’s screen and highlight it with the arrows press the M button in the middle to print the object repeat this slide for all files