Download
1 / 20
510 likes | 1.15k Views
LASHINGS. OBJECTIVES. To be able to correctly tie round lashing and square lashing To be able to apply these lashings as and when it is needed. SCOPE. Introduction Round Lashing Square Lashing Practise Conclusion. Round Lashing. Clove Hitch.

E N D
OBJECTIVES • To be able to correctly tie round lashing and square lashing • To be able to apply these lashings as and when it is needed
SCOPE • Introduction • Round Lashing • Square Lashing • Practise • Conclusion
Round Lashing Clove Hitch Round Lashing is used to tie two parallel poles together side by side. Clove Hitch
Start with a clove hitch • Wind round the poles • Tighten the lashings • End with a clove hitch
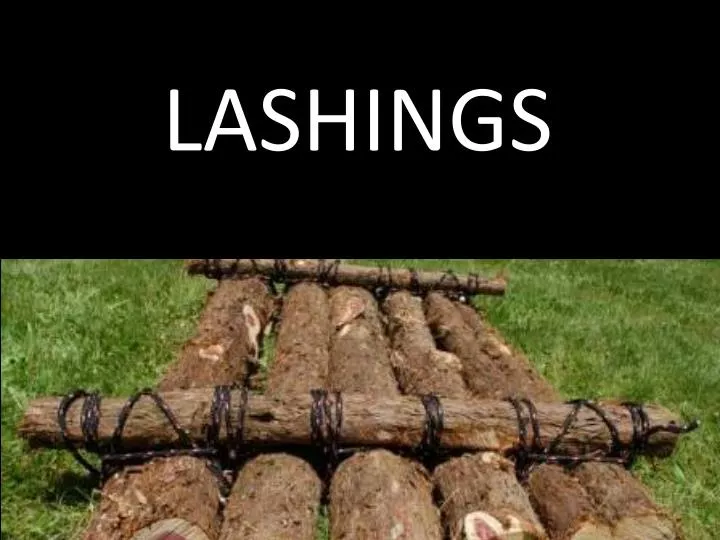
Square Lashing is used to tie two poles together at an angle of 90º. E.g. To construct a ladder, table or improvised raft. When done properly it will hold together during the most vigorous activity. When done poorly it will be a source of frustration.
Step 1. Attach the rope to the first spar with a clove hitch.
Step 2. Twist the loose end from the clove hitch around the rope and then wrap the rope around the two spars as shown.
Step 3. When you start the second time around, guide the rope to the inside of the existing wraps on the first spar.
Step 4. On the second spar guide the rope to the outside of the existing wraps.
Step 5. Continue wrapping the rope around the spars following the "inside - outside" sequence
Step 6. Once you have enough wraps to give you the strength you need for the project, guide the rope horizontally between the two spars. This is called frapping. Pull the frapping as tight as possible and then add another turn. (If lighter rope is used 4 or 5 turns may be required)
Step 7. Finish the frapping by tying a half hitch. Wiggle the rope back and forth to ensure the hitch is in as tight as possible to the frapping. Step 8. Add another half hitch to finish the job! Note: Most knotting books call for a clove hitch to finish a square lashing. By tying 2 half hitches you in fact have tied the required clove hitch.
Step 9. The previous pictures showed the half hitches rather loose. In reality they must be pulled in tight to ensure the lashing does not loosen.
Why the Inside Outside rule! If you do not pay attention to how you lay the ropes you will generally end up simply going to the outside. When you do that, the frapping will only catch the outer wrap and the lashing will loosen quickly.
Practice! Practice!
Conclusion Lashings are very important skills that can be applied in various outdoor activities such as improvised rafting and improvised chairs. Hence it has become an essential part of campcraft.