Download
1 / 4
40 likes | 45 Views
This clinical case discusses the use of the DT Light-Post for restoring a failed restoration on an endodontically-treated lateral incisor. The case highlights the steps involved in determining the post size, shaping the post space, and applying the post with the use of a bonding agent and cement. The DT Light-Post, with its anatomic design, provides support for a direct composite restoration, ensuring durability and improved failure modes.

E N D
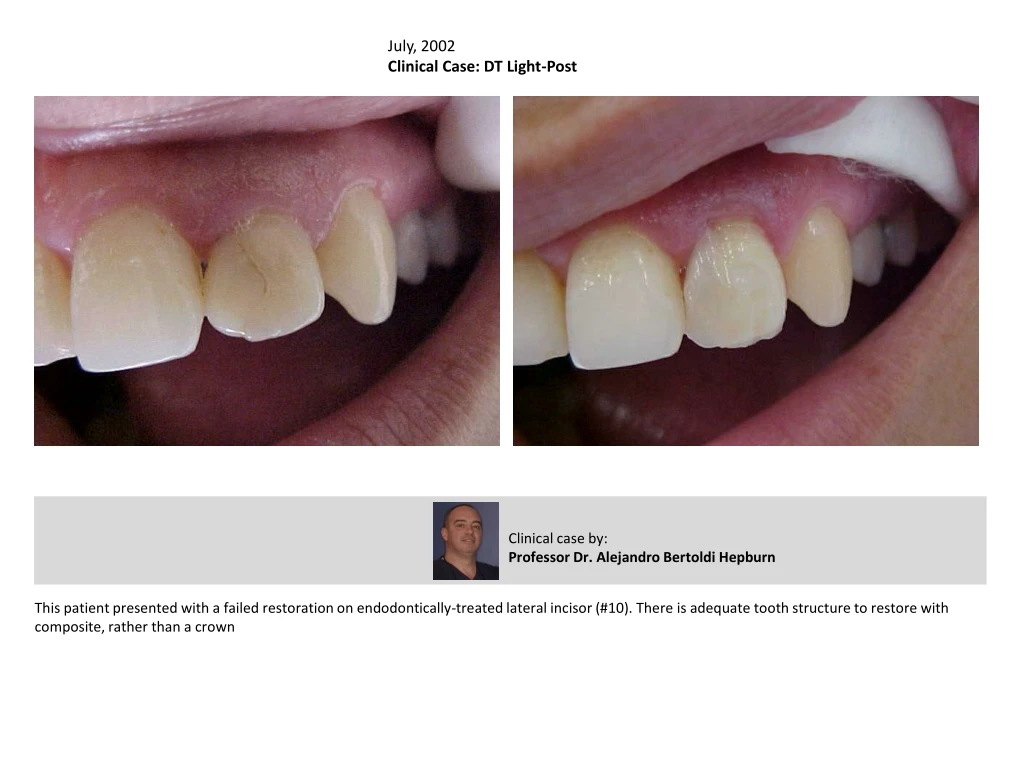
July, 2002 Clinical Case: DT Light-Post Clinical case by: Professor Dr. Alejandro Bertoldi Hepburn This patient presented with a failed restoration on endodontically-treated lateral incisor (#10). There is adequate tooth structure to restore with composite, rather than a crown
2. Remove any obstruction and confirm the seal of the Gutta Percha. 1. Determine the post size using the size selection card provided in the kit. 3. The depth of the post space is established using the universal starter drill, and the shape is finalized with the Finishing Drills. 4. Clearly, there is a exceptional flare toward the coronal opening of this space, and an OVAL opening. 5. A standard round post is tried- in. Note the profound remaining pace at the neck of the post. 6. The Macro-Lock OVAL post provides a better fit in the coronal section, leaving LESS CEMENT available to shrink.
7. Apply light-cured adhesive Bonding Agent to the post. 9. Light-cure the bonding agent. 8. Air-dry to evaporate the solvent. 12. Inject Dual-cure cement, and immediately insert the post. 11. Apply Bonding resin to the surfaces. Remove excess, air-dry. Light-cure. 10. Etch the canal space and tooth structure according to manufacturer’s instructions.
The DT Light-Post has a double-tapered, anatomic design, to provide a good fit with minimal cement thickness. In this case, there was sufficient remaining tooth structure to avoid full coverage prosthetics, and a post was added to provide support for the direct composite restoration. After the post was placed, the old restoration was removed and a new tooth built. In vitro research indicates that the addition of a quartz fiber post in anterior endodontically-treated teeth provides a more durable restoration with better failure modes. Products used in this case: RTD DT Light-Post Bisco Uni-Etch with BAC Bisco One-Step Adhesive (5th Generation) Affiliations: Dr. Professor Bertoldi Hepburn teaches at Universidad de Desorrollo, Concepcion, Chile and Universidad de Buenos Aires, Argentina.


