Download
1 / 15
150 likes | 281 Views
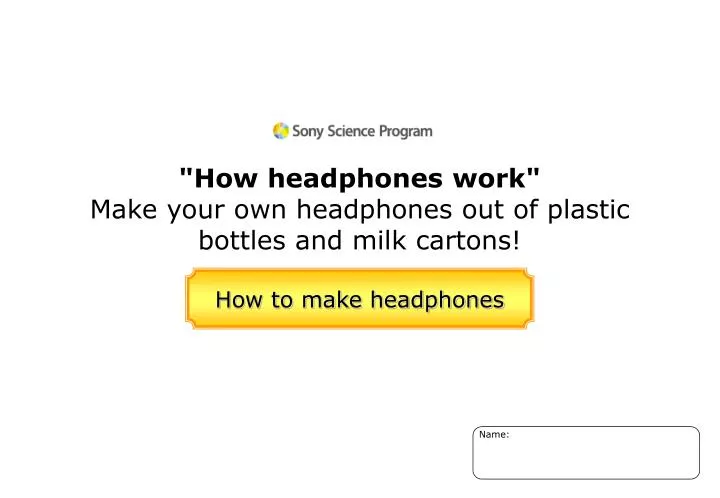
"How headphones work" Make your own headphones out of plastic bottles and milk cartons!. How to make headphones. Name:. Let's confirm the materials and tools!. 2 500ml- plastic bottles. 2 1-liter milk cartons. The type with plastic film that covers up to the top.

E N D
"How headphones work" Make your own headphones out of plastic bottles and milk cartons! How to make headphones Name:
Let's confirm the materials and tools! 2 500ml-plastic bottles 2 1-liter milk cartons The type with plastic film that covers up to the top. Do not use the bottleswith this kind of half shrink label. Sticker stencils Wooden spacer(25height) Sponge(3 thick) mm mm mm 2 Magnets with spacer Diameter of 20 mm or less 4 aluminum foil tape strips 2 20-meter copper wire rolls (diameter of 0.2 mm) 4 sleeve joints Audio cable Sand paper • Heater • Cotton work gloves • Scissors • Plastic bottle scissors • (If available) • Permanent marker • Crimping pliers • Chopstick • (Substitute for a screwdriver) ※Double-sided tape (If necessary)
Plastic bottle headphones Headband made from milk cartons You can make one-of-a-kind original headphones by decorating them with materials such as yarn. Headphones made from plastic bottles By wrapping them with copper wire in a coil, they will vibrate and produce sound. Audio cable
Let's make the headphones! Decide where you want to cut the bottle by placing a rubber band around it, and then draw a line with a pen and cut the plastic bottle with scissors or plastic bottle scissors (do this for both bottles). 1 1-2cm plastic bottle body Draw a line with a pen * It will be easier to cut if you draw the line in advance. Cap Film Line denoting the finished headphone shape 2 3 Remove the film (from both bottles). Cut the plastic bottles along the line for the actual headphone shape.
Let's make the headphones! Once you cut the plastic bottles and remove the film, smooth the edges by cutting them in straight lines (both bottles). 4 * If the edge is rough, the film may rip later or the edge may cause injury. 5 Replace the film on the plastic bottle (both bottles). 6 Shrink the film with the heater (or a hair dryer) (both bottles). * Wear a glove so you do not burn yourself. * If you cannot do it yourself, please ask an adult to do it for you.
Let's make the headphones! Double stick tape Wrap the copper wire around the plastic bottle (both bottles). 7 Apply a piece of double-sided tape on the neck of the plastic bottle so that the copper wire will not slip. Leave the first 10cm of the copper wire and start wrapping. It will be easy to wrap the copper wire if one person holds the bobbin with a screwdriver through the hole of the bobbin while the other person wraps the wire around the neck of the bottle. Secure the copper wire using a piece of vinyl tape or a sticker. 8 Once you finish wrapping the wire, leave the last 10 cm of wire while securing the wire with a piece of tape or a sticker (both bottles).
Let's connect the audio cable! Roughen 3 cm on the ends of the copper wire (the first and last part of wire) with sandpaper. 9 10 First, run the copper wire through the sleeve joint. 11 Twist together the rough part of the copper wire and the tip of the audio cable. Sleeve joint Roughened copper wire
Let's connect the audio cable! Wrap the aluminum foil tape strip around the twisted part. 12 Sleeve joint Aluminum foil tape strip 13 Pull the twisted section into the sleeve joint. Sleeve joint Tightly crimp the sleeve joint using the crimping pliers. 14 Sleeve joint * If you cannot do it, ask an adult for help.
Let's connect the audio cable! 15 When you finish one side, connect the audio cable to the other side as well. Did you make it? You can hear the sound soon! もう片方もつなごう!
Let's connect the magnet! 16 Attach the magnet to the plasticbottle cap. * The shape and size of the cap will differ depending on the type of plastic bottle. * Attach the magnets so that the same magnetic poles are facing each other from the left and right sides. Magnet * The magnets provided in the kit have stickers on the same magnetic poles so that they are easy to identify. Handle the magnets with care because they are extremely powerful!
Let's make the headband! 17 Apply the stencil sticker onto the milk carton. * Use the folding lines on the milk carton. Make2 sets. ×2 18 Using scissors, cut along the lines on the sticker. * Solid lines indicate a cut and dotted lines indicate a fold. Once the carton is cut properly, you can take the stickers off.
Let's make the headband! 19 Fold in half and secure with a stapler and/or double stick tape. Headphone holder section * When using a stapler, pay attention to the direction of the staples. Adjustment band Now, create an adjustment band using the second milk carton. 20 Match the size to your own head and attach the headphone holders to the headband. 21 Carefully bend the adjustment band so that it fits the shape of your head.
Assembling the headphones 22 Adjust the headband to match the position of your ears and secure the headphones to the headphone holders by attaching the cap. 23 Decorate your personal headphones by wrapping the headband with yarn and ribbons, and attaching beads.
Finished!! 24 Your original headphones are now complete! 25 Let's listen to music! Let's try listening to music by connecting the headphones to a walkman, stereo, TV, etc. Let's try recording! Connect the cable to an IC recorder and try shouting into your headphones.Your voice will be recorded.
Important Reminder Please read the following warnings carefully before starting this craft project and experiment. • Be careful not to cut or pinch yourself when using the scissors or pliers. • *Use the tools together with an adult. • Be careful that the volume is not too high when listening to music. • The volume will vary depending on the thickness of the copper wire and how many times the wire is wrapped around the bottles. Be careful because the music player may break depending on the thickness of the copper wire and how many times the wire is wrapped around the bottles. • The magnets used in the kit are extremely strong. • People who use a device such as a heart pacemaker should not use the magnets. • Do not place the magnets close to the person who uses a heart pacemaker. • Store the magnets in a place that is out-of-reach of small children (younger than 6) to prevent them from accidentally swallowing the magnets. • When the magnets stick to each other or to other metal, they may pinch a finger or skin and cause injury. • When the magnets stick to each other, it may become difficult to separate them or they may chip or break. • Do not bring the magnets close to a cathode-ray tube television. The colors of the cathode-ray tubes will change. • Do not place the magnets close to cell phones, analog watches, magnetic cards and train tickets. They may corrupt the data content. • Do not wear the magnets. Because they are coated with nickel, they may cause skin irritation. • Because they contain iron, the magnets may rust when exposed to water or moisture.