Download
1 / 1
10 likes | 15 Views
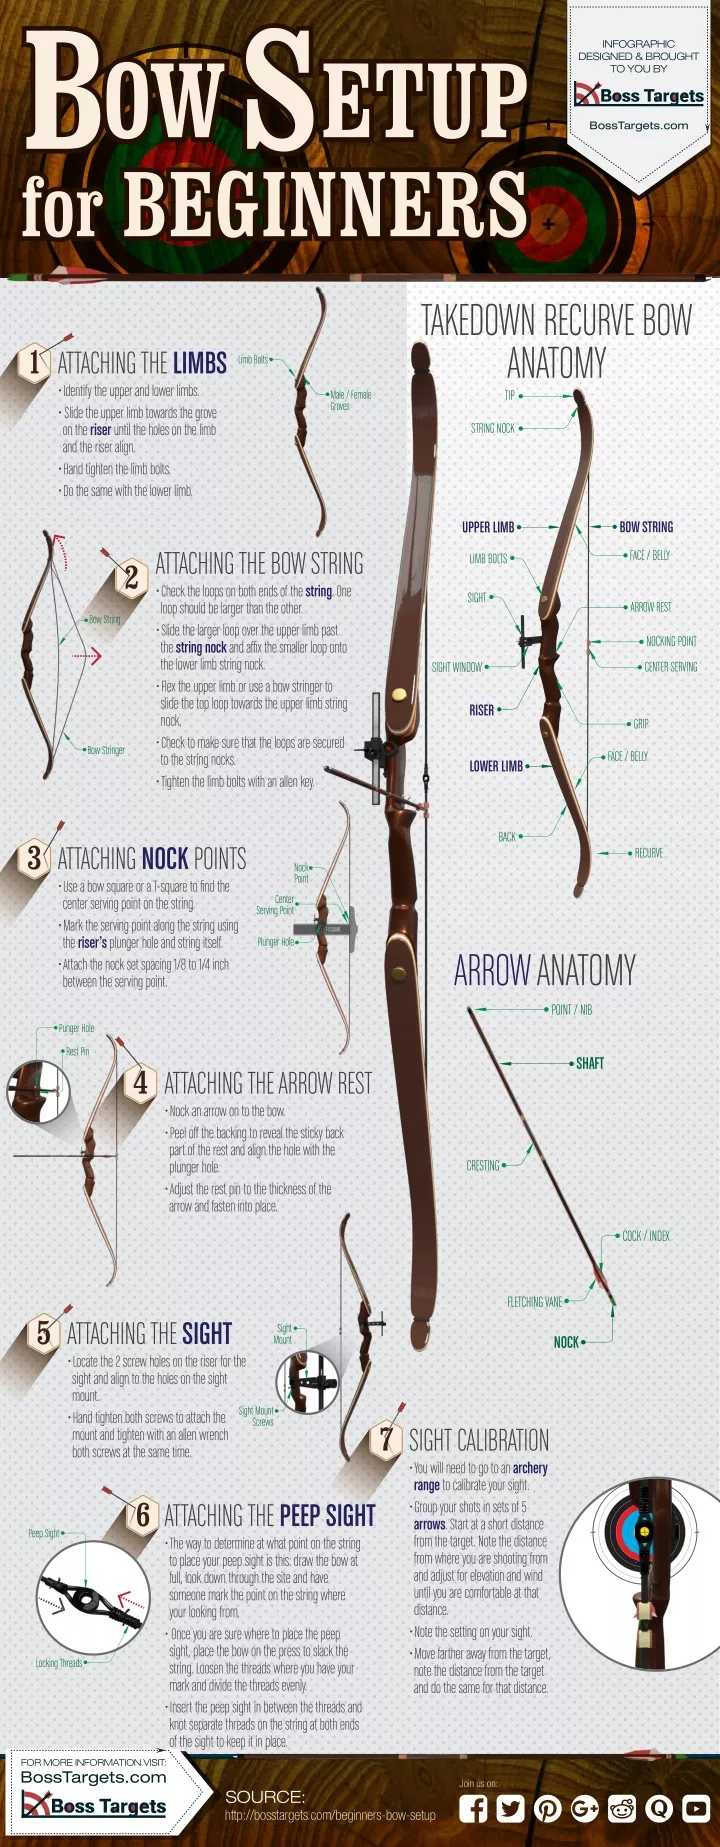
If you are new to archery and want to learn how to do the Beginners Bow Setup. Read out this article and set up your bow on your own.

E N D
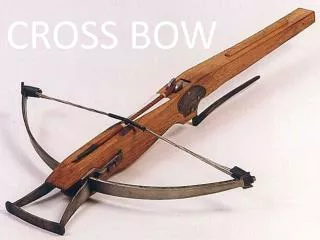
B B S S OW OW ETUP ETUP INFOGRAPHIC DESIGNED & BROUGHT TO YOU BY BossTargets.com for BEGINNERS for BEGINNERS TAKEDOWN RECURVE BOW ANATOMY TIP 1 ATTACHING THE LIMBS • Identify the upper and lower limbs. • Slide the upper limb towards the grove on the riser until the holes on the limb and the riser align. • Hand tighten the limb bolts. • Do the same with the lower limb. Limb Bolts Male / Female Groves STRING NOCK BOW STRING UPPER LIMB ATTACHING THE BOW STRING • Check the loops on both ends of the string. One loop should be larger than the other. • Slide the larger loop over the upper limb past the string nock and affix the smaller loop onto the lower limb string nock. • Flex the upper limb or use a bow stringer to slide the top loop towards the upper limb string nock. • Check to make sure that the loops are secured to the string nocks. • Tighten the limb bolts with an allen key. FACE / BELLY LIMB BOLTS 2 SIGHT ARROW REST Bow String NOCKING POINT CENTER SERVING SIGHT WINDOW RISER GRIP Bow Stringer FACE / BELLY LOWER LIMB BACK 3 ATTACHING NOCK POINTS • Use a bow square or a T-square to find the center serving point on the string. • Mark the serving point along the string using the riser’s plunger hole and string itself. • Attach the nock set spacing 1/8 to 1/4 inch between the serving point. RECURVE Nock Point Center Serving Point T-SQUARE Plunger Hole ARROW ANATOMY POINT / NIB Punger Hole Rest Pin SHAFT 4 ATTACHING THE ARROW REST • Nock an arrow on to the bow. • Peel off the backing to reveal the sticky back part of the rest and align the hole with the plunger hole. • Adjust the rest pin to the thickness of the arrow and fasten into place. CRESTING COCK / INDEX FLETCHING VANE 5 ATTACHING THE SIGHT • Locate the 2 screw holes on the riser for the sight and align to the holes on the sight mount. • Hand tighten both screws to attach the mount and tighten with an allen wrench both screws at the same time. Sight Mount NOCK Sight Mount Screws 7 SIGHT CALIBRATION • You will need to go to an archery range to calibrate your sight. • Group your shots in sets of 5 arrows. Start at a short distance from the target. Note the distance from where you are shooting from and adjust for elevation and wind until you are comfortable at that distance. • Note the setting on your sight. • Move farther away from the target, note the distance from the target and do the same for that distance. 6 ATTACHING THE PEEP SIGHT • The way to determine at what point on the string to place your peep sight is this: draw the bow at full, look down through the site and have someone mark the point on the string where your looking from. • Once you are sure where to place the peep sight, place the bow on the press to slack the string. Loosen the threads where you have your mark and divide the threads evenly. • Insert the peep sight in between the threads and knot separate threads on the string at both ends of the sight to keep it in place. Peep Sight Locking Threads FOR MORE INFORMATION VISIT: BossTargets.com Join us on: SOURCE: http://bosstargets.com/beginners-bow-setup