Download
1 / 19
190 likes | 459 Views
Velocity Measurement Design Project. EDSGN 100: Introduction to Engineering Design Section 07 Team 7 Crystal Sun Megan Moscony Adam Reiter Luke Uliana Evan Witmer. Navigation. Final Design. The Prototype. Measurement Process. Measurement Process (cont.). Trade Studies.

E N D
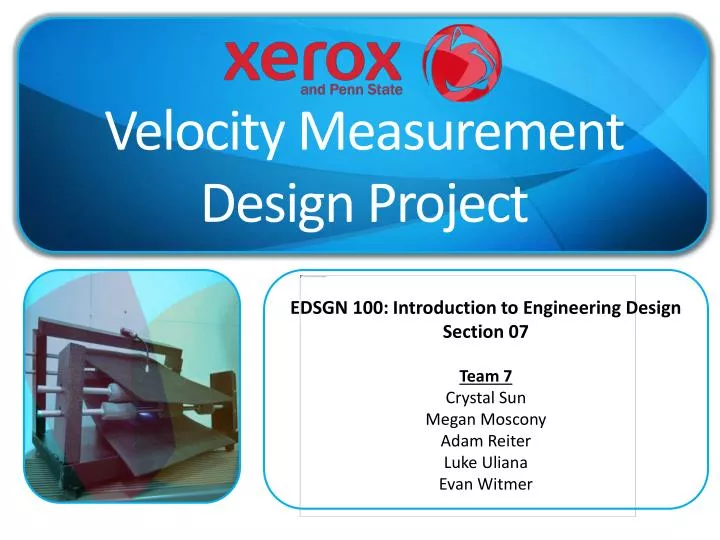
Velocity Measurement Design Project EDSGN 100: Introduction to Engineering DesignSection 07 Team 7 Crystal Sun Megan Moscony Adam Reiter Luke Uliana Evan Witmer
Navigation Final Design The Prototype Measurement Process Measurement Process(cont.) Trade Studies Cost Analysis Summary & Conclusion Problem Statement Project Management Design Specifications Initial Concepts Concept Selection
Problem Statement The problem was to design an innovative solution for a paper velocity measurement device that detects the velocity of an 8.5" x 11" sheet of paper moving through a simple paper path.
Design Specifications • The device should be able to calculate the velocity of an 8.5" x 11" sheet of paper moving through a simple paper path • The sheet should be moving somewhere between 250 and 750 mm/s • The paper stock velocity needs to be measured within a tolerance of ±0.25% • The measurement system should not impact the speed of the sheet • The design should minimize cost
Photoresistor Light emitted through parallel holes cut through the baffles from a single light source above Passing paper would prevent the light source from hitting the photoresistor This unrestricts the current flowing to the measurement device Device measures the time it takes the paper to pass and use that to calculate velocity
Dual-Laser Two lasers are eleven inches apart and connected to a timer The paper would pass through, breaking the first laser light Signals the timer to start Timer stops when light from second laser is no longer broken
Mirrored Laser Light emitted from a laser Passes through parallel holes cut through the baffles and hits a mirror Light then reflects onto a measurement device Device measures length of time light stream was broken
Photogates Photogates measure time taken for paper to pass through
Single Unit Laser and Measurement Device Both measurement device and laser are in same unit Measurement device would register when the light stream is broken by paper passing through Device uses that information to calculate a time and velocity.
Measurement Process • Turning on the printer turns on the light and measurement device • Because light is reaching the photoresistor, any time before or between the actual printing time is not taken into the actual measurements • The photoresistor restricts the flow of electricity to the measurement device while it is receiving light • It is connected on one end to the measurement device and the printer’s circuitry on the other • When the actual printing begins, the first sheet will pass through the light and break its path • Breaking the light path stops the restriction of the electricity flow from the photoresistor • The rise in flow begins the measurement device’s timing system • Once the paper finishes passing, the light path will no longer be interrupted • The light once again reaches the photoresistor, which then restricts the flow of electricity reaching the measurement device • This signals the measurement device to stop timing • The device then uses the collected time (T) and the constant distance (D) of 11” (25.4 mm) to calculate the paper’s velocity (V) using the formula V = D/T • The device relays the paper’s velocity to printer’s control system • The control system uses the calculated velocity to adjust the remainder of the printing process
Measurement Process (cont.) • Paper will be moving fast enough through the system that there the time it takes for the light to be fully restricted is negligible • Both the light source and photoresistor lie flush with the baffles and do not impede the paper’s path • The light source is strong enough to reach the photoresistor, but weak enough to be completely cut off by a passing sheet of paper • This amount of wattage also ensures that the light will never need to be replaced in the printer’s lifetime • The photoresistor only restricts enough electricity to stop the measurement device from timing, not turn it off entirely • The velocity is taken for every sheet that passes to guarantee each sheet delivers the same result
Trade Studies • Design 1: Photo-resistor • The photo resistor scored highest in both the design selection and concept generation matrices, and as such proved to be the best design. This design maintains space efficiency and precision in velocity measurement in combination with a low cost of production. Unlike designs 3 and 4 the photo resistor/ light source system has little to no impact on the original design of the printer. • Design 2: Dual Laser System • This design was the simplest design constructed and only requires a two-laser system connected to a timer. This design has many pros including a limited amount of space needed to implement it and a relatively low production cost while maintaining precision and accuracy; however, this design proved to be too close to the instrument currently being used to solve this problem and not enough of an improvement. • Design 3: Photo-gates • This design consists of two photo-gates measuring the time it takes for the paper to pass through the system and is shown in FIG 3. This design proved to be more costly than the other models as well as to take up more room inside the printer, which could have a negative impact on the other working mechanisms already in place in the printing system. Compared to the design chosen this design was too costly and bulky to warrant development. • Design 4: Mirrored Laser • This design consists of the mirrored laser design is demonstrated in FIG. 4. This design seemed an improvement over the current model in use; however, proved not to be size efficient. While the production cost was low and the precision high the difficulty to install this design in the printer proved to be a vital flaw. • Design 5: Single Unit Laser and Measurement Device • The single unit laser and measurement device was a simple design that had an advantage in size efficiency while maintaining a low cost; however, proved not to be as precise in measuring the velocity of the paper compared to the other four designs. Because of the simplicity of this design, the velocity measurement would not have been as exact as any of the other systems that employed to separate measurements of the paper’s path.
Summary & Conclusion As a whole the team has come to understand the process of printing in a new light. After seeing the dissected inner-workings of printers, it becomes apparent how far we’ve come today in evolving the printing process. Through this project, the group learned through the craft of printing such perfection is possible as long as the designer keeps an extreme eye for every last minute aspect. Relying on the concept of using a blocked passage of light to sense the time it takes each piece of paper to travel a known distance, their device precisely measures the speed of paper traveling through the printer, so that the proper adjustments can be made to create perfect printed documents. The design is all of which they sought: cost efficient, accurate, rapid, and safe to use. The group believes it would be the perfect component to add to any Xerox machinery.