Download
1 / 10
100 likes | 105 Views
You will need to add an image, which must be resized beforehand. You can edit other aspects like position, attachment, background overlay, and scrolling effects to convert PSD to WordPress. Finalize the editing of text and setting by adding a button.<br>

E N D
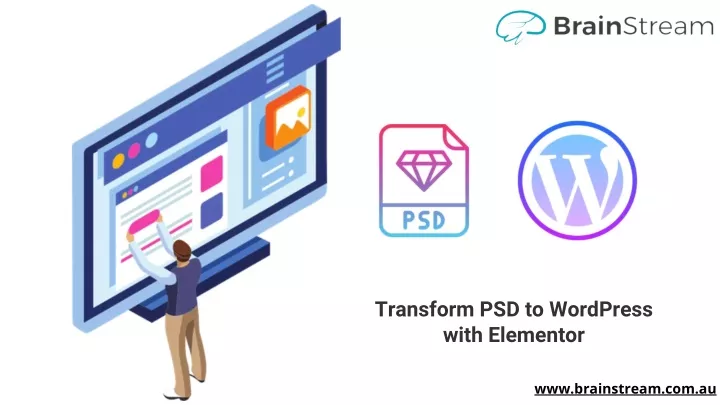
Transform PSD to WordPress with Elementor www.brainstream.com.au
Organize Your Material 1 Convert to Elementor 2 Emphasize Responsiveness 3 Continue at Each Section 4 TRANSFORMPSDTO Create Background Themes WORDPRESSWITHELEMENTOR 5 www.brainstream.com.au
1) Organize Your Material You must save your PhotoShop Design if you already have one. This is helpful in speeding up page loading time and keeping files small. To keep things organized and pre-set, it is a good idea to create factors for your images. After creating a page, you can edit it in Elementor. Name the file, and then set the layout to Elementor Canvas. www.brainstream.com.au
2) Convert to Elementor You will need to add an image, which must be resized beforehand. You can edit other aspects like position, background overlay, and scrolling effects to convert PSD to WordPress. Finalize the editing of text and setting by adding a button. attachment, www.brainstream.com.au
3) Emphasize Responsiveness It is crucial to have responsive views and adapt web designs for different screens. This is best done by adopting responsive designs to fit each section of a page. Format margins and padding in the sections and columns to get flawless results every time. www.brainstream.com.au
4) Continue at Each Section Developers can save considerable time by repeating sections and saving pages as templates. These pages can be used later as a foundation to create similar web pages. www.brainstream.com.au
5) Create Background Themes Elementor background themes or text between columns. You can also insert text or banner images into section columns. Developers can design the speaker section in a PSD file using the WidgetKit vertical icon. can be used to create www.brainstream.com.au
Conclusion: These are the essentials that any developer who wants to offer PSD-to-WordPress conversion services needs to know. It is important to have a good understanding of how to convert Photoshop Design into WordPress via Elementor or Widgetkit. These are the most popular platforms at the information to your advantage. moment. Use this www.brainstream.com.au
Get Social With Us Twitter Pintrest Facebook Instagram Linkdin
Address Suite 1 Shop 1 7F Parkes Street, Harris Park NSW 2150 Australia Contact Information Phone Number 61 2 8006 0705 Email Address info@brainstream.com.au www.brainstream.com.au