Download
1 / 1
10 likes | 276 Views
With your helper, place both shutters in the window opening and slip shims in at top and at bottom to hold them in place. Adjust the shutters to create even spacing along the window jamb and between the shutters. Mark the casing at the top of each hinge knuckle. Set shutters aside. .

E N D
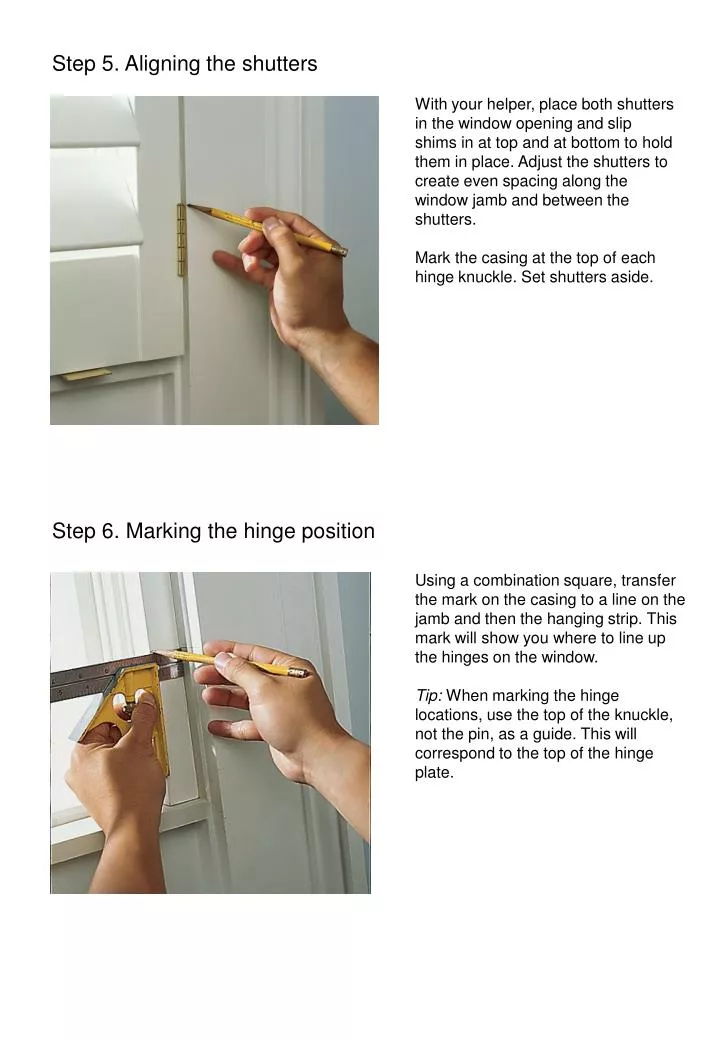
With your helper, place both shutters in the window opening and slip shims in at top and at bottom to hold them in place. Adjust the shutters to create even spacing along the window jamb and between the shutters. Mark the casing at the top of each hinge knuckle. Set shutters aside. Step 5. Aligning the shutters Step 6. Marking the hinge position Using a combination square, transfer the mark on the casing to a line on the jamb and then the hanging strip. This mark will show you where to line up the hinges on the window. Tip: When marking the hinge locations, use the top of the knuckle, not the pin, as a guide. This will correspond to the top of the hinge plate.