Download
1 / 15
200 likes | 384 Views
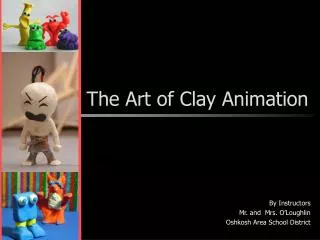
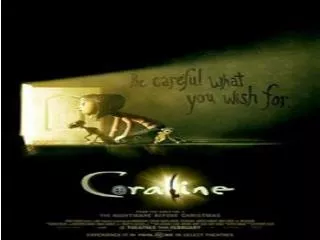
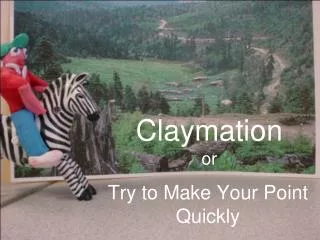
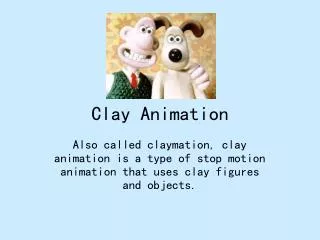
Claymation or Clay Animation. What is Clay Animation?. Animation done using clay characters (although it can be done with other materials as well). Also called “claymation” and “stop motion” animation. Some well-known examples…. How is clay animation created?.

E N D
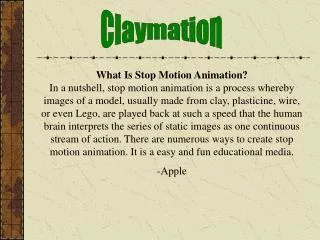
What is Clay Animation? • Animation done using clay characters (although it can be done with other materials as well). • Also called “claymation” and “stop motion” animation.
How is clay animation created? Individual pictures of the clay characters are knit together with special software in order to create a seamless movie.
Why use Clay Animation? • Engages students • Is hands-on and interactive • Requires a variety of skills • Can be applied across grade levels and curriculum areas
Why use clay animation continued… • Can encourage high levels of thinking • Engages multiple learning modalities • Encourages creative thinking and decision making • Encourages problem solving and teamwork
What is the process? • Create an idea (storyboard) • Develop the script (if appropriate) • Create characters from clay • Build the set (including a background) • Take pictures • Use software to make your movie
Step 1: The Idea Brainstorm!!! • What / who will your character(s) be? • What will the progression of your movie be? • What is the setting? • Do you need a script?
Step 2: The Character(s) • Sketch your character before starting with clay • Keep your characters smaller than 6 inches tall or 6 inches long • Work on work mats (included in kit) • Use clay that doesn’t harden • Create armatures from wire or aluminum foil • Use styrofoam or other materials to add bulk • Put the most weight at the bottom of the character
Step 3: The Background • Keep it simple • Use construction paper, wrapping paper, etc. • Make it contrast with your character • Use found objects: plants, rocks, boxes, etc.
Step 4: Take Pictures • Any camera will work (digital is easiest) • Position camera far enough back to allow light on to subject • Use a tripod • Use delayed shutter release • Consider clamp lights for additional lighting
Step 5: The Movie • Use MovieMaker 2 software to create your animation • Atomic Learning tutorial videos • Cheat Sheet
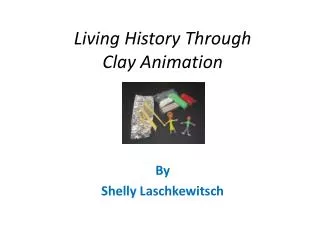
So, what’s in the kit? • Teaching with Clay Animation book • Modeling Clay • Sculpting Tools • Accessories (sequins, wiggle eyes, etc.) • Work Mat
Your task today • Work in pairs • Create a short movie of a wave • Begin the process of creating a lesson plan which engages students in a claymation activity to teach a specific performance standard.