Download
1 / 20
200 likes | 334 Views
Advanced Google Earth. Creating Curricular Materials and Adding Custom Placemarks. Building Placemarks. Creates Innovative Lessons Advanced placemarks allows the addition of information and graphic to placemarks. Descriptions Images Video links Hyperlinks. Advanced Placemarks.

E N D
Advanced Google Earth Creating Curricular Materials and Adding Custom Placemarks
Building Placemarks • Creates Innovative Lessons • Advanced placemarks allows the addition of information and graphic to placemarks. • Descriptions • Images • Video links • Hyperlinks
Advanced Placemarks • Ask question that students need to answer. • Turn lessons into inquiry • Motivate students • Use emerging technologies • Be creative
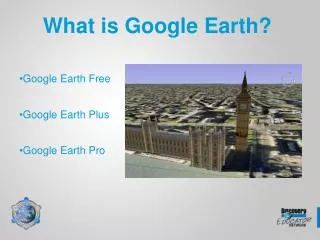
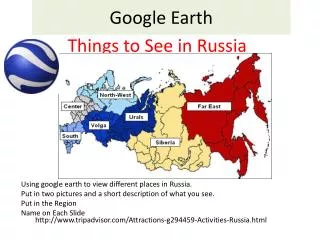
A few reminders • Most of the images in Google Earth are taken by low flying planes. • Zoom to the desired appearance before placing your placemark.
Adding Placemarks • From task bar, select the pushpin icon • A window will open to permit information to be added
Adding information to the Placemark • Give the placemark a name • The coordinates are given • Add a description • Click on the Style/Color tab and make selection • Altitude tab allows placement to be at a given altitude above the ground.
Change the icon appearance • Select the icon beside the title box • Select the icon of choice or import a custom icon.
Editing information in the balloon description • To add/edit information in a balloon • Right click • Select properties • Add information in the description area • If only text is entered, the formatting will not change. • Once the first piece of html is added, all the formatting is lost.
USING HTML • The addition of formatting in the html code uses “tags” • Tags begin with a “<“ and end with a “>” symbol. • There will be instructions placed between the < and > symbols. • The instructions must also tell when to end that formatting. This is performed by using </instruction>. • Example: <b>Dr. Archie Bone</b> will bold only the words Dr. Archie Bone.
A Few Basic Formatting Codes • <p> This is for a paragraph and is really a double enter – double spacing. • <br> This is a Break or a single space • <b> Bold for bolding information • <u> Underline for underlining information • <i> italizing
More Code • To bold and underline <b><u> • The order does not matter; however the order must be reserved to close the command Example: <b><u>America<u><b> This text is said to be nested. The resulting text will look like America
Adding a link to Internet • The anchor tag is used to add a link to Internet. • Represented by <a>. It must be closed by using </a> • <a href=“ url”</a> • There is a space between a and href. There is no space before the end tag. • Tinyurl.com • HTML code chart
Bring in images • Locally from computer • Images from your camera • Short videos from your camera • Link to a web address • Images from your Internet • Short videos from the Internet
Bring in images • HTML code is needed by a recipe can be followed! • An image tag is written • Pathway on local computer • <img src=“image location” > • There must be a space between “ and > • Locate the image on your computer, right click, go to properties, copy path, add the image name and extension Example: <img scr=“C:\Documents and Settings\coleyj.JCTC\My Documents\cow.jpg” >
More on images • The width of the image may be limited by using the following code: • <img scr=“C:\Documents and Settings\coleyj.JCTC\My Documents\cow.jpg”, width=300 > • There is a space before width= • 300 pix is a good setting for an image in a balloon. • The balloon may be saved as a .klm file and shared with others.
What is a .kml file? • The curriculum piece in Google earth will be saved as a .kmz file. This nothing more than a zip file. • Individual information such as a ballon will be saved as a .kml file. • To save a ballon • Right click • Save as • .klm
Other formatting changes for placemarks • Font color • <font color=white> or <font color=#A52A2A> • To assure that the same color shows on all computers, use the color number (RGB color Values) • Font size • <font size=X>text here • X = Font size and may be from 1 (smallest) to 7 (largest) • Background color for the balloon • This MUST be the first entry in the ballon. • <body bgcolor=yellow>
Question? Let’s Start Creating!