Download
1 / 10
100 likes | 191 Views
Signing a Document Digitally. Click when you are ready to begin the tutorial. Click on the Signature Box. If you have not downloaded the latest version of Acrobat Reader, click here. After filling in your name to the right, click on the Signature box. Select A New Digital ID .

E N D
Signing a Document Digitally Click when you are ready to begin the tutorial.
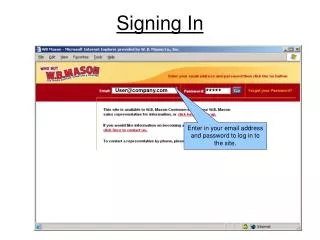
Click on the Signature Box If you have not downloaded the latest version of Acrobat Reader, click here. After filling in your name to the right, click on the Signature box.
Select A New Digital ID Click on the button for a new digital ID. Then click Next.
Select A New PKCS#12 Digital ID Click on New PKCS#12 digital ID file. Then click Next.
Enter Your Identity Information Enter your information and if you choose Enable Unicode Support, fill in the exact same info in the Unicode column. Then click Next.
Fill in a password & confirm Fill in a password and then confirm it. Then click on Finish
Re-enter Your Password Enter your password and then click Sign.
Save your document with a unique name You will be asked to save the document with a different name. I inserted my last name at the end of it (see below). Be sure you take note of where the document is being filed. Then click Save.
Enter the Date Your digital signature was automatically added to the document. Now fill in the date. Now click on the Witness signature box.
Start a New ID for the Witness Your signature box will show up, but just select New ID in the drop down and repeat the process for your witness. After it is signed & dated, you may upload the document on your “My Home Page.” Your data is ready for you to review.