Download
1 / 14
140 likes | 472 Views
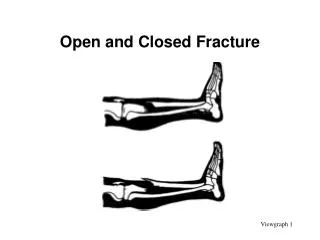
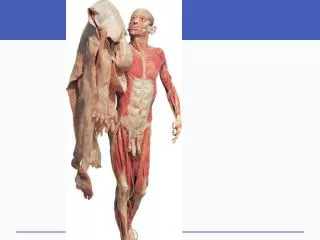
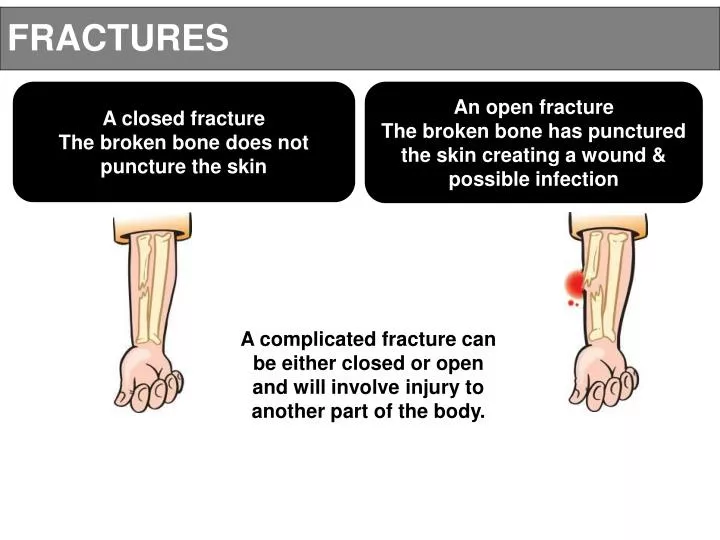
FRACTURES. A closed fracture The broken bone does not puncture the skin. An open fracture The broken bone has punctured the skin creating a wound & possible infection. A complicated fracture can be either closed or open and will involve injury to another part of the body. Types of fracture.

E N D
FRACTURES A closed fracture The broken bone does not puncture the skin An open fracture The broken bone has punctured the skin creating a wound & possible infection A complicated fracture can be either closed or open and will involve injury to another part of the body.
Types of fracture Open Closed Complicated Green Stick
Dislocated Normal Dislocation
FRACTURES CAUSES OF FRACTURES DIRECT FORCE • For example, slipping on a wet surface and landing on your back or being struck with a blunt object INDIRECT FORCE • For example, landing heavily or awkwardly from a fall or a jump could cause bones to break in the foot. This would be a direct force but bones in the leg, pelvis, spine and skull could also be fractured as a result of the impact and transference of force.
FRACTURES RECOGNITION • Pain at the site of the injury • Swelling, deformity and bruising • A wound with an open fracture • Irregularity and abnormal appearance • Lack of movement and power • Shock • It would be obvious with an open fracture that a bone is broken but with closed fractures it may not be evident. The only way that a fracture can be correctly diagnosed is by X-ray. A greenstick fracture can often be mistaken as a sprain or a strain due to pain.
FRACTURES THE TREATMENT OF CLOSED FRACTURES • Establish that the casualty isresponsive and breathing. Carryout Basic Life Support if necessary • Immobilize/support the injured part • Leave the casualty in the positionfound unless they can move theinjured part to a more comfortableposition • Treat for shock if necessary • Calm and reassure • Call 999/112 & monitor. Effective immobilization sometimes requires bandages and slings. This should only be carried out if an ambulance is not available, or if you need to move the casualty to a safer place
FRACTURES TREATMENT OF OPEN FRACTURES • Treat as for a closed fracture • Control any bleeding and make sure you wear disposable gloves • Apply sterile dressings around the protruding bone to stop any movement and minimize the risk of infection • Do not apply any pressure directly on the wound • Support and immobilize the injured part in the position found • Treat for shock • Call 999/112 for an ambulance.
DISLOCATIONS RECOGNITION • Pain • Swelling • Deformity • Inability to move the affected area TREATMENT • Treat as a fracture by supporting andimmobilizing in the position found • Do not attempt to put the joint backin place • Transfer to hospital • Treat for shock if necessary.
SUPPORT SLING Gently support the injured arm, ask the casualty to assist if they are able 1 2 Place a triangular bandage with its base parallel to the casualty’s body 3 Bring the lower end of the bandage up to meet the upper end at the shoulder and secure with a reef knot 4 Use a safety pin to secure at the elbow or twist the bandage and tuck into the sling at the back of the arm.
APPLYING AN ELEVATED SLING Place a triangular bandage over the injury, with one end over the uninjured shoulder Examine the injury, ask the casualty to support the injured arm and raise the finger tips to their opposite shoulder Tuck the base of the triangular bandage under the hand, forearm and elbow. Remember to leave the thumb exposed so you can check circulation Secure at the shoulder with a reef knot. Secure at the elbow with either a safety pin or twist the fabric and tuck in.