Download
1 / 10
100 likes | 106 Views
In this blog we are going to explain you to how to install Joomla with LEMP stack on CentOS 7 VPS very easy way. For complete knowledge for the same please go through the below given link:

E N D
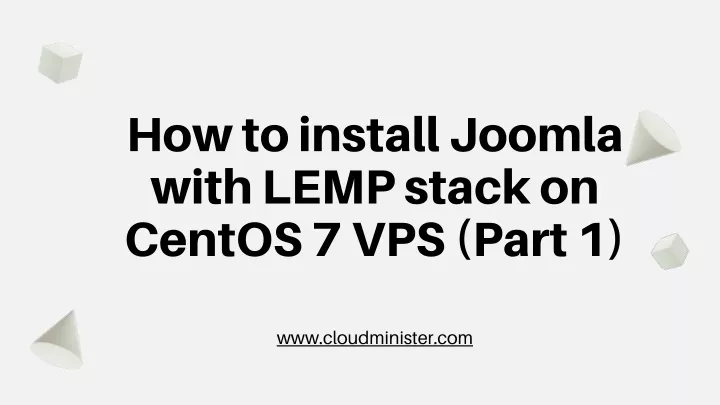
HowtoinstallJoomla withLEMPstackon CentOS7VPS (Part1) www.cloudminister.com
JoomlaisapopularopensourceContentManagementSystem(CMS), whichisusedtobuildwebsitesandonlineapplication.Itisseparatedinto front-endandback-endtemplates. InJoomlaCMSthemorefocusedonportal-likewebsites. Inthistutorial,youaregoingtolearnhowtoinstallJoomlawith LEMP(Linux,Nginx,MySQL,andPHP) onCentOS7VPS.
TableofContent 1. 2. 3. 4. 5. 6. 7. 8. 9. Prerequisites InstallMySQL8.0 ConfigureDatabaseinMySQL Install & ConfigurePHP7.2 InstallNginx ConfigureFirewall ConfigureNginxFile InstallJoomlaFile TestJoomla
1.Prerequisites Before you start the installation of Joomla with (LEMP) stack on Centos 7 VPS, you must have one Centos 7 VPS with root privileges on it or you can use sudo for non-root user. You should also run basis command on server to check the following things-: # df -h (To check the disk space on the system.) # cat /etc/os-release (To verify the version of the VPS.) # yum -y update (To update all the packages of the VPS)
2.InstallMySQL8.0 Joomla uses a MySQL database for storage, MySQL is used in stack for storing user details in database. For installing MySQL on Centos 7 first you need to enable MySQL repository and then you can install MySQL. # yum localinstall -y https://dev.mysql.com/get/mysql80-community-release-el7-1.noarch.rpm The command used for installing MySQL in CentOS 7 VPS is as follows: # yum install mysql-server -y Then check the MySQL version by typing following command: # mysql -V(‘V’ is in uppercase) After the installation is completed MySQL will start automatically and you can check it’s status by typing: # systemctl status mysqld If MySQL is not start automatically you can write the following command: # systemctl start mysqld
BeforegoingforthenextstepyoushouldgenerateatemporarypasswordtoaccessMySQLrootuserwiththeBeforegoingforthenextstepyoushouldgenerateatemporarypasswordtoaccessMySQLrootuserwiththe followingcommand: #grep ‘temporarypassword’ /var/log/mysqld.log NowconfiguretheMySQLsecureinstallationtoimprovethesecuritybytypingthefollowingcommands. #mysql_secure_installation Loginwiththetemporarypasswordandassignnewpassword,afterthatinthisconfigurationitaskseveral questionsyoucangiveYorNaccordingtoyourrequirement. Changethepasswordforroot?N Removeanonymoususers?Y Disallowrootloginremotely?Y Removetestdatabaseandaccesstoit?Y Reloadprivilegetablesnow?Y www.cloudminister.com
3.ConfigureDatabaseinMySQL NowcreatedatabaseforJoomlainMySQLforthatfirstloginwithMySQLserverbyusingthefollowingcommand: #mysql -uroot -p Andgiveitspassword,afterthatcreatedatabaseinitwiththecommand: mysql> CREATEDATABASEjoomla; Youcanalsocheckthatdatabaseiscreatedornotwiththecommand: mysql> SHOWDATABASES; Nowcreateuserandassignhimpasswordbyusingcommand: mysql> CREATEUSER ‘joomla’@’localhost’ IDENTIFIED BY ‘Password’; www.cloudminister.com
Afterthatgrantallprivilegestotheusercreatedunderthat databasewiththecommand: mysql> GRANTALLONjoomla.*TO ‘joomla’@’localhost’; ThenflushallprivilegesonMySQLserverwiththecommand: mysql> FLUSHPRIVILEGES; NowexitfromtheMySQLserveryoucanusecommands: mysql> exit; mysql> \q; Note-:InMySQLyoumustendeachcommandwithasemicolon(;). www.cloudminister.com
4.Install & ConfigurePHP7.2 PHPisusedbyJoomlatodovariousfunctionsdonebyPHPlikecallingplugin,callingtheme,validating userpermissions,checkingoption,grabfromdatabase,etc. InthisBlogweareusingPHP7.2versionandinstallitwithepel-releasewithremirepository. Firstly,installyum-utilspackagesusingthefollowingcommand: #yum -yinstallyum-utils Afterthat,installepel-releasepackagebyusingcommand: #yum -yinstallepel-release #yum -yinstallhttp://rpms.remirepo.net/enterprise/remi-release-7.rpm www.cloudminister.com
Enable the remi repository by typing: # yum-config-manager –enable remi-php72 After that install PHP and all required modules by using command: # yum -y install php-fpm php-mysql php-mbstring php-xml php-gd php-cli php-json php-opcache php-curl Now after the installation completed you can check the PHP version with the command: # php -v (‘v’ is in smallcase)