Download
1 / 25
260 likes | 270 Views
First Java Program with NetBeans. Computing Department University of Surrey Amir r Razavi. Contents. Introduction Setting Up a Project Creating a new Java class library Creating a new Java application Configuring the compilation classpath Creating and Editing Java Source Code

E N D
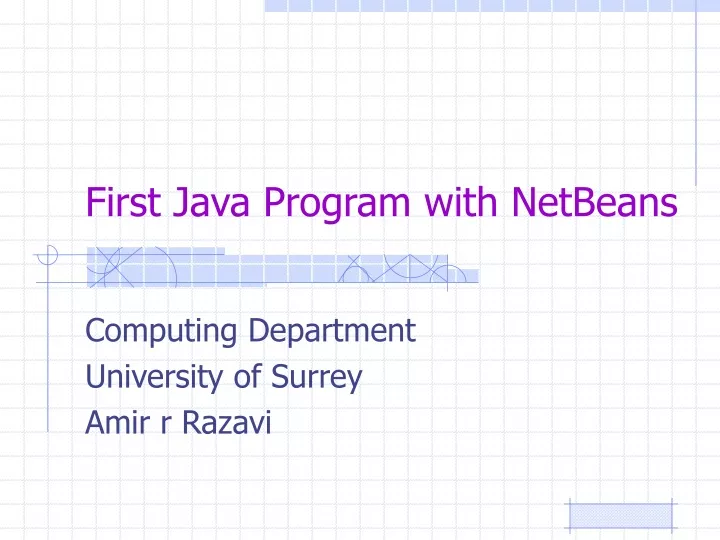
First Java Program with NetBeans Computing Department University of Surrey Amir r Razavi
Contents • Introduction • Setting Up a Project • Creating a new Java class library • Creating a new Java application • Configuring the compilation classpath • Creating and Editing Java Source Code • Creating a Java package and class file • Editing a Java file • Finding all usages of a class name • Compiling and Running a Project • Setting the main class and execution arguments • Running the main project • Modifying for Image Processing
Introduction • Using NetBeans IDE • Following the standard Java by NetBeans • Image Processing by NetBeans • Free Full Software and Proper Documentations and support http://www.netbeans.org/
Creating a new Java class library • Choose File > New Project (Ctrl-Shift-N).
Creating a new Java class library • Under Categories, select General. Under Projects, select Java Class Library and click Next
Creating a new Java class library • Under Project Name, enter MyLib. Change the Project Location to any directory on your computer.
Creating a new Java application • Choose File > New Project. Under Categories, select General. Under Projects, select Java Application and click Next
Creating a new Java application • Under Project Name, enter MyProg1.
Configuring the compilation classpath • Right-click the MyProg1 project in the Projects window and choose Properties.
Configuring the compilation classpath • Select Compiling Sources and click Add Project.
Configuring the compilation classpath • Select the MyLib project folder. The Project JAR Files pane shows the JAR files that can be added to the project. Notice that it shows a JAR file for MyLib even though we have not actually built the JAR file yet. This JAR file will get built when we build and run the MyApp project. Click Add Project JAR Files.
Creating a Java package and class file • Expand the MyLib project node. Right-click the Source Packages node and choose New > Java Class. Name the class LibClass, type org.me.mylib in the Package field, and click Finish. LibClass.java opens in the Source Editor.
Creating a Java package and class file • In LibClass.java, place the caret on the line between the class declaration (public class LibClass {) and the constructor (public LibClass() {). Type or paste in the following method code:
Editing a Java file • Select the Main.java tab in the Source Editor. • Delete the // TODO comment in the main method and type the following: • String result = LiPress Ctrl-Space to open the code completion box. The project offers code completion for all classes and methods in the project's compilation classpath. Select LibClass and press Enter.
Editing a Java file • Press Alt-Shift-I to create an import statement for org.me.mylib.LibClass.
Editing a Java file • Enter a period after LibClass. The code completion box opens again. Select the acrostic method to see popup Javadoc for the method. Enter the acrostic method with its default argument: args, then type a closing parenthesis and semicolon. The final line should look like this: • String result = LibClass.acrostic(args);
Editing a Java file • Press Enter to start a new line. Then type sout and press space. The sout abbreviation expands to System.out.println(""); with the caret between the quotation marks. Type Result = inside the quotation marks and + result after the quotation marks. The final line should look like this: System.out.println("Result = " + result);
Running the main project • Choose Run > Run Main Project (F6) from the Run menu. Double-click the Output window to maximize it so you can see all the output. Note that Ant builds MyLib.jar first and then compiles MyApp using it. Finally, it prints the output from the program, Result = Hello (the acrostic of the phrase that was passed to the program as an argument).