Download

1 / 1
10 likes | 12 Views
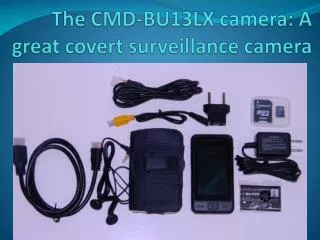
Installing a surveillance camera for your home can be a very tedious affair. Along with the monetary expenses, it also brings with it weeks of tension: which surveillance system to choose, the storage requirement, the power supply, and the places where you want them to be. All of this also depends on the place you want to protect. For example, while choosing a surveillance camera for home you may not end up at the same camera which you might end up at while choosing one for your office. You will also have to choose the camera you want from various cameras, all of which claim to be the best surveillance camera.

E N D
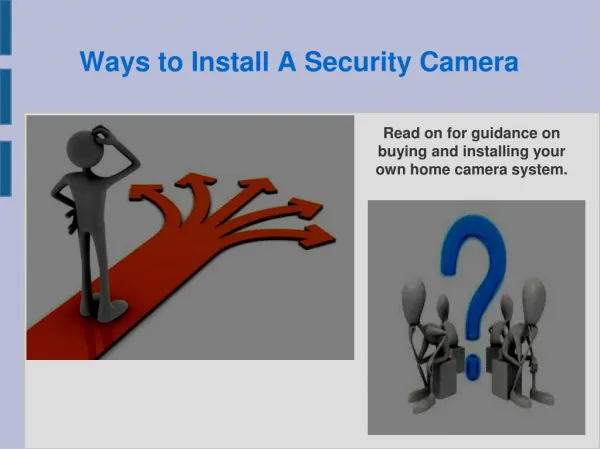
How to install a surveillance camera Installing a surveillance camera for your home can be a very tedious affair. Along with the monetary expenses, it also brings with it weeks of tension: which surveillance system to choose, the storage requirement, the power supply, and the places where you want them to be. All of this also depends on the place you want to protect. For example, while choosing a surveillance camera for homeyou may not end up at the same camera which you might end up at while choosing one for your office. You will also have to choose the camera you want from various cameras, all of which claim to be the best surveillance camera. After doing all of this research, you will have to ponder whether you install them yourself or ask a professional to do it. If you choose the former, then this article is just for you. Here are a few simple steps to install a surveillance camera: 1. Choosing the ideal spot for installing the camera The most important aspect is to choose all the right spots to install the cameras and the DVR. This will help maximize the camera coverage and minimize the length of the cable use, which will reduce the drop in video quality. For indoors, you should choose a corner which covers most of the room’s entry points with a power socket close by, while for outdoors, you should go for a spot which covers the main door, garages, etc. You should also look to place it above 10 feet, so that it cannot be damaged easily. 2. Mounting the surveillance camera After placing the camera at the place you selected, make guide marks to help you while drilling. Drill the holes, fix the screw mouldings, screw the camera firmly in place, and then inset the power cable for the camera in a nearby socket. 3. Positioning the DVR The DVR of any surveillance camera is the location where its hard disk is located. Thus all the recording done by your camera resides within that DVR. It is greatly recommended to keep it inside a safe locker so that it remains safe from destruction even after being spotted. This step is vital to make your security bullet proof, quite literally. 4. Managing the camera’s cables You should plan the pathway for each and every cable from all the cameras to the DVR unit efficiently. Wire mouldings are advised to keep them all managed and safe. You should nail all the mouldings and put the wires inside. 5. Connecting the surveillance wires The video cables are connected through a BNC port. You should remove about 1.5cm of the cable’s outer covering which exposes the braids. Then slide the barrel for crimping onto the cable with the wider diameter placed toward the cable’s end. Now remove the innermost cable’s white insulator, and insert them into the BNC port, screwing the barrel. This makes the connection secure. Now connect the DVR’s outer port to any screen you want. 6. Power the system Power on the cameras first, then the display, and then the DVR. Set the DVR up according to the provided user manual. Check the feed of each camera, and once satisfied, you are ready to go.