Download
1 / 24
690 likes | 1.37k Views
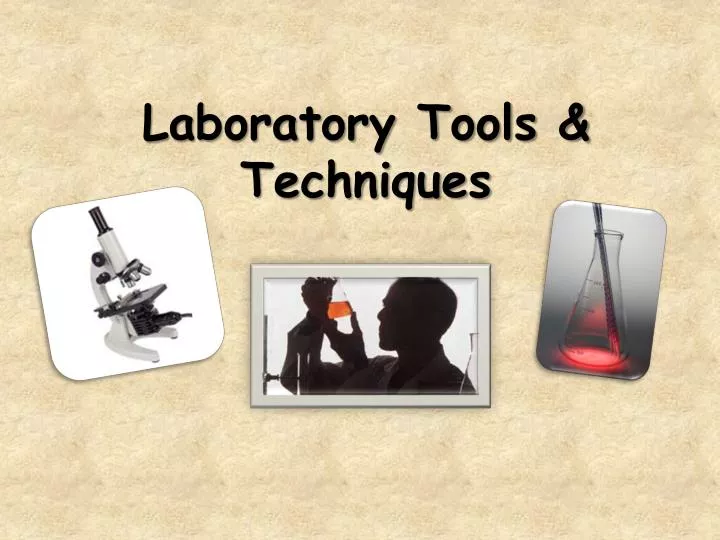
Laboratory Tools & Techniques. The Biology Laboratory. Scientific investigations are based on observations and measurements. Biologists use a wide variety of tools to aid in their investigations. Some include: Microscopes Thermometers Scales

E N D
The Biology Laboratory • Scientific investigations are based on observations and measurements. • Biologists use a wide variety of tools to aid in their investigations. Some include: • Microscopes • Thermometers • Scales • Proper safety procedures are also essential in the laboratory at all times.
Early Discoveries in Biology • The invention of the microscope had an enormous influence on the development of biology as a science. • Anton van Leeuwenhoek, a Dutch lens maker, is considered the first person to have built a simple microscope. • With his invention, the first single-lens microscope, van Leeuwenhoek was able to magnify the image of tiny objects more than 270 times their normal size. Anton van Leeuwenhoek
In 1665, Robert Hooke, an English physicist, made a compound light microscope using two lenses. • With this device, he observed the inside structure of a thin piece of cork and called the spaces he saw "cells."
In the 1800s, scientists in other countries used microscopes to learn much more about cells. • Robert Brown in Scotland discovered the central structure in plant cells: the nucleus. • Two German researchers, Matthias Schleiden (studying plants) and Theodor Schwann (studying animals), concluded that the tissues of all living things are composed of cells. • This is the basis for the cell theory.
Microscopes in the Laboratory Using a Microscope: • The compound light microscope uses two lens types, the objective lens and the ocular lens (eyepiece) to magnify the image of a specimen. • The magnified image seen through the objective lenses is further enlarged by the ocular lens.
When viewing a specimen, one should begin with the low-power objective, first using the coarse-adjustment knob to focus and then the fine-adjustment knob. • Further study of specimen details can then be done by using the high-power objective and the fine-adjustment knob only. • The area seen while looking through a microscope is called the field of view. The actual diameter of the field being viewed decreases as you switch from low power to high power.
Parts of the Compound Light Microscope &Their Functions Base – Supports microscope Arm – used to carry microscope Body tube – holds objective lens & eyepiece Stage – platform for slide (specimen) in which light passes through Clips – holds slide in position Nosepiece – holds objective lenses Coarse adjustment - Larger knob used for rough-focusing with low-power objective Fine adjustment - Smaller knob used for focusing with the high-power objective Lamp or mirror - Directs light to the specimen (on the stage) Diaphragm - Controls the amount of light reaching the specimen Objective lenses - Lenses mounted on the nosepiece Ocular lens - Lens at the top of the body tube, or eyepiece
Microscopes in the Laboratory http://www.biology.ualberta.ca/facilities/multimedia/uploads/intro-biology/microscope.html
Many specimens, such as tissue samples or tiny organisms, need to be studied with a microscope by first preparing a wet mount and applying a stain. The wet mount technique is used to prepare a biological specimen for viewing under a microscope.
Electron Microscopes • Many cell parts and structures are not visible with a compound light microscope. • University and professional laboratories use electron microscopes to magnify images more than 250,000 times. Transmission Electron Microscope Scanning Electron Microscope
Taking MeasurementsAs part of their scientific investigations, researchers take a variety of measurements. One or more of the following factors may be measured while conducting an experiment: length, volume, temperature, and mass.
A centimeter ruler is used to measure length. Graduated cylinders are used to measure the volume of a liquid; measurements are in milliliters (mL). Some important readings on the Celsius and Fahrenheit thermometers are shown for comparison.
FYI: Always read the volume of liquid at the bottom of the meniscus (not at the top of the curve)
Chemicals & Safety Procedures One of the most important things to do before you go to work in a lab is: Be prepared. Study the assigned investigation before you come to class. When in the laboratory, maintain a clean, open work area that is free of everything except those materials needed for the investigation.
Chemical Indicators and Reagents Chemical Stains such as iodine and methyl blue are used in preparation of microscope slides. Chemical indicators are used to test for the presence of certain substances.
Chemical Indicators and Reagents Litmus paper is an indicator used to determine whether a solution is acidic or basic. Blue litmus turns red in an acid. Red litmus turns blue in a base. pH paper has an indicator soaked into the paper that changes to one of many colors based upon the actual pH of the solution. Bromthymol blue is an indicator that turns a solution yellow in the presence of carbon dioxide. Benedict solution tests for the presence of simple sugars. When heated, it turns from blue to yellow, green, or brick red, depending on the amount of sugar present. Lugol solution, or iodine solution, tests for the presence of starch. In its presence, it turns from dark red to blue-black. Biuret solution, which is colorless, turns violet in the presence of protein.
Handling Chemicals Safely • Do not handle chemicals or equipment unless you are told by your teacher to do so. • Never eat or drink in the laboratory. • Read the label on every container before you use it. • Wear protective clothing and keep chemical stains off counters and other materials. • Tie back long hair and remove all dangling jewelry. • Wear safety goggles!
Other Laboratory Procedures • Different substances in the mixture will move along with the solvent at different rates, causing them to be separated and allowing them to be studied. • Chromatography is a method used for separating and analyzing mixtures of complex chemical substances. • The mixture to be separated is placed on a material such as chromatography or filter paper. • A solvent is added, which begins to move through the material.
Electrophoresis is a technique used to separate molecules that have different electrical charges. • An electric current is run through a material, usually a gel, in which the mixture has been placed. • Different substances move at different rates in the electrical field. • The resulting pattern of bands shows the different substances that were originally mixed together. Gel electrophoresis is used to separate molecules that have different charges; the smaller DNA fragments move farthest from the wells.
Centrifugation • Centrifugation is the method used to separate materials of different densities from one another. • The original liquid mixture is placed in a test tube, which is spun around in a centrifuge. • The heaviest particles settle to the bottom; the least-dense material forms a layer on the top.
Putting it all Together • Observations and data collected during scientific research needs to analyzed to see what they mean. • The data may be organized and represented in a variety of ways. • When the data is finally interpreted, the results may be that the hypothesis was correct, • Or • It can lead to a revision of the original explanation, the development of a new hypothesis, and the design of a new experiment!