Download
1 / 3
0 likes | 9 Views
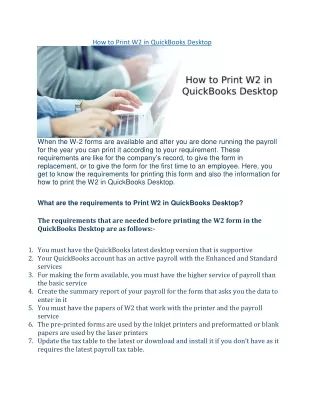
This article provides a step-by-step guide on how to print <br>Form Print 1096 in QuickBooks, ensuring your business meets its tax obligations accurately and <br>efficiently.

E N D
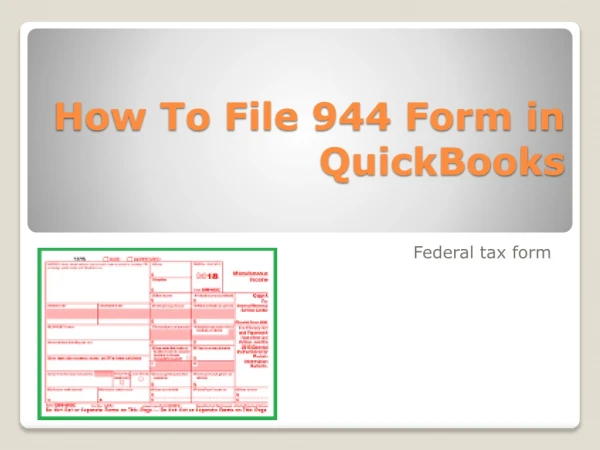
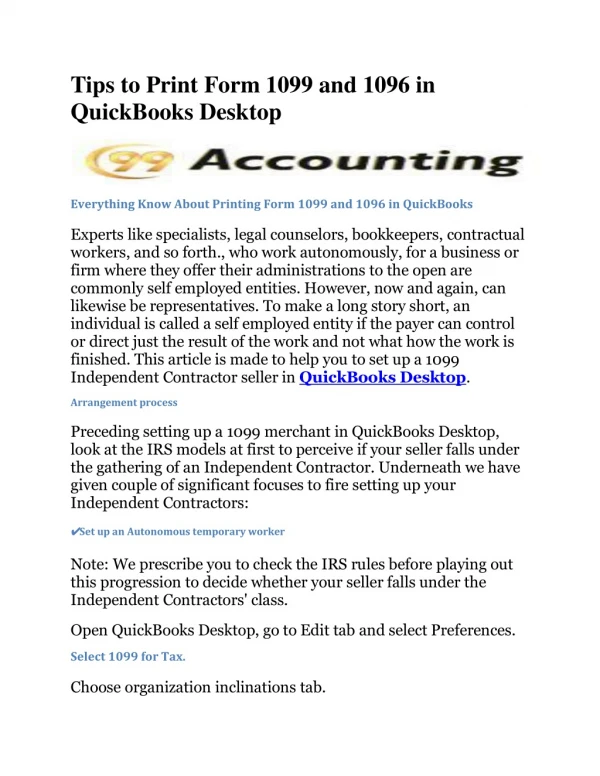
How to Print Form 1096 in QuickBooks: A Comprehensive Guide Form 1096 is a critical document for businesses in the United States, serving as a summary or transmittal form for all types of 1099 forms sent to the Internal Revenue Service (IRS). As tax season approaches, ensuring the accuracy and timely submission of Form 1096 is paramount for businesses to remain compliant with IRS regulations. QuickBooks, a leading accounting software, simplifies this process, allowing users to print Form 1096 efficiently. This article provides a step-by-step guide on how to print Form Print 1096 in QuickBooks , ensuring your business meets its tax obligations accurately and efficiently. Understanding Form 1096 Before diving into the printing process, it's crucial to understand what Form 1096 is and its importance. Form 1096 is essentially a cover sheet used to submit information returns (e.g., Forms 1099-MISC, 1099- NEC, 1099-DIV, etc.) to the IRS by mail. It summarizes the information of the accompanying 1099 forms, including the total amount reported and the total number of returns. Preparing to Print Form 1096 in QuickBooks Step 1: Ensure Accurate 1099 Information Before printing Form 1096, verify the accuracy of all 1099 information within QuickBooks. This includes reviewing the information of each contractor or vendor, such as their name, address, and taxpayer identification number (TIN), as well as the total amounts paid to them during the fiscal year. QuickBooks provides tools to review and edit this information easily.
Step 2: Update QuickBooks Ensure your QuickBooks software is updated to the latest version. This is crucial as updates often include the latest tax tables and forms, including Form 1096. To check for updates, go to the "Help" menu and select "Update QuickBooks Desktop." Step 3: Purchase IRS-Approved Forms You must use IRS-approved forms to print Form 1096. These can be ordered from the IRS directly or purchased from an office supply store. Note that Form 1096 must be submitted on a red-ink form to the IRS, which cannot be replicated by standard printers. Printing Form 1096 in QuickBooks With preparations out of the way, follow these steps to Print 1096 in QuickBooks Desktop : Step 1: Navigate to the 1099 Wizard QuickBooks Desktop users can find the 1099 Wizard under the "Vendors" menu by selecting "Print/E-file 1099s." This wizard guides you through the process of preparing and printing 1099s and the summary Form 1096. Step 2: Select Your 1099 Vendors The wizard will prompt you to review your vendors and ensure they are correctly marked for 1099 reporting. Confirm that all necessary vendors are selected and their information is accurate. Step 3: Verify Your Vendor Payments Next, verify that all payments to your 1099 vendors are correctly categorized and that the thresholds for reporting have been met. QuickBooks allows you to filter and review these payments efficiently. Step 4: Choose the 1096 Form After reviewing and confirming your 1099 information, proceed to the section for printing your forms. Here, you will select the 1096 option. Ensure your printer is loaded with the IRS-approved 1096 form. Step 5: Print Form 1096 With the IRS-approved form loaded, proceed to print a test copy on plain paper to ensure alignment. Once satisfied, place the red-ink 1096 form in your printer and print the final copy. QuickBooks Desktop might not directly print onto the 1096 form due to the specific red ink requirement, but it will guide you through printing the information that you will then transfer onto the official form. Finalizing the Process After printing, review the printed Form 1096 for accuracy. Sign and date the form as required. Remember, Form 1096, along with the accompanying 1099 forms, should be mailed to the IRS by the end of February for the previous tax year (or the next business day if February 28 falls on a weekend). Conclusion Printing Form 1096 in QuickBooks is a straightforward process that can significantly streamline your end-of-year tax reporting duties. By ensuring the accuracy of your 1099 information, updating your QuickBooks software, and following the steps outlined above, you can efficiently fulfill your IRS
obligations. Remember to always keep a copy of Form 1096 and the accompanying 1099 forms for your records and consult with a tax professional if you have any questions or concerns regarding your tax responsibilities.