Download
1 / 16
160 likes | 271 Views
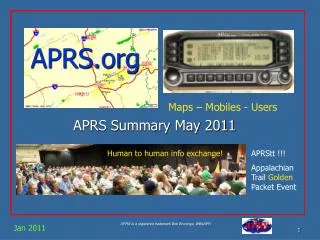
Installation and setup of APRS. Jason Greene n1iic CVRC Regular meeting, May 14, 2002. Topics of Discussion. WinAPRS Installation Configuration Limited operation. Download. Go to www.tapr.org Click on “Software” on the left In the left frame, scroll down and click on “Latest WinAPRS”

E N D
Installation and setup of APRS Jason Greene n1iic CVRC Regular meeting, May 14, 2002
Topics of Discussion • WinAPRS • Installation • Configuration • Limited operation
Download • Go to www.tapr.org • Click on “Software” on the left • In the left frame, scroll down and click on “Latest WinAPRS” • This will take you to a list of windows APRS versions and other files available. • Choose “waprs251_nomaps.zip“ It will fit on a floppy!
Unzip • Use WinZip or similar unzipping program. • An evaluation version of WinZip can be downloaded from www.winzip.com • Extract it to your favorite folder. Be sure to click on “Use Folder Names”, or WinAPRS will not work
Your first run of APRS • Find the folder that you just extracted the files to • Double click on WinAPRS.exe • This will bring you to the introduction and info screen
Configuration • Under the settings tab, choose station. • Enter your callsign, and all other information that you have. • Latitude and longitude can be obtained from www.mapsonus.com • Your icon can be picked from list > icon list in WinAPRS.
Configuration, continued • The most common icon for a fixed station is a dash, which is a house on the map.
Configuration, continued • Under Settings > WinAPRS, enter status text which is just a comment about your status or station • Under Settings > Serial Port, set the VHF settings for the correct com port and speed. • Under Settings > Select TNC Type, I use a Kantronics KPC-3
Configuration, continued • Under Settings > TNC, click on KAN • “Unproto APRSM via” is your unproto or digi path • Leave your path be for now, you will learn more about that in the future
Start me up! (TNC) • Under Settings > click on open VHF TNC • APRS will initialize the TNC, and with any luck, things will magically happen!
Start me up! (Internet) • If you have an internet connection but you are lacking a TNC, you can connect to the internet and go to Settings > TCP/IP Connections > Connect to APRServe Network
Navigation • Go to Maps > New England to start. • To talk to the TNC directly, go to Windows > Terminal Window • Start me up! • Under Settings > click on open VHF TNC
Send a message or NTS traffic • You can send a message by either double clicking on a station, or by pressing F7. • For NTS traffic, go to Lists > New NTS Message
Quick Notes • The documentation can be found at Help > Open Help in Web Browser • The lists are very helpful in finding info about stations
Internet • This presentation can be found at www.hamsrc.com/aprs