Download
1 / 8
80 likes | 95 Views
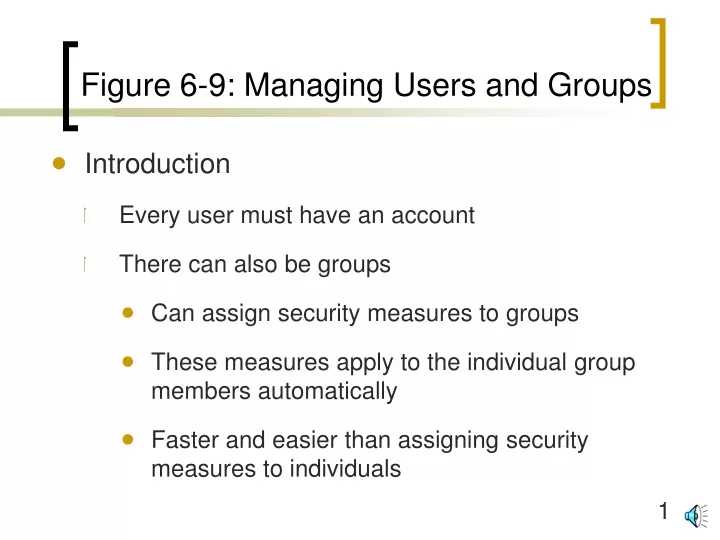
Figure 6-9: Managing Users and Groups. Introduction Every user must have an account There can also be groups Can assign security measures to groups These measures apply to the individual group members automatically Faster and easier than assigning security measures to individuals.

E N D
Figure 6-9: Managing Users and Groups • Introduction • Every user must have an account • There can also be groups • Can assign security measures to groups • These measures apply to the individual group members automatically • Faster and easier than assigning security measures to individuals
Figure 6-9: Managing Users and Groups • Creating and Managing Groups in Windows • Computer Management: Local Users and Groups snap-in (Figure 6-10) • Select Users • Select user from list • Right click on user and select Properties: password restrictions, disable box • Or select Action: change password, etc. • Add, delete users
Figure 6-11: Windows User Account Properties To get this screen, right click on user account in Figure 6-10, select Properties
Figure 6-9: Managing Users and Groups • Creating and Managing Groups in Windows • Select user from list • Administrator is the super account • Change its name and create a new Administrator account with no permissions • Administrators should not log in as Administrators; log in as their own account, use RunAs to get temporary Administrator status when needed • Guest account should be disabled (the default during installation)
Figure 6-9: Managing Users and Groups • Creating and Managing Groups in Windows • Select Groups • Assign rights to groups • Standard groups: Administrators, Power Users, Backup Operators, etc. • Have appropriate permissions by default for their tasks
Figure 6-9: Managing Users and Groups • Managing Users and Groups in UNIX • Different versions of UNIX do this differently, so it is difficult to talk in general terms • The super account is root • su (switch user) allows administrators to log in as regular accounts, su to get root privileges when desired • Guest account should be disabled