Download
1 / 11
170 likes | 345 Views
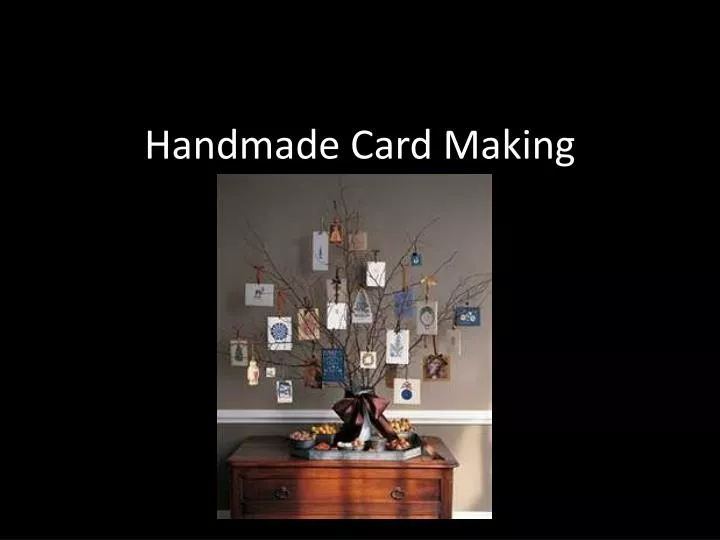
Handmade Card Making. Step 1. Choose your paper. You will need at least one piece of card stock to form the body of the card, but gluing on other pieces of paper adds a nice layering effect. Step 2.

E N D
Step 1 Choose your paper. You will need at least one piece of card stock to form the body of the card, but gluing on other pieces of paper adds a nice layering effect.
Step 2 Fold your card stock in half, making a deep crease. If necessary, use a pencil to flatten the crease. Then glue on additional paper or other designs. Be sure to leave room for text on the outside of the card if you so desire.
Step 3 Decide how much text you want to include, if any. Some of the best handmade cards only have a design on the outside and are blank inside. If you don't have particularly nice handwriting, consider using stamps or cut-out letters from publications to create your text.
Step 4 Personalize your card with photographs. If your printer accepts thick paper, you may be able to print digital pictures directly onto your card. You can print photos as-is or use an application like Adobe Photoshop to enhance them. Alternatively, make copies of your photos and cut out the parts you want to use, then glue them onto the card.
Step 5 Use scrapbooking tools like decorative punches, specialty papers and stickers to make your card more elaborate. For more ideas, check out the Making Greeting Cards Web site, which offers a variety of designs and tips.
Step 6 Write your message on the inside once you have finished decorating the outside of your card. Add a little spice to the envelope by creating a design using markers or rubber stamps, and use your best handwriting to pen the address.