Download
1 / 25
250 likes | 349 Views
Getting Started. Setting up your multimedia equipment. Unpacking. Remove projector from case Connect power cord. Unpacking continued. Connect RGB cable to projector. Remote control. Remove remote control from bag and place next to projector. Setting up laptop computer.

E N D
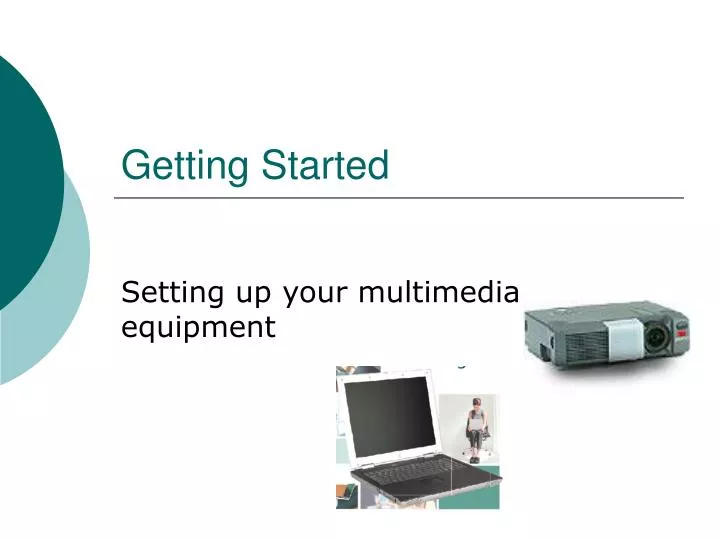
Getting Started Setting up your multimedia equipment
Unpacking • Remove projector from case • Connect power cord
Unpacking continued • Connect RGB cable to projector
Remote control • Remove remote control from bag and place next to projector
Setting up laptop computer • Remove laptop computer from bag • Connect power cord
Connect power cord to wall outlet • Connect RBG cable to laptop • Open computer lid using release • latch
Powering up computer • Turn on computer using power button
Powering up projector • Turn on the MAIN power of the projector
Power up the projector • Turn on the projector lamp using the standby/power button on the top of the projector
Getting the picture • Sending computer image to projector • To shift the computer image to the projector, hold down the function key “fn” and push the F3 button (“LCD/CTR”) button. Laptop keyboard
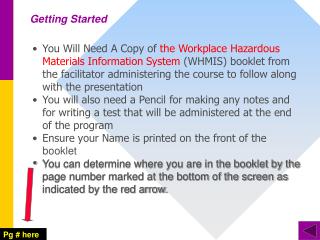
Log In Screen • When computer starts up it will default to a log in screen. • Password is “horizon2”. • No caps, and do not include quote marks. • Office 2000 pro is installed on computer and includes Word, PowerPoint and Excel.
Computer Drives • A DVD-CD drive is located on the right side of the laptop computer
Floppy Drive • The DVD-CD drive can be swapped with the floppy drive. • Be very careful when swapping drives and follow instructions exactly, to prevent damage. • You will be financially responsible for any damage to the computer, or loss of drives.
Swapping drives • Instructions for swapping drives • Turn computer over and locate modular latch. Bottom view of computer
Powering Down Projector • When finished with presentation • Turn off the power on the projector and wait for lamp to cool down before turning off the main power.
Storage of unused drives • Place the disc drive, not in use, in the laptop carry bag.
Power down laptop • Close all software programs still open • Remove DVD, CD, or Floppy disks from laptop • Shut down laptop computer
Packing up equipment • Remove all cords from the projector and place in carry case • Check to see all cords, cables, and remote control are packed in carry case.
Remove all cables from laptop and return to carry case Transformer and power cord Floppy or DVD-CD drive Mouse
Return all equipment to Media Services THANK YOU!