Download
1 / 16
160 likes | 229 Views
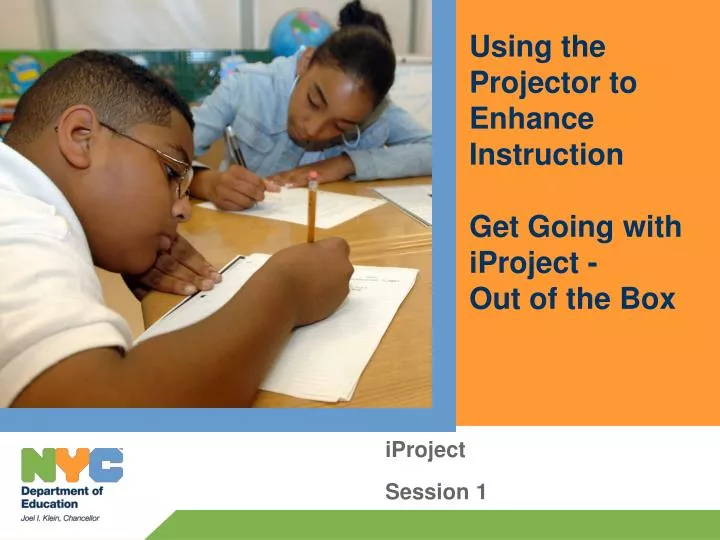
Using the Projector to Enhance Instruction Get Going with iProject - Out of the Box. iProject Session 1. Focusing Questions. How can we set up the projectors in our classrooms? What are the different parts of the projector?. Instruction. Framing The Session.

E N D
Using the Projector to Enhance InstructionGet Going with iProject - Out of the Box iProject Session 1
Focusing Questions • How can we set up the projectors in our classrooms? • What are the different parts of the projector?
Framing The Session • Today we will learn how to set up our projectors so that we can use them for effective enhancement of our library instruction. • We will label the different parts of the projector and attach them to our mobile device.
Teaching • Lets first begin by labeling all items contained inside the smaller box: • Power Cable • VGA Cable • S-Video Cable • USB Cable • Composite Cable • VGA to Component Cable • RCA to Audio Cable • Mini pin to Mini pin Cable
Additional items to be Labeled • Remote (place batteries inside) • Documentation
Guided Practice • Steps for setting up the Projector to the Laptop • Connect VGA to Projector • Connect USB to projector (only if you want to use your remote • Connect power cable to projector • Connect VGA to Laptop • Connect USB to Laptop • Connect power plug to power source • Turn on projector • Turn on Laptop • Wait until you see DELL logo and press either button located to the left of the Q bar or FN F8 • Adjust height and zoom
Getting Started • You have just completed the steps to set up your projector with the instructor, now it is time to reconnect and follow the steps. The steps will be displayed for you through my projector.
Work Time • Reconnect and display • Shut down and put away • Work in groups or independently
Steps to Connect • Connect VGA to Projector • Connect USB to projector (only if you want to use your remote • Connect power cable to projector • Connect VGA to Laptop • Connect USB to Laptop • Connect power plug to power source • Turn on projector • Turn on Laptop • Wait until you see DELL logo and press either button located to the left of the Q bar or FN F8 • Adjust height and zoom
Share • Today we learned how to set up our projectors. There were many steps that needed to be completed, some easy and some difficult. Lets share some difficult steps and share ideas to remember how to complete those steps.
For more information • Office of Instructional Technology • oittc@schools.nyc.gov • www.nyc.gov/schools