Download
1 / 18
180 likes | 384 Views
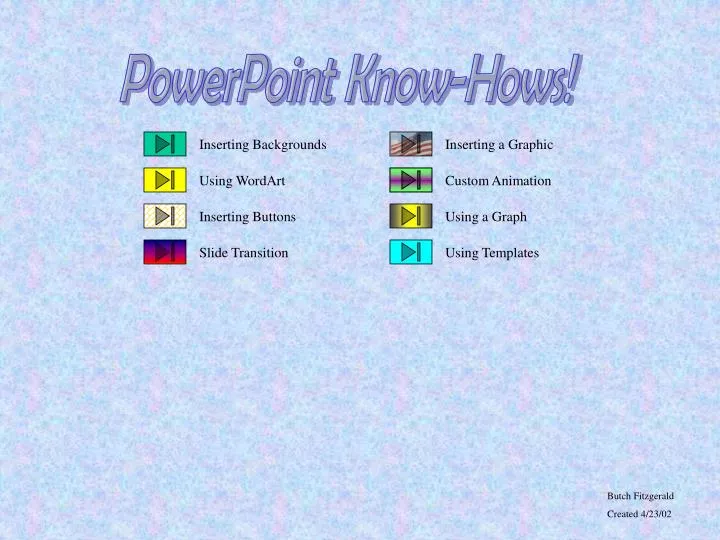
PowerPoint Know-Hows!. Inserting Backgrounds. Inserting a Graphic. Using WordArt. Custom Animation. Inserting Buttons. Using a Graph. Slide Transition. Using Templates. Butch Fitzgerald Created 4/23/02. Timed Kiosk. This page will return to the previous slide in 15 seconds.

E N D
PowerPoint Know-Hows! Inserting Backgrounds Inserting a Graphic Using WordArt Custom Animation Inserting Buttons Using a Graph Slide Transition Using Templates Butch Fitzgerald Created 4/23/02
Timed Kiosk This page will return to the previous slide in 15 seconds • Go to Slide Show in the menu bar • Drop down to Slide Transitions ….. • In the bottom left hand corner click on Automatic Transition (to check) • Insert a time and click apply (make sure the slide you want it to automatically go to is next in the story board). Go to View in the menu bar and Slide Sorter for the storyboard.
Slide Transitions Timed Kiosk With Effect With sound
Inserting Backgrounds Inserting a Solid Background Inserting Multi-color Backgrounds Inserting Picture Backgrounds
Picture Backgrounds • Find and save a picture to My Pictures folder. Name it so that it clearly identifies the picture. • Go to Format/Backgrounds/Fill Effects in the drop down menu in Background Fill. • Select a picture and apply.
Multi-color Backgrounds • Find and save a picture to My Pictures folder. Name it so that it clearly identifies the picture. • Go to Format/Backgrounds/Fill Effects in the drop down menu in Background Fill. • Select a texture, gradient or pattern and apply.
Solid Backgrounds • Go to Format in the menu bar. • Select Backgrounds • Go to the drop down menu in the Background Fill Section • Select the color you wish the background to be. The image above the drop down menu will change. • If you want to apply that background to all slides, select Apply to All. If you only want it to apply to that slide, select Apply.
Adding Action Buttons This is a great way to make your presentation interactive. These buttons allow you to control where to go. • Be sure to have your cards mapped out. This can get confusing if you do not have a guide. You can Hyperlink to an internet site, another card, or a program. • Insert all of the cards you will need. If you want to preview what you have done so far look at View/Slide Sorter. • Insert Action Buttons – Slide Show/Action Buttons – select the button you wish to use. • Place and drag your button to the desired size. You can change colors the same way as changing backgrounds, even change to a picture. • Then assign the button an action. There are 2 types of actions: a Mouse Click and a Mouse Over. The difference is Mouse Click requires a click and a Mouse Over simply changes slides as the arrow is run over it. More
Action Buttons Continued • Helpful Hints: • Use the Slide… feature in Action Settings as opposed to next, last, previous, etc. • Do not place a text box over an action button. Put it below, above, or next to the button. Examples: Carroll County Public Schools Homepage Website Interactive Program What is 2x6? 10812 OR Internet Explorer
With Effect • This will be how the current page will transition in. Just like you witnessed coming to this page. The effect was established here!! • Click on Slide Show/Slide Transition. • In the drop down menu in Effects you can pick the effect and speed. Watch the dog picture above because it will show the effect. • If it is what you want the Apply to that slide or apply All if you want to apply it to all slides.
With Sound • This will be how the current page will transition in. Just like you witnessed coming to this page. The effect was established here!! • Click on Slide Show/Slide Transition. • In the bottom right corner there is a Sound drop down menu. • Select the sound that you wish to use and Apply. If you want to use your own sound you may record one or save one from a site and save it, then access it from Other Sounds.
Custom Animation You can time different parts of each slide to come in or you can do it on a mouse click. • Go to Slide Show/Custom Animation • Highlight the text you wish to animate and choose the animation setting. • Use the tabs to set Ordering and Time and Effects Click for a smile to fly in. Computer will Checker-in in 3 seconds
Word Art WordArt Word Art Just adds a little character to your characters • Either select the ‘A’ in the Draw Menu at the bottom of the screen or go to Insert/Picture/WordArt… • You can insert the Draw Tool Bar – Tools/Customize then go to the Toolbars tab and select Drawing • Select the style you prefer and then type the text. • You can modify the WordArt color scheme with the color items in the Drawing Toolbar. (However, not all options are available.) Original WordArt Modified WordArt FROM
Inserting a Graphic • Go to Insert/Picture/Clip Art or From File…(If you have one saved) • Select your picture and Insert From File…. Graphic Clip Art Graphic
Using a Graph Using the graphing template • Double click on the chart area to view the spreadsheet. • While this is visible right click to change chart appearances • Format Chart Area changes the color and font scheme of the graph • Chart Options gives you a wide variety of graph choices. • You can change the labels by right clicking on the text. This will allow you to change fonts, size, and alignment. (Format Axis Title…) • 3-D View allows you to give dimension to your graphs.
Slide Layout By creating a new slide you will automatically be given this option. If you want to change a slide layout you can right click on the slide you want to change. On the drop down menu select Slide Layout. The choices will appear in a window. Chose your new layout and Reapply. Apply Design Template This is to be used to set up an entire presentation. It will not change 1 page! Select Apply Design Template, you will be given several designed templates to chose from and manipulate. Using Templates Sample – one of many choices