Download
1 / 28
350 likes | 698 Views
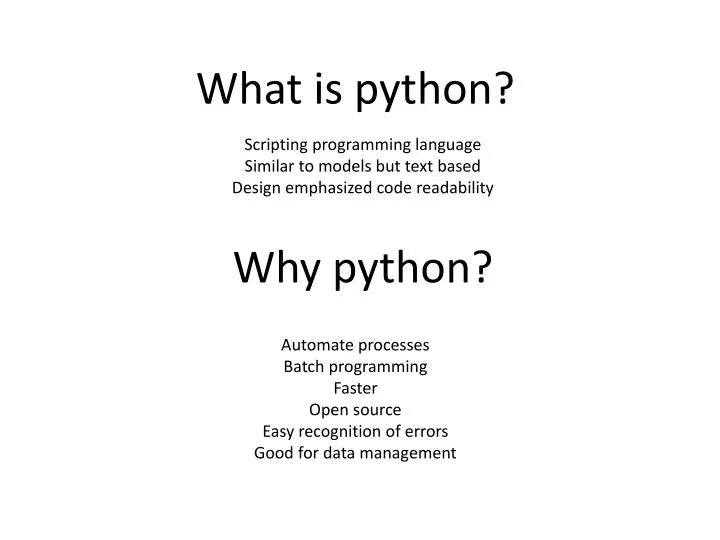
What is python?. Scripting programming language Similar to models but text based Design emphasized code readability. Why python?. Automate processes Batch programming Faster Open source Easy recognition of errors Good for data management.

E N D
What is python? Scripting programming language Similar to models but text based Design emphasized code readability Why python? Automate processes Batch programming Faster Open source Easy recognition of errors Good for data management
Three step process to integrate python into your GIS projects. . . Create model outline in ModelBuilder Customize model in an Python editor, such as PythonWin or IDLE Import script into a ToolBox in ArcCatalog
Create a file management model using ModelBuilder Script for easy data management includes: Main folder: Name of folder determined by user Subfolders: Data, MXD, Images, Other Sub-Subfolder: Working Data Geodatabase: Output Geodatabase and Feature Dataset
Edit script in an editor (I used IDLE) Add descriptions Import necessary modules Change variables to get parameters. Make necessary changes to actual script to match changes
Added descriptions Imported Modules Set Parameters and local variables Run and correct necessary errors
Designate the workspace containing rasters for processing Get Parameter As Text allows the input to be entered as a parameter of the tool
Make a list of all the rasters in the workspace The list is created and stored as rasterList but not displayed “GRID” specifies the raster type
Create a “for” loop to run the model for each raster Everything indented under this command is performed for every raster in the folder
Create a new folder name for each iteration The folder name that stores the output rasters will be “swiss_hs” followed by the name of the input raster
Determine which variables are to be dynamic Inputs Outputs Azimuth Z Factor
Assign the dynamic inputs to the variables “raster” = the raster in the folder Output folder (created above) and the new raster name
Change the process parameters to match the variables *Note: The following code is used for the raster calculation rather than the one that is exported from modelbuilder
Copy and paste the processing code and change parameter variables Updating the variables as needed Repeat if desired
Enter a print statement to say what folder the new rasters are in