Download
1 / 3
30 likes | 38 Views
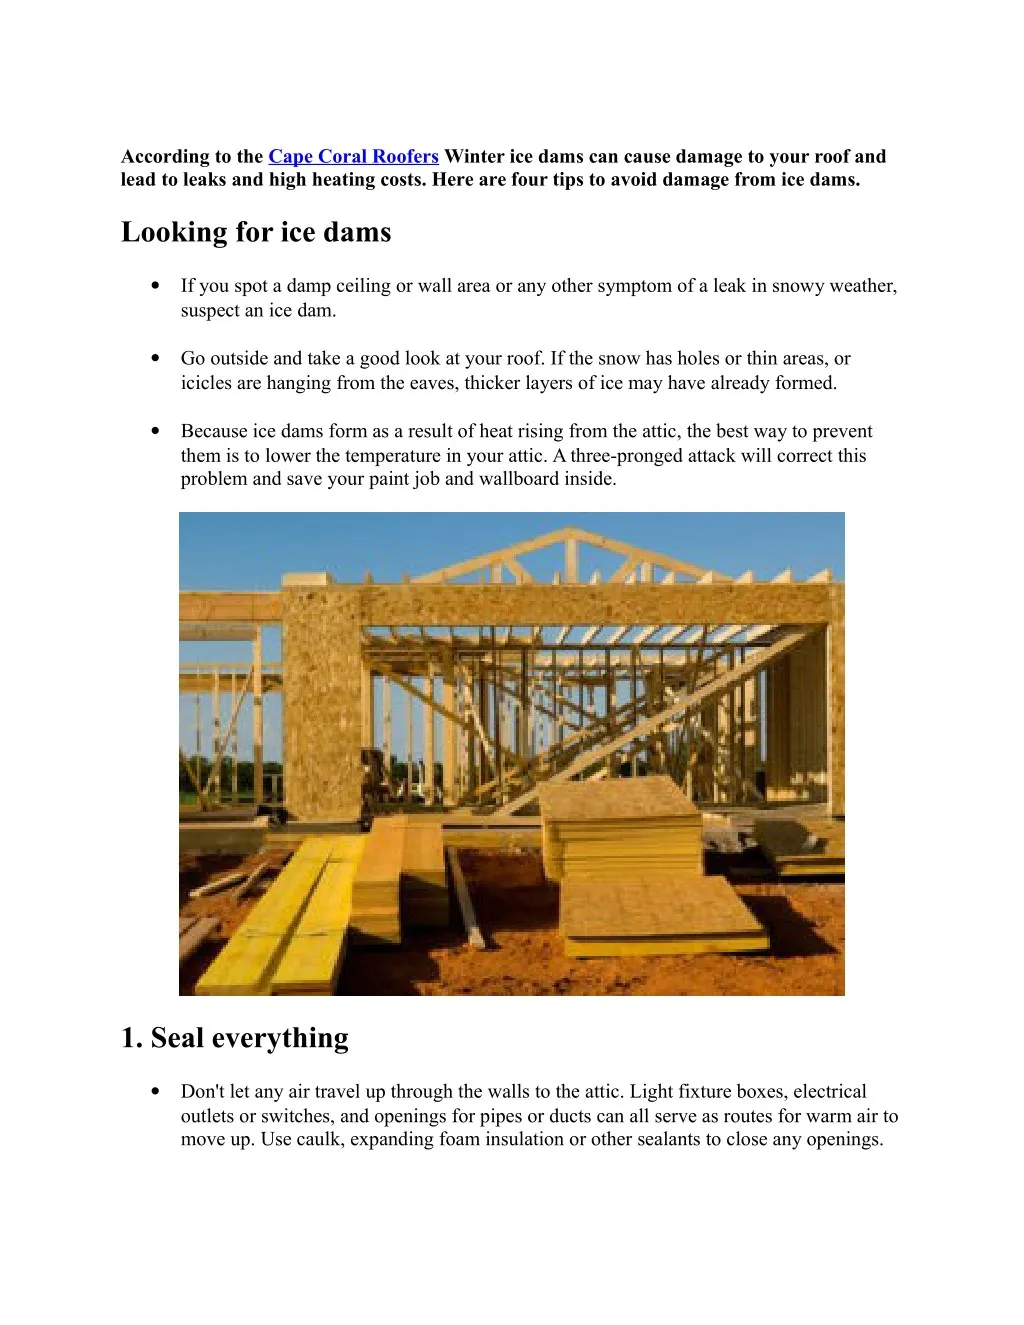
According to the Cape Coral Roofers Winter ice dams can cause damage to your roof and lead to leaks and high heating costs. Here are four tips to avoid damage from ice dams.<br><br>

E N D
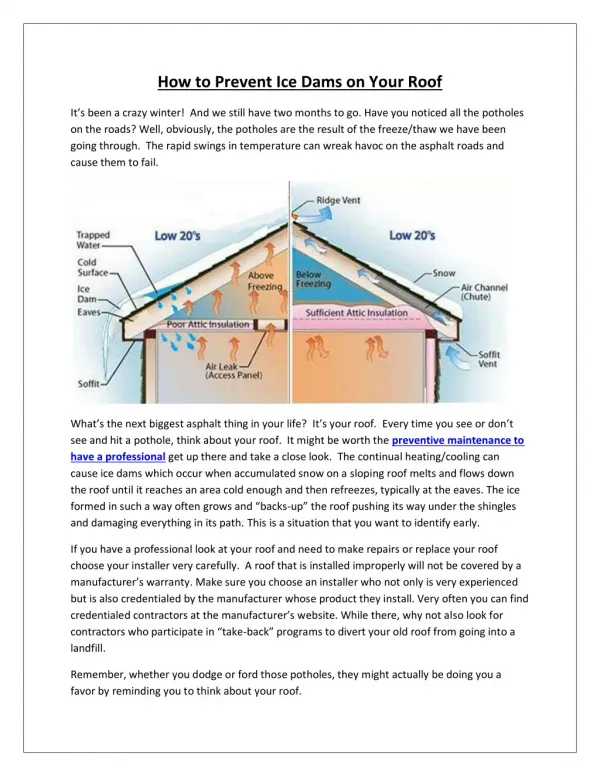
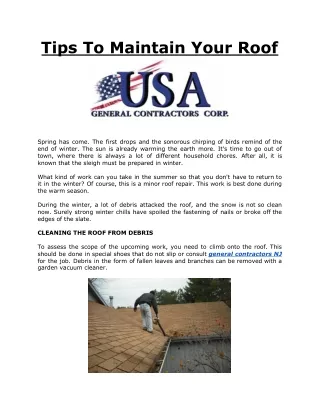
According to the Cape Coral Roofers Winter ice dams can cause damage to your roof and lead to leaks and high heating costs. Here are four tips to avoid damage from ice dams. Looking for ice dams If you spot a damp ceiling or wall area or any other symptom of a leak in snowy weather, suspect an ice dam. Go outside and take a good look at your roof. If the snow has holes or thin areas, or icicles are hanging from the eaves, thicker layers of ice may have already formed. Because ice dams form as a result of heat rising from the attic, the best way to prevent them is to lower the temperature in your attic. A three-pronged attack will correct this problem and save your paint job and wallboard inside. 1. Seal everything Don't let any air travel up through the walls to the attic. Light fixture boxes, electrical outlets or switches, and openings for pipes or ducts can all serve as routes for warm air to move up. Use caulk, expanding foam insulation or other sealants to close any openings.
Also go into the attic, pull away the insulation and apply a sealant to the top edges of the drywall or plaster. You'll cut down on ice dams and your heating costs. Roofers Cape Coral FL can help you to get your roofing goals. 2. Increase your attic insulation Check the insulation on the floor of your attic by your self or by professionals like Cape Coral Roofer If it already fills up the space between the joists, add another layer of insulation, running at right angles to the joists. You should have at least 30 centimetres (one foot) of insulation with a heat retention value above R-32. If you have a finished heated attic, add a layer of rigid foam insulation panels to the existing ceiling and cover it with wallboard to create a second ceiling, 3. Ventilate the attic Once your attic floor is better insulated, it is a good idea to increase the ventilation in the attic to move out any trapped warm air. The simplest way to do this is to have roof vents installed near the ridge. This is a simple, relatively inexpensive job that can be done by a roofing contractor; get bids from a couple of them. You may also want to add vents under the eaves. You may be tempted to use salt (or a similar de-icing chemical) to melt ice on your roof. After all, it works great on walks and driveways. Don't do it! The salt can damage not only the shingles but also the wood, gutters and foundation plantings. 4. Prevention The no-brainer way to avoid ice dams is to keep your roof as snow-free as possible. If there's no snow, there can't be any ice dams. Use a snow rake with an extension handle to manually remove fresh snow from your roof after every major snowfall. Just be careful not to hit any overhead power lines or send snow cascading down on someone's head. (If your home has more than one story, the extension-handled rake will probably not be long enough to reach the top floor — you may have to call for professional help for Roofing Cape Coral.) Overrun with ice dams? You can install deicing cable, which is designed to heat up and keep snow from collecting along the lower part of the roof by melting it. Buy the exact length you need, because it can't be cut. Following the manufacturer's instructions, mount the control box to the soffit (the underside of the eaves). Snake the cable around all parts of the roof overhang and a bit above and into the downspout.
Caution: Carefully follow the manufacturer's instructions. Incorrect installation can lead to electrical shock or fire.