Download

1 / 18
180 likes | 456 Views
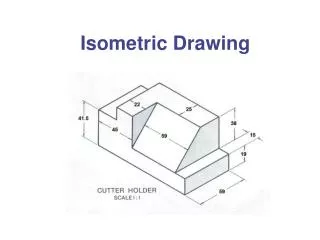
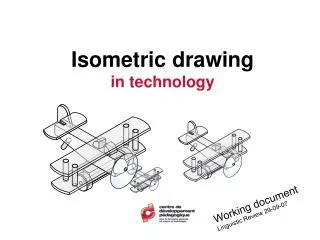
Drawing and annotating the joints using the isometric drawing techniques. Mark out and cut a Lap Joint. Start Here – Lap joint. Mark out and cut a Lap Joint. Mark a waste line around the end of one piece Pencil / Try Square. Mark out and cut a Lap Joint. Mark a joint width line

E N D
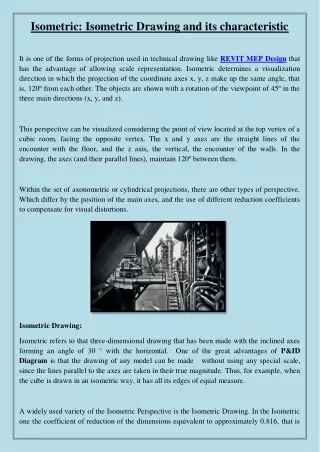
Drawing and annotating the joints using the isometric drawing techniques
Mark out and cut a Lap Joint Start Here – Lap joint
Mark out and cut a Lap Joint Mark a waste line around the end of one piece Pencil / Try Square
Mark out and cut a Lap Joint • Mark a joint width line • the thickness of the wood from the waste line - • around the piece • Pencil / Try Square
Mark out and cut a Lap Joint Using a Marking Gauge mark a line half the thickness of the wood around the end - from joint line to joint line. Mark the waste which is to be cut away
Mark out and cut a Lap Joint Place the work on a Bench Hook Cut carefully - on the waste side of the line - down to the half way mark using a Tenon Saw
Mark out and cut a Lap Joint Clamp the work firmly in a Woodwork Vice in an upright position. Using a Chisel and Mallet gradually remove the waste.
Mark out and cut a Lap Joint Mark a waste line all around the second piece Pencil / Try Square Mark the waste which is to be cut away
Mark out and cut a Lap Joint Using a Disc Sander or an End Trimmer remove the waste to make the end of the piece square
Mark out and cut a Lap Joint Leave the waste tail on the joint and glue the pieces together using PVA glue When the glue is dry remove the waste using a Tenon Saw and clean the joint with Glasspaper
Mark out and cut a Mitre joint Start Here - mitre
Mark out and cut a Mitre Joint Measure and mark out the JOINT line all the way around both pieces Pencil / Try Square It is more than likely that these will be different distances from the end
Mark out and cut a Mitre Joint On both pieces mark the wood thickness from the joint line and mark the waste line all the way around Pencil / Try Square
Mark out and cut a Mitre Joint Place the INSIDE faces of the joint together and mark the joint direction line from the middle UPWARDS and OUTWARDS Pencil / Ruler
Mark out and cut a Mitre Joint Mark the waste to be cut away on both pieces Pencil
Mark out and cut a Mitre Joint On the WASTE SIDE of the line cut the waste material away Mitre Saw
Mark out and cut a Mitre Joint Trim the joint back to the joint line End Trimmer
Mark out and cut a Mitre Joint Glue the joint together PVA Glue / Frame Clamp